
If your pool is doing any three of these seven things at the same time, resurfacing is not going to save it — you’re looking at a full renovation. Settling decks. Stepped coping that’s no longer level. Hairlines turning into quarter-inch separations. Skimmers that whine. Bonding lugs turning green. A heater that short-cycles on a mild spring day. And plaster that stains back through a fresh coat in under 18 months. Here is the honest diagnostic a Clarkston pool owner needs before signing a resurface contract that won’t hold.
Pool owners in Clarkston get quoted for resurfacing constantly. It’s the default repair most companies lead with because it’s the easiest thing to sell. A chip-out and replaster runs between $5,800 and $9,400. Full renovation runs anywhere from $14,000 for a light rehab to $48,000 for a comprehensive structural, plumbing, and equipment overhaul. The price delta is real — and that’s why the wrong answer gets sold so often.
Resurfacing only fixes the interior finish. It does nothing for the shell underneath, the plumbing buried behind it, the bond ring tied to the rebar, or the equipment pad driving the whole system. If any of those are the actual failure point, a new plaster job fails right along with them — usually inside two summers. We’ve pulled plaster off 18-month-old resurface jobs in Clarkston where the underlying shell crack had been skimmed over, and the homeowner had no idea they’d paid $8,000 to hide a $30,000 problem.
Clarkston is especially prone to this pattern because of the housing stock. Many pools here were built between the late 1970s and mid-1990s — which puts original shells somewhere between 35 and 50 years old. Shells that age don’t fail dramatically. They fail quietly, one system at a time.
Below is the 7-sign diagnostic we walk every Clarkston homeowner through during an on-site evaluation. If you hit three or more, a resurface-only bid is not going to be honest work — and any contractor willing to write one for you is either not looking carefully, or is counting on you not noticing the failures that come back within 24 months of warranty expiration.
Sign 1 — The Coping Has Separated From the Bond Beam
Walk the perimeter of your pool and look at the seam where the coping stone meets the top of the shell. On a healthy pool, that joint is tight — you might see a clean bead of mastic, but nothing more. On a pool that needs full renovation, that seam has opened up. You can slide a business card between the coping and the bond beam. Sometimes a whole finger. Sometimes you can see water sitting in the gap after a rain.
What it actually indicates: the bond beam — the top perimeter of the gunite shell — is moving independently of the coping and deck. Either the shell has shifted from soil movement underneath, or the deck has settled while the shell stayed put and pulled the coping with it. Either way, the movement is structural.
Why resurfacing won’t fix it: plaster lives inside the shell. The coping-to-beam joint lives on top of the shell. A new plaster coat has zero mechanical relationship to that seam. You could replaster five times and the coping separation would still be getting worse, still letting water infiltrate into the bond beam.
What the renovation actually looks like: removal of existing coping stones, inspection and patching of the bond beam, re-bedding new coping in a full mortar set, re-mastic on all expansion joints, and typically deck demo and repour on the affected side. Cost range: $6,800 to $18,400.
Sign 2 — Plumbing Pressure Is Climbing and Flow Is Dropping
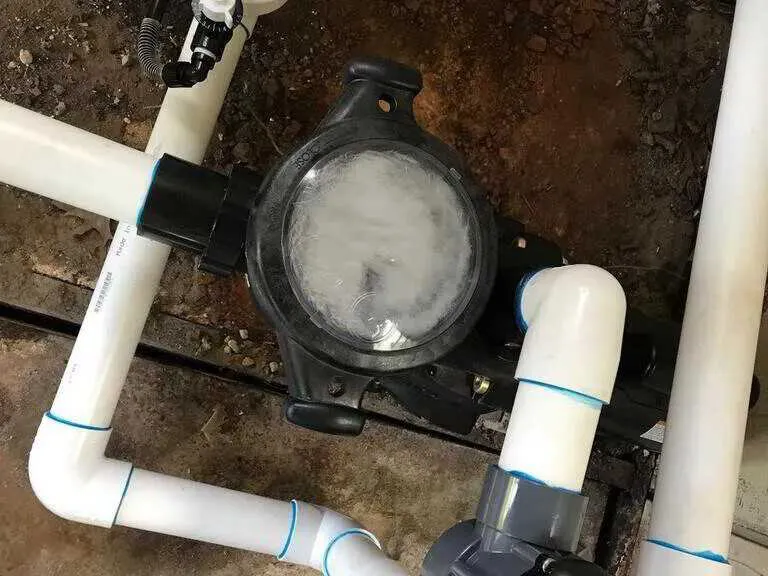
You backwashed the filter last week and it’s already running at 22 PSI against a 12 PSI clean baseline. Return jets feel sluggish. The skimmer flap barely flutters. If your gauge climbs back up within days of cleaning, the filter element is not the issue.
What it actually indicates: plumbing restriction. On older Clarkston pools, it’s usually one of three culprits. First, original copper return lines from 70s-era builds that have pinhole-corroded internally and pass a fraction of their rated GPM. Second, PVC suction lines with root intrusion from surrounding trees. Third, a partially collapsed return line crushed under a settling deck.
The difference between a suction-side failure and a return-side failure matters. Suction-side failures (skimmer to pump) pull air in and cause the pump basket to run half-full — the telltale is a column of air visible in the pump lid. Return-side failures (pump back to pool) don’t pull air; they build pressure, shorten pump life, and reduce jet velocity. Neither gets fixed by replastering.
Why resurfacing won’t fix it: the plumbing is buried three feet behind the shell wall and under the deck. A plaster contractor never touches it. Restricted flow eventually burns out the pump — restricted return is how impellers die.
What the renovation actually looks like: pressure-testing all lines at 25 PSI for 15+ minutes, locating leaks with listening equipment, spot-repairing PVC sections or re-running entire runs in new Schedule 40 PVC. Copper gets replaced entirely — nothing good comes from keeping 40-year-old copper in a chlorinated system. Cost range: $3,200 to $11,800.
Sign 3 — You’ve Got Structural Cracks, Not Hairlines
Every gunite pool cracks. The question isn’t whether there are cracks — it’s what kind, how wide, and whether they’re active or static. Hold this classification in your head the next time a contractor brushes off a crack as “just a hairline”:
- Hairline crack (<1/16″): surface-level plaster or cosmetic, usually caused by shrinkage during original cure or from minor plaster movement. Fixed during any standard resurface.
- Moderate crack (1/16″ to 1/8″): borderline. Could be plaster-only or could be telegraphing from the shell. Requires closer inspection — a crack that runs in a straight diagonal line from a corner is a shell crack, not a plaster crack.
- Structural crack (>1/8″): this is shell damage. The gunite itself has fractured. Resurfacing over a structural crack is like painting over a broken stud — it hides it for a season and then splits right back through.
The other critical distinction is active vs. static. A static crack hasn’t moved in years — ugly but stable. An active crack is still moving; width-gauge readings from six months apart show measurable growth. Active structural cracks almost always require partial shell reconstruction, not just plaster.
Why resurfacing won’t fix it: plaster is bonded to the shell. If the shell moves, the plaster splits along the same line. The only proper repair is to stitch the shell with rebar and a structural gunite patch before any interior finish goes on.
What to demand in a contract: if a contractor is bidding a resurface on a pool with any crack wider than 1/16″, the contract must specify in writing how each crack will be treated — either “cosmetic fill within plaster” or “structural staple-and-patch prior to finish.” Anything less specific than that is how a contractor plans to skim over the real problem and bill you full price anyway.
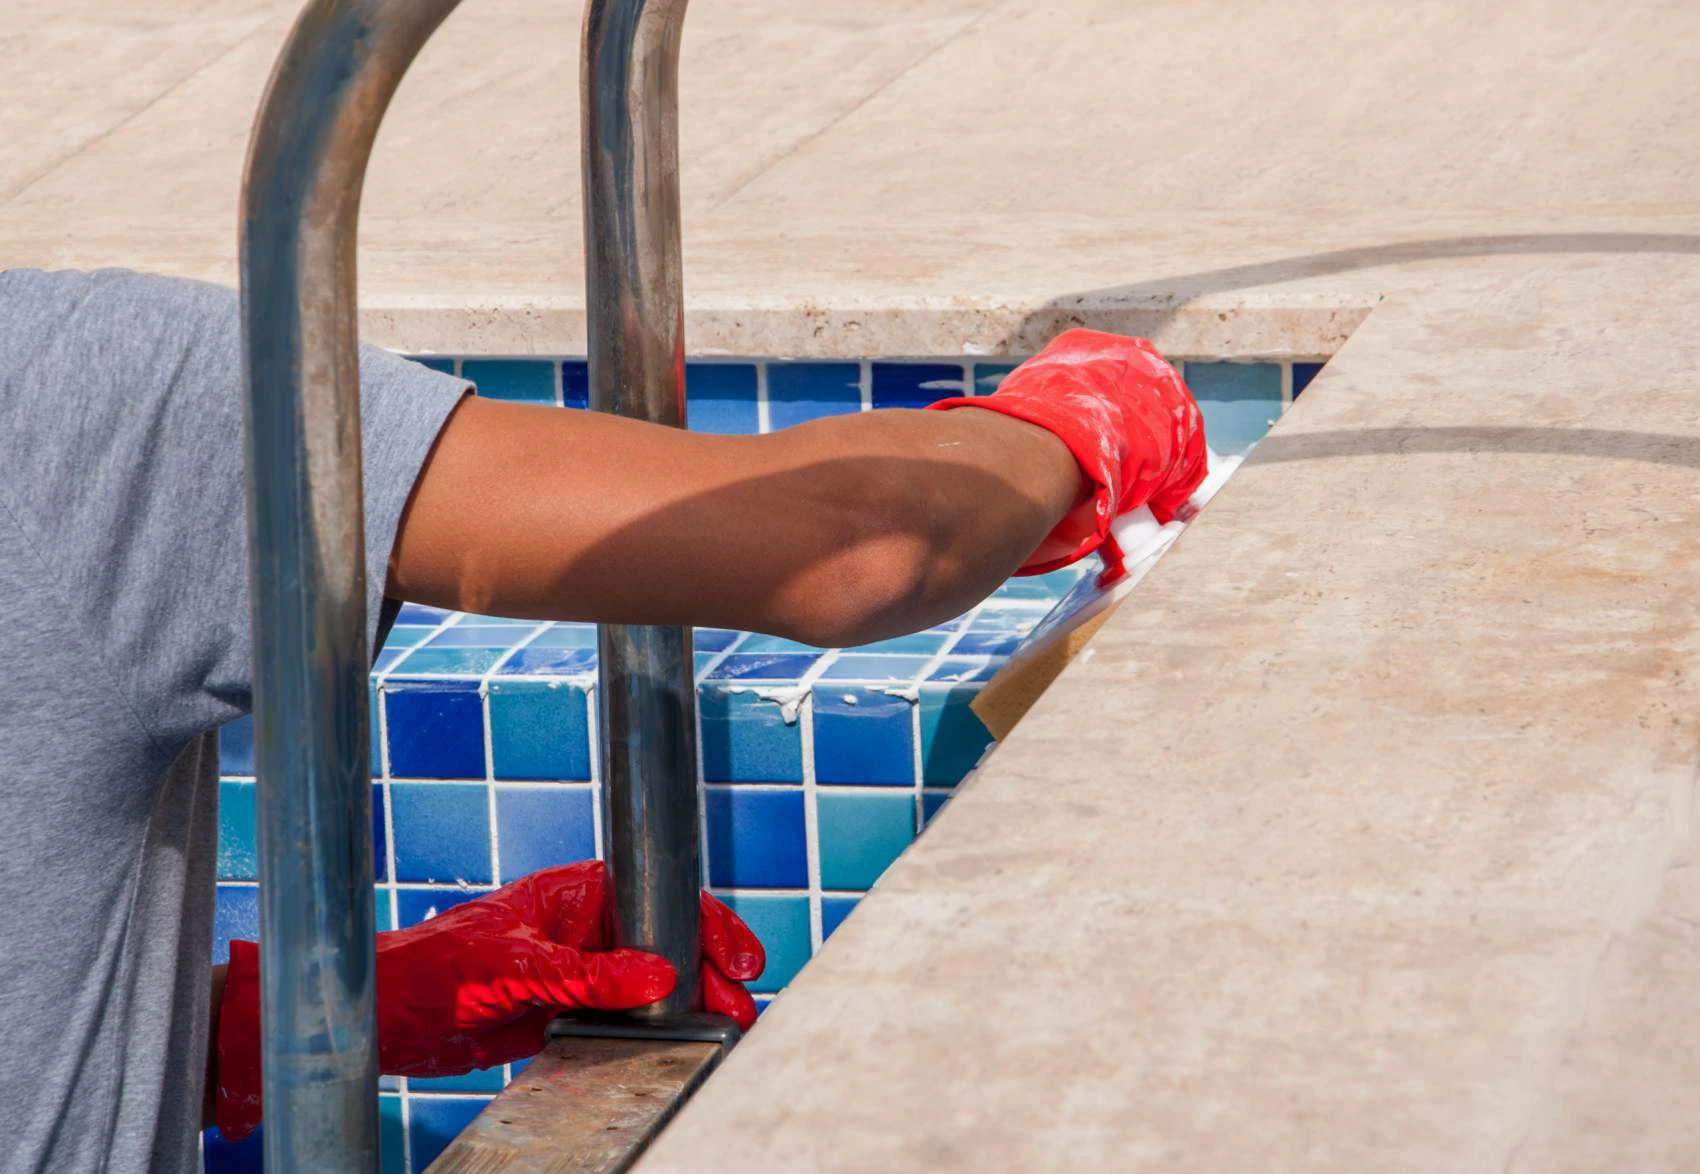
Sign 4 — The Waterline Tile Is Coming Off in Sections
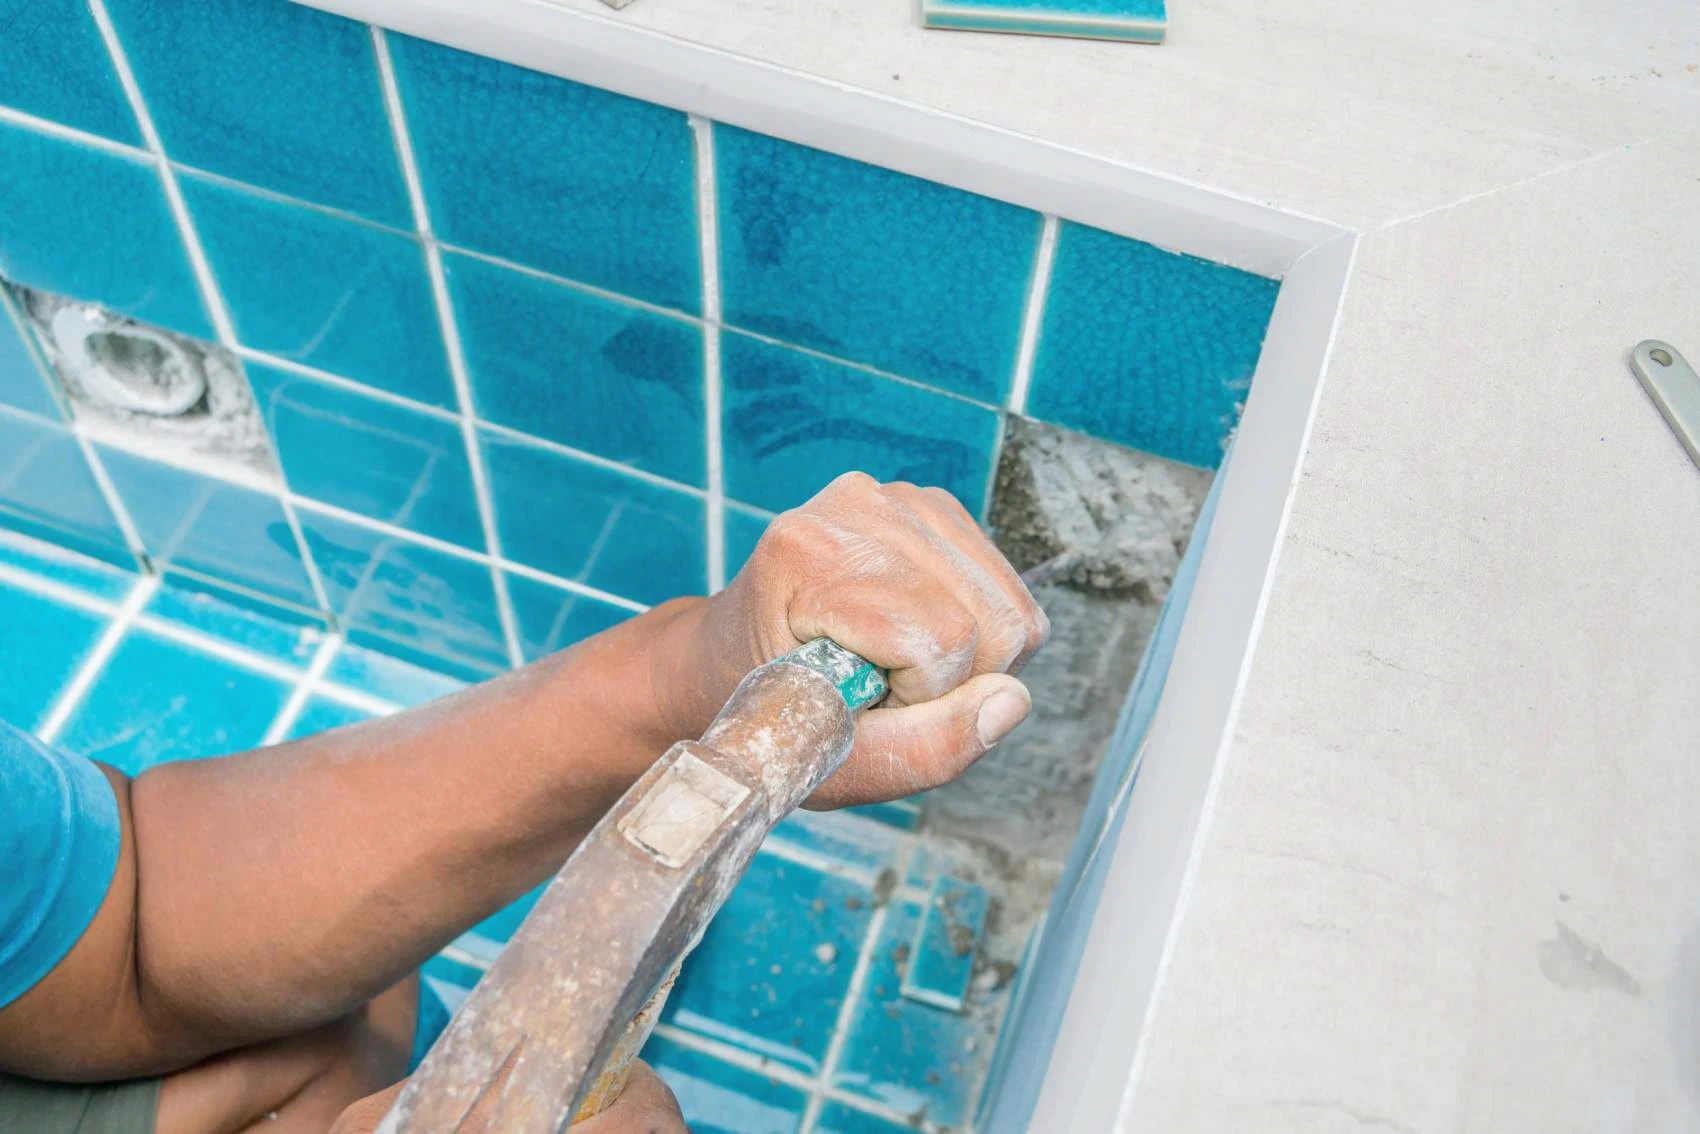
Individual tiles pop off here and there. You glue them back. Six months later, three more fall off two feet away. You glue those too. A year later you’ve got a waterline that looks like a patchwork quilt and you’ve realized you’re spot-repairing a systemic failure.
What it actually indicates: the thinset bond between tile and bond beam has broken down. Either water infiltration behind the tile from a failing expansion joint (see Sign 1) is freeze-thawing each winter and popping tiles outward, or the top 4–6 inches of the bond beam has deteriorated to the point it can’t hold a thinset bond anymore.
Clarkston’s freeze-thaw cycles are milder than northern pool markets but not zero. We see 8 to 14 freeze events per winter in DeKalb County — every one of those is a stress cycle on a compromised tile bond.
Why resurfacing won’t fix it: waterline tile is a separate material and a separate install step from plaster. A resurface bid replasters the interior and walks away; the tiles about to fall off next summer fall off anyway.
What the renovation actually looks like: full tile removal (30 to 80 linear feet on a typical Clarkston pool), bond beam inspection and patch if needed, new 6″x6″ or 3″x3″ tile in modified thinset, new grout, re-mastic at the coping-to-tile joint. Cost range: $2,400 to $6,800.
Sign 5 — Your Equipment Pad Is a Patchwork of Different Eras
Pump from 2008. Filter from 2015. Heater from 1997 that still “sort of works.” Chlorinator from three owners ago, bypassed with a floater because it stopped dosing correctly a decade ago. A salt cell with the light that’s been orange since you bought the house. If this describes your equipment pad, you don’t have a pool system — you have an archaeology exhibit.
What it actually indicates: equipment replaced reactively, one piece at a time, as each component failed. It works — sort of — until a resurface brings the interior up to a standard the equipment can’t support. New pebble gets scaled in 18 months from a pH-out-of-range chlorinator. New quartz reflects every stain from an undersized filter. New white plaster looks wrong with green-cast water from a failing salt cell.
Here’s the pricing reality most homeowners don’t know upfront:
- Pump replacement (variable-speed, 1.5–2.7 HP): $1,800 to $2,600 installed — includes new union fittings, electrical connection, and flow-rate programming
- Filter replacement (cartridge or DE, 400–525 sq ft): $800 to $1,400 installed
- Heater replacement (propane or natural gas, 300k–400k BTU): $3,200 to $5,400 installed including gas line inspection
- Salt cell + controller upgrade: $1,100 to $1,900 installed
- Automation controller (6-relay with app control): $1,400 to $2,400 installed
Stack those up and you’re at $8,000 to $13,000 for a comprehensive equipment pad overhaul — often the smart move on a pool already inside a renovation budget.
Why resurfacing won’t fix it: a fresh interior is only as good as the water chemistry, and the water chemistry is only as good as the equipment managing it. We’ve seen gorgeous new pebble scale out in two seasons because the owner kept the 18-year-old chlorinator on the pad.
Sign 6 — The Deck Is No Longer Pitched Away From the Pool
A pool deck is supposed to be pitched slightly away from the shell — 1/4 inch of fall per linear foot is standard — so rainwater drains outward, not back into the tile and coping seam. Walk your deck in flip-flops the next time it rains. If water runs toward the pool, or a dropped ball rolls that direction, your deck has reversed its original grade.
What it actually indicates: the deck has settled unevenly, almost always because the sub-base has compacted or washed out over time. DeKalb County soil is a clay-silt mix that holds water and compresses under sustained load. Twenty to thirty years of that, plus the occasional rain event washing fines out from under a poorly-drained slab, and the deck sits lower in some places than others.
Reverse pitch is not cosmetic. Every gallon running toward your pool is forcing water into the expansion joint, behind the tile, and down into the bond beam — accelerating every other failure in this list.
Why resurfacing won’t fix it: plaster lives inside the shell; deck grade lives outside. Resurfacing actually makes the problem worse in the short term — a fresh plaster job draws attention to the interior while the real failure is happening on the deck side, out of sight.
What the renovation actually looks like: partial or full deck replacement, re-engineered sub-base (graded, compacted, fabric-separated from the clay beneath), new concrete poured to 4 inches with wire reinforcement, and drainage — usually a linear drain at the far edge to collect runoff before it reaches the coping. Cost range: $7,800 to $22,000.
Sign 7 — Electrical Bonding Has Failed (and This One’s Serious)
This is the sign homeowners never think to check, and it’s the one that can actually hurt someone. Every pool built since 1965 is required to include an equipotential bonding system — a copper bond wire (typically #8 AWG) tied to the rebar grid in the shell, connected to every piece of metal within 5 feet of the water. The bond wire keeps all those surfaces at the same electrical potential so you can’t get a shock from touching two of them at once.
What indicates bonding failure: green corrosion on the bonding lug at the equipment pad. A galvanic voltage reading between the water and any metal object greater than 0.3 volts (pool pros check this with a multimeter during a renovation inspection). Tingling or shock sensations reported when touching a ladder or handrail. Stainless hardware pitting abnormally. Any one of those is a warning; combined, they’re a renovation trigger.
Why it happens: copper bond wire buried in clay corrodes. The lug where the wire attaches oxidizes — that’s the green. Once resistance in the bond loop climbs above a few ohms, the equipotential system is no longer equipotential, and stray voltage can build on metal surfaces with nowhere to equalize. This problem is dramatically more common on pools built before the 1990s, and nearly universal on original-equipment pools that haven’t been renovated.
Why resurfacing won’t fix it: bond wire is buried in the deck and tied to rebar inside the shell. A resurface contractor doesn’t open either — they’ll note the green lug, if they look at all, and keep going. A full renovation includes a licensed electrician pulling readings and re-bonding every metal element to current NEC §680.
What the renovation actually looks like: electrical inspection by a pool-specialist electrician ($250–$400 for the eval), bond wire replacement across accessible runs, new lugs on bonded equipment, often a panel update to include a GFCI breaker if the original circuit predates it. While the deck is open, this is also the moment to retrofit VGB-compliant drain covers — older Clarkston pools still have flat drain covers that don’t meet the 2008 Virginia Graeme Baker Act. Cost range for bonding + VGB retrofit: $1,800 to $4,600.
What It Adds Up To — The Honest Renovation Framework
Count how many of the seven signs apply to your pool. Plaster itself, in DeKalb County water (which runs slightly harder than Gwinnett’s and erodes standard plaster faster), has a working lifespan of 8 to 12 years before it’s genuinely at end of life. If your pool is under 12 years old and none of the seven signs apply, a resurface is the right call and $6,000–$9,000 is money well spent.
If one or two signs apply — say, plaster at year 10 and one isolated coping separation — a resurface combined with targeted spot repairs is reasonable. Budget $11,000 to $16,000 for a clean 8-to-10-year reset.
If three or more signs apply, you are not a resurface candidate. You are a renovation candidate, and the contractor selling you a $7,500 plaster job is either not looking carefully or is hoping you’ll be out of warranty before the real failures catch up. The honest range for a full renovation on a Clarkston pool in the 35-to-50-year bracket lands between $14,000 for a light rehab and $48,000 for a comprehensive overhaul.
That’s a big range, and a big decision. Vague pricing is how bad renovations happen — a homeowner thinks they’re buying a $7,500 resurface and three years later realizes they paid for cosmetics on a structurally compromised pool. Clear diagnostic up front, clear scope in the contract, clear price for the actual work. That’s how renovations should be bought.
Pool renovations across 20+ cities within 30 miles of Snellville, GA
We evaluate every Clarkston pool against the same 7-sign diagnostic before we write a scope — so you know whether you’re buying a resurface, a targeted rehab, or a full renovation, and you know why.