
The call usually comes the first week of February. A Foxcreek homeowner walks past the pool cover on a 28-degree morning, notices the tile line is suddenly two inches lower than it was at Thanksgiving, and assumes the cover absorbed it. It didn’t. Dawsonville pools at 1,270 feet of elevation behave differently in winter than pools 30 miles south, and the leak you’re chasing is almost never where a summer leak would be.
Summer leaks are a numbers problem. Evaporation, splash-out, backwash, and maybe a slow skimmer weep. Winter leaks in north Georgia are a geometry problem. Water freezes, expands 9 percent by volume, and finds every stress riser in your shell, your plumbing penetrations, and your bond beam. The pool you built three years ago on saprolite bedrock in Etowah River Club is now a structure under 30-plus freeze-thaw cycles per winter, and the failure mode is predictable if you know what to check and in what order.
This post walks the diagnostic in the exact sequence a Primetime Pools repair tech runs it on a Dawsonville service call: bucket test first, then skimmer dye, then pressure test on the return and suction lines, then main drain isolation, and finally a shell crack map with a chalk line and a flashlight. Every step eliminates a suspect. By the end you should know whether you’re calling a plumber, a plaster crew, or nobody at all.
How Dawsonville’s 30 Freeze Events a Year Break Pools Differently
Most Atlanta-metro service techs are trained on Piedmont behavior. Dawsonville isn’t Piedmont. You’re sitting on the southern edge of the Blue Ridge foothills, on the Zone 7b/8a USDA border, with roughly 30 freeze events a year. Thirty miles south in Snellville the number drops to around 20. That 50 percent increase in freeze cycles is the single variable that explains almost every winter leak we diagnose up here.
Each freeze event is a micro-event of expansion at every water-bearing interface. The waterline tile joint, the skimmer throat, the return eyeball fittings, the main drain plumbing stub, the bond beam between coping and shell — all of it moves. Concrete and ceramic tile have different coefficients of thermal expansion than the PVC plumbing running through them. Over 30 cycles, the joint between those materials fatigues. By February it cracks. By March you’re measuring two inches a week at the skimmer weir and blaming evaporation.
Compounding the problem in Dawsonville: the typical residential excavation up here hits weathered granite or saprolite at 2 to 6 feet deep. That’s unusual in metro Atlanta. The pool shell is sitting on — or in some cases partially cantilevered over — a rock-clay interface that moves differently when the ground freezes. Clay compresses. Saprolite doesn’t. The differential movement stresses the shell at exactly the locations where plumbing penetrates: skimmer, main drain, returns. Those are the first places we check.
Freeze math: Water expands 9% when it freezes. A 1-inch diameter PVC return line holding approximately 0.34 cubic inches of water per linear inch generates enough force at freeze to split a fitting if the pipe didn’t drain properly in late November. Thirty cycles per winter multiplies the odds.
Step One: The Bucket Test — The Only Test Worth Running First
Before anyone at Primetime opens a skimmer or touches a return, we run the bucket test. It’s the cheapest, slowest, and most diagnostic step in the entire process, and 30 percent of the service calls we take end here with the homeowner realizing the pool wasn’t leaking — it was just losing water to evaporation faster than they expected in dry mountain air.
The method: fill a 5-gallon bucket with pool water, set it on the second step of the pool with the bucket rim above the waterline, and mark the inside water level and the pool water level with a grease pencil. Leave the pump on its normal winter schedule. Come back in 48 hours. If the pool dropped more than the bucket by a quarter inch or more, you have a real leak. If they dropped evenly, it’s evaporation.
Dawsonville-specific wrinkle: winter humidity averages 58 percent up here, versus around 65 percent in the Gwinnett bowl. Lower humidity means more evaporation, even in cold months, especially on the clear high-pressure days that follow a front. A pool at Mountain Laurel with a mesh cover can lose a half inch in a single sunny January weekend to pure evaporation. Without the bucket test as a baseline, that homeowner is now chasing a ghost.
Step Two: The Skimmer Dye Test and Why Cold Skimmers Fail First
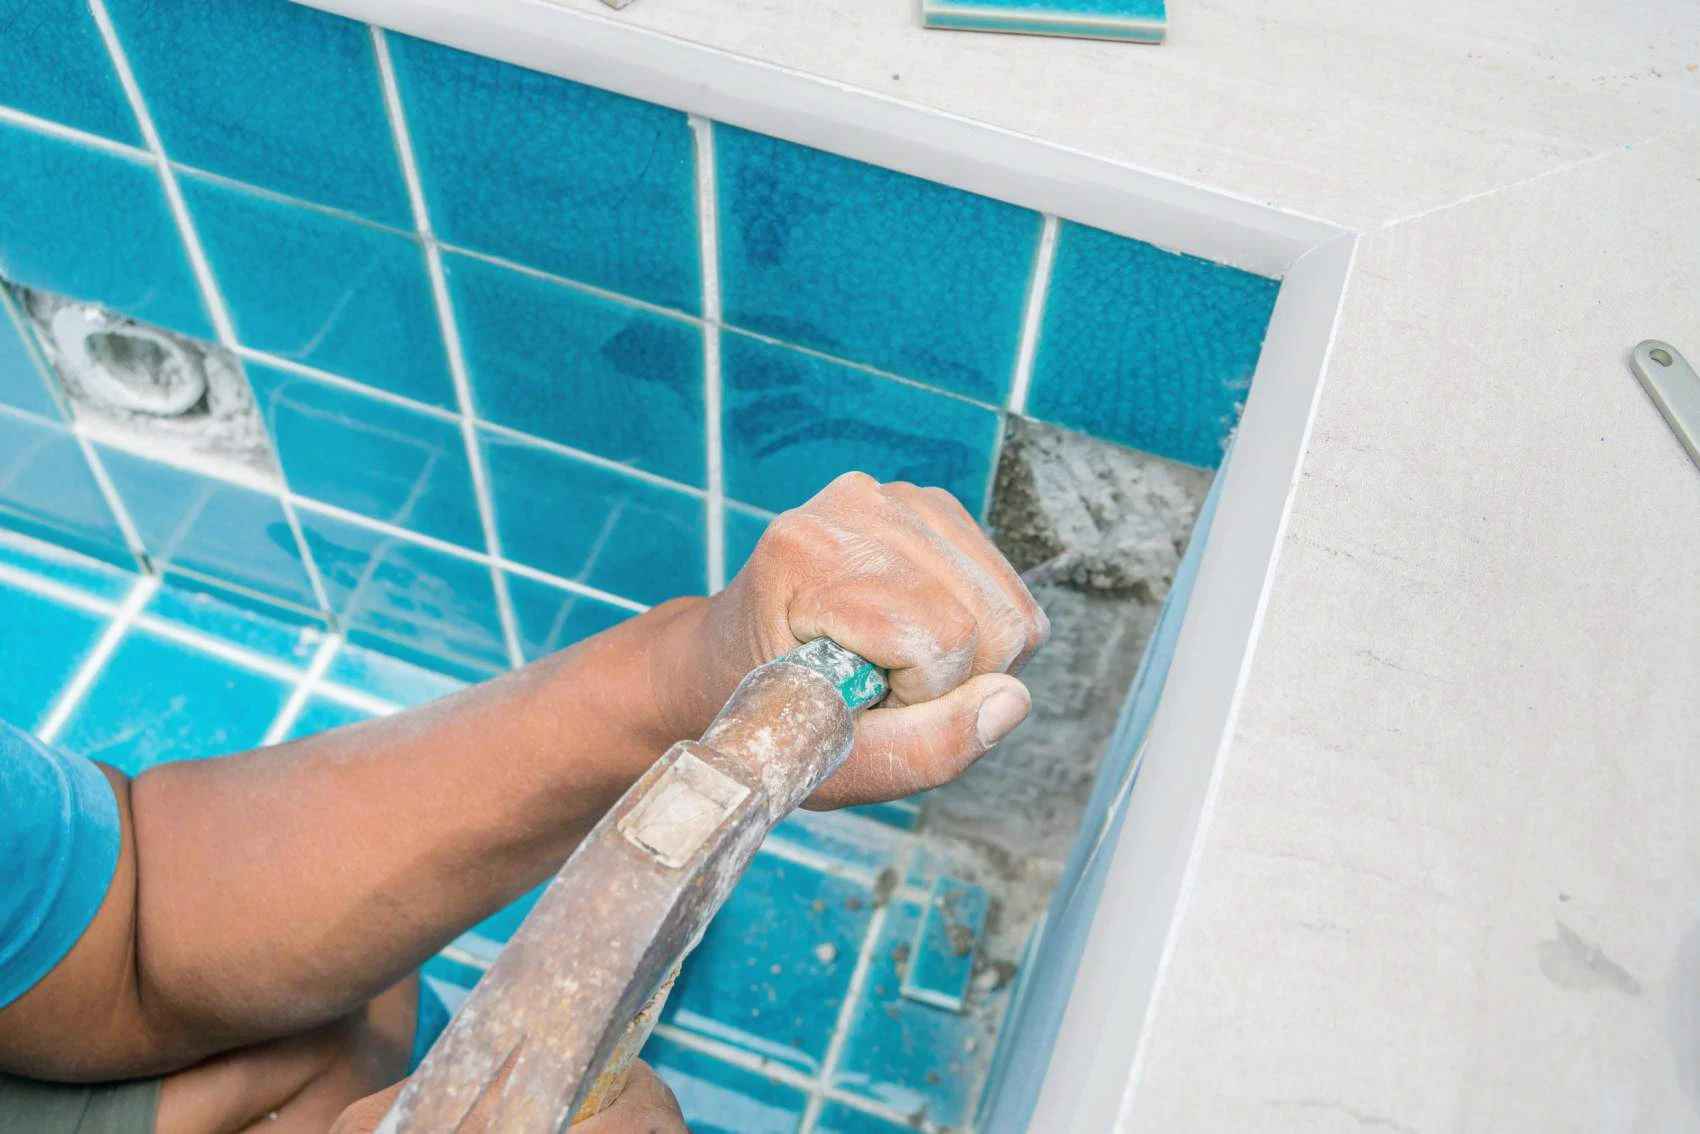
If the bucket test confirms a real leak, the skimmer throat is suspect number one in Dawsonville in February. Here’s why: the skimmer faceplate is caulked to the pool shell with a polyurethane sealant. That caulk cures flexible at 70 degrees. At 28 degrees it’s rigid. When water in the skimmer basin freezes and expands, the caulk can’t flex, and it lets go at the faceplate gasket or at the throat seam below the tile line.
The dye test is fast. Turn the pump off. Wait 10 minutes for the water in the skimmer to still. Squirt pool-grade leak dye (we use Anderson AquaCheck) at the seam between the skimmer faceplate and the pool wall, and at the throat just below the waterline tile. If the dye pulls into the crack in a visible plume, you have a skimmer leak. A bad skimmer throat can dump 2 inches in 5 days on a 20,000-gallon pool — which is almost exactly the symptom report we get from Dawsonville callers.
There’s a sub-category of this failure we see almost exclusively at higher elevation. The skimmer weir door — the floating flap inside the throat — can jam open in a hard freeze when ice forms around its hinge pin. With the weir stuck open, water keeps flowing to the skimmer even when the pump is off. If the skimmer body has any micro-crack, you now have a continuous leak path instead of an intermittent one. Close the weir manually before running the dye test.
What it costs to be wrong: A full skimmer replacement on an existing gunite shell runs $1,200 to $2,400 depending on coping disturbance. A throat patch with hydraulic cement and a new faceplate gasket runs $280 to $450. Correct dye diagnosis determines which invoice you get.
Step Three: Pressure Testing Return and Suction Lines in Rock-Adjacent Plumbing
If the skimmer’s clean, the plumbing is next. In Dawsonville this step gets more interesting than it does in Dacula, because your plumbing is probably buried in a trench that was backfilled against weathered granite or saprolite instead of clay. Rock-adjacent plumbing moves. Clay-adjacent plumbing settles. The failure mode we see most in Riverbend and Kensington Ridge is a hairline crack in a 2-inch suction line at the first 90-degree fitting past the skimmer, where the pipe transitions from the pool wall into the trench against rock.
The test is a low-pressure air or water pressure test using a set of Drain King or Anderson test plugs. Cap the return side at the pool wall fitting. Cap the other end at the equipment pad. Introduce water or air through the test port and watch the gauge. We pressure to 15 PSI and watch the needle for 15 minutes. If it drops, the line leaks. Then the harder question: where on the line?
For a surface trace on a suspected line, we use a helium tracer or an electronic listening wand working along the pipe run. In Dawsonville neighborhoods like Chestatee, where lots are a half acre or larger and pipe runs can exceed 120 linear feet between pad and pool, narrowing the leak to a 6-foot section matters. Digging the whole trench is a $3,000 job. Digging a 6-foot patch is a $600 job.
Step Four: Isolating the Main Drain (and Why Dawsonville’s Get Frozen First)
The main drain is the hardest line to test and the most common culprit on vinyl liner pools in this market. On a gunite pool in Applewood we see main drain failures less often, but they still happen, and the diagnostic is the same.
The main drain sits at the deep end, typically 6 to 8 feet below the pool deck. On a Dawsonville property with rolling grade, the main drain plumbing often runs up to the equipment pad through a vertical rise of 8 to 12 feet before it can slope down to the pump. If that pipe wasn’t properly winterized with an air lock and a Gizzmo plug, water in the vertical run can freeze and either split the pipe or blow out the rubber gasket between the main drain cover and the hydrostatic valve below it.
To isolate, we install a Cherne pneumatic plug at the main drain fitting from the pool side. That plug seals the drain from the water column. If the pool stops losing water once the plug is set, the main drain or its plumbing is the source. If the pool keeps losing at the same rate, main drain is innocent and you move on to the shell.
Step Five: Mapping Shell Cracks and Bond-Beam Separations
If the bucket test said leak, the skimmer is dry, the plumbing holds pressure, and the main drain is isolated — the shell is next. And in Dawsonville specifically, the shell itself is usually not the problem. The bond beam is.
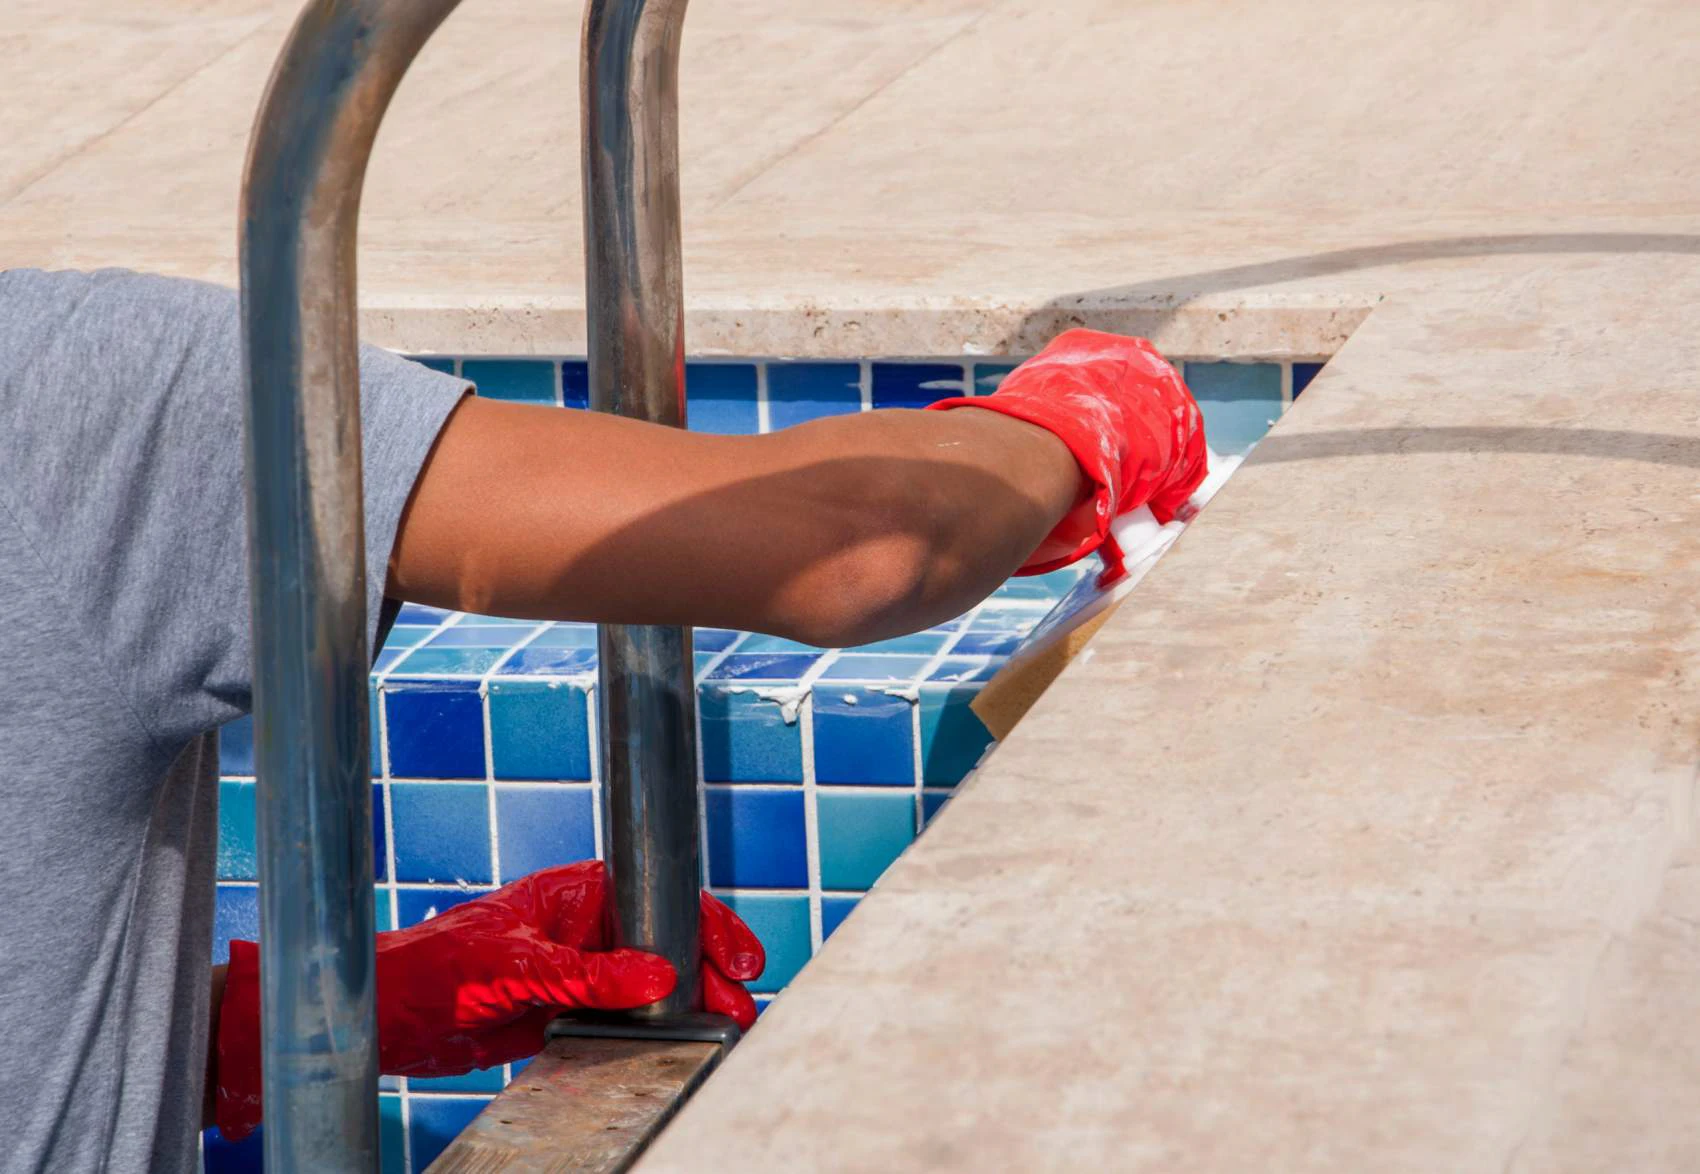
The bond beam is the top 8 to 12 inches of the gunite shell where the coping sets. It’s the most freeze-exposed section of concrete on the entire pool. It’s also where your waterline tile is bonded, where the skimmer faceplate seals, and where the coping mortar bed sits. Every winter, the bond beam flexes a little as the water in the pool surface freezes at 28 degrees and thaws at 45. Thirty cycles of this over three to five years and the bond beam develops what we call a hairline horizontal crack — sometimes visible, sometimes not, but always bleeding water behind the tile.
The map is done with the pool at normal water level, a strong flashlight, and a bottle of AquaCheck dye. We work the perimeter one foot at a time, squeezing dye at the tile-to-coping seam and watching for dye pull. On a bad bond beam, you’ll see continuous dye draw across a 4- to 8-foot section. That’s a tile-and-bond-beam repair job: chip back the coping bed, expose the bond beam, re-pour a cement patch with bonding agent, re-set the tile and coping. A full bond beam rehab on a 400-square-foot pool runs $4,800 to $7,500 depending on how much coping comes off.
Step Six: The Dawsonville-Specific Checks Nobody Down the Hill Runs
Four checks specific to north Georgia mountain-adjacent pools that a standard metro-Atlanta service tech will skip:
1. Rock-blast backfill settlement. If your pool was excavated with rock blasting — and if yours is in Big Canoe’s southern edge or on the higher-elevation lots near Amicalola Falls Road, it probably was — the backfill around your shell is a mixture of native rock spoil and imported fill. That backfill settles differently in freeze-thaw than pure clay backfill. Look for hairline cracks on the deck radiating from the pool edge; they’re a signal the shell has shifted slightly and the plumbing joints behind the tile may have pulled.
2. Auto-fill line freeze. Most Dawsonville pools have a deck-mounted auto-fill box plumbed from the house hose bib. Those boxes sit 8 inches below the deck surface and the supply line is often only 12 to 18 inches below finished grade. At Dawsonville’s elevation, frost penetration regularly exceeds 16 inches in a hard cold snap. If the supply line freezes and cracks, the box fills the pool continuously — masking a leak elsewhere. We pressure-test the auto-fill as a standalone system.
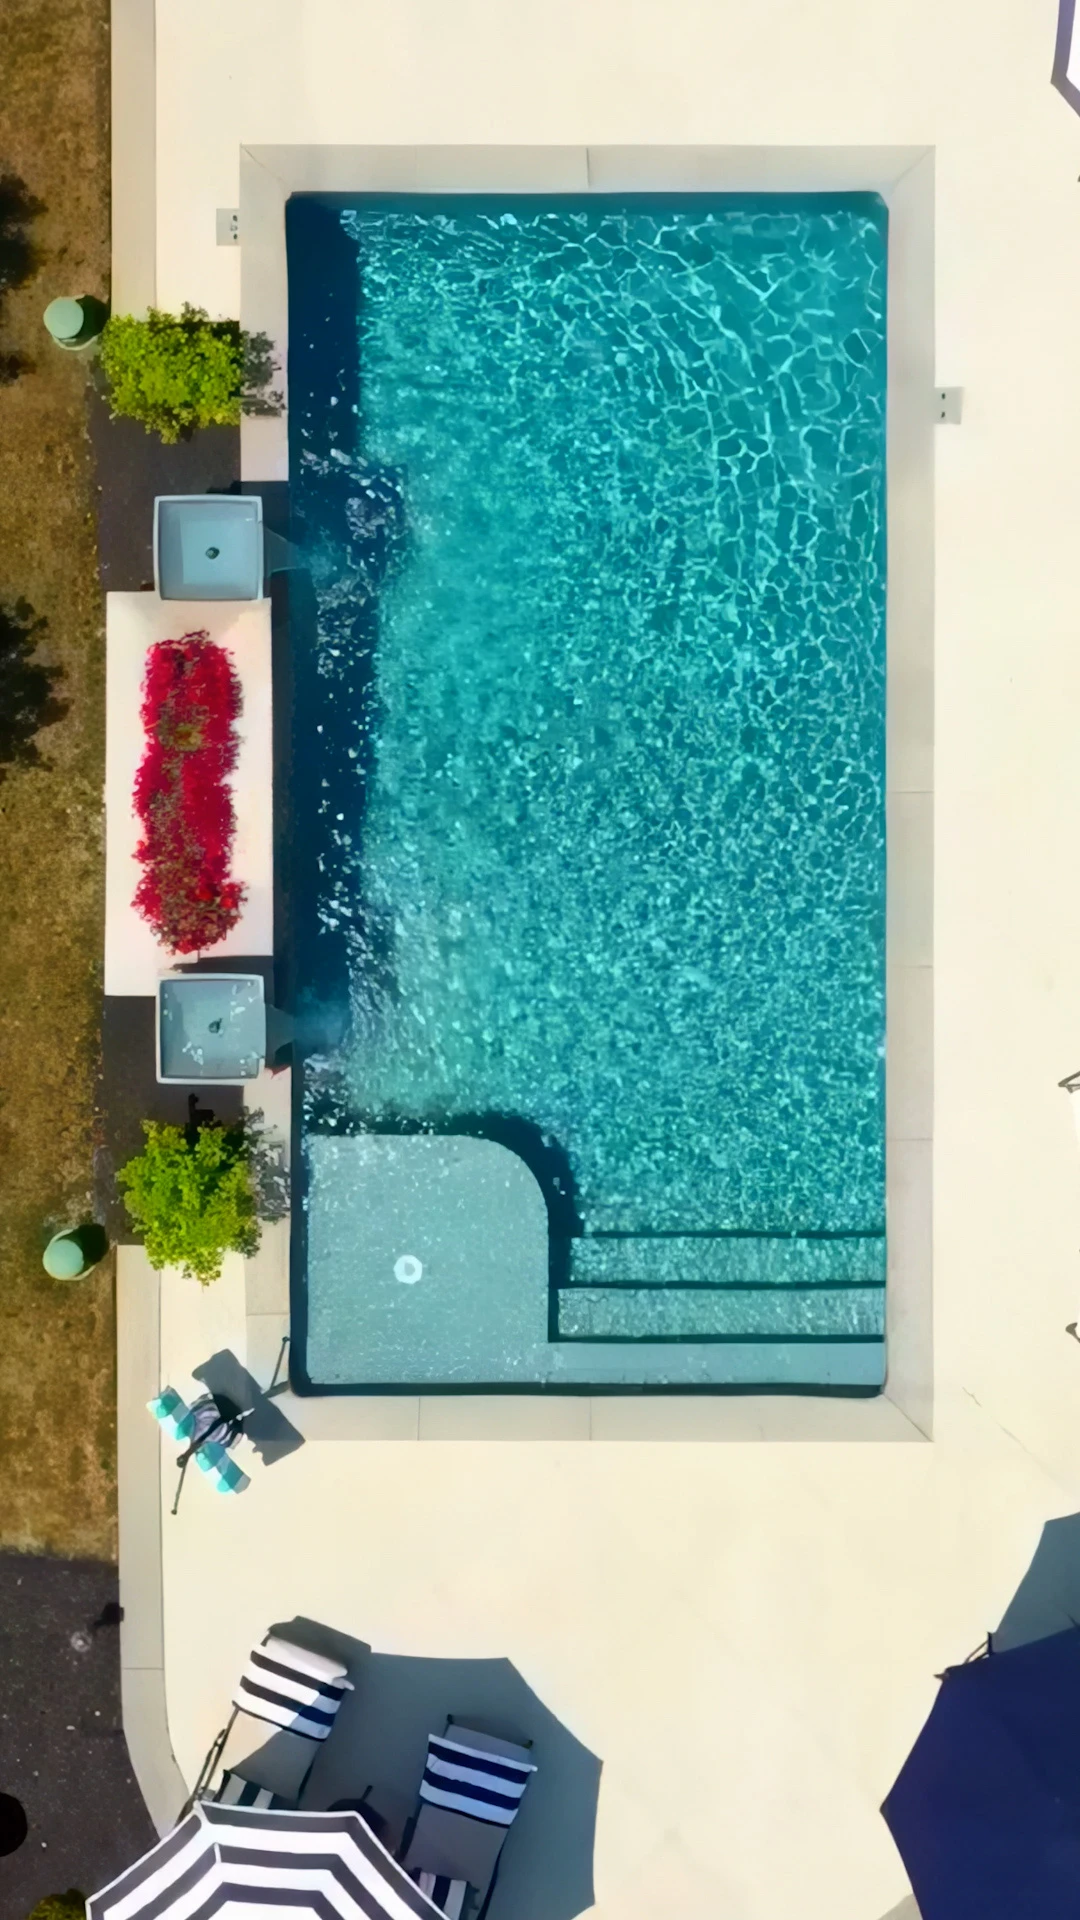
3. Scupper and water-feature dormant leaks. The scupper caps on the column piers visible in the aerial above — and any dormant water feature on your pool — are plumbed with their own 3/4-inch or 1-inch feed line tapped off the pool return manifold. That feed line has a check valve to keep water from backflowing in winter. The check valve is a failure point. We isolate and pressure-test each dormant feature line separately.
4. Amicalola EMC power-drop freeze-outs. Dawsonville is served by Amicalola EMC, not Georgia Power. Overhead power drops in rural EMC territory go down more often than buried urban service. When power is out for 36+ hours in sub-freezing weather and a homeowner doesn’t know to manually drain the pump and filter, the circulation stops, the plumbing freezes, and you get a system-wide cascade of cracked fittings. We always ask callers about outage history when we get a leak report after a cold snap.
What the Sequence Saves You
Running the diagnostic in this exact order — bucket, skimmer, pressure test, main drain, shell — is the difference between a $450 throat patch and a $4,800 bond-beam rehab, or between a $600 line-patch dig and a $3,000 full-trench replacement. It’s also the difference between paying for a second opinion and fixing the right thing on the first truck roll.
If you’re losing water and you’ve walked through the six steps above and you’re still not sure what you’re seeing, that’s the point to call. We do freeze-leak diagnostics year-round in Dawsonville and across the Dawson County service area, and we run this exact sequence on every call.
Freeze-leak diagnostics and pool repairs across 20+ cities within 30 miles of Snellville, GA
From Dawson County to the Gwinnett line, we run the same six-step winter leak diagnostic on every service call — so you know what you’re paying for before the first shovel hits the deck.