
A residential trade permit in Gwinnett County usually clears in 10 to 14 days. In DeKalb County, where every Clarkston homeowner pulls permits, plan on 3 to 4 weeks. That one number, more than the grill, the countertop, or the stone, decides when your outdoor kitchen gets built, because nothing gets poured until the gas, water, and power lines under it have been inspected.
Most outdoor kitchen conversations start at the appliance catalog. The good ones start at the gas meter, the electrical panel, and the hose bib, then work outward across the yard to the spot where the island will sit. The distance between those three points and that spot is the real budget. The depth each line has to be buried is the real schedule. And the inspector who has to see the open trench before it gets backfilled is the real project manager, whether anyone admits it or not.
Clarkston makes this harder than it looks on paper. The housing stock here is mostly 1960s to 1980s ranches and split-levels in neighborhoods like Lake Capri, Idlewood, and Brockett, many with panels, gas service, and plumbing that were sized for a house with no backyard ambitions at all. Lots near the Stone Mountain pluton hit decomposed granite a few feet down. Backyards that drop toward Pole Bridge Creek or South Fork Peachtree Creek add grade changes of 4 to 10 feet between the house and the patio. None of that shows up in a showroom rendering. All of it shows up in the trench.
What follows is the build order we actually use for utility runs to an outdoor kitchen in Clarkston, step by step, with the code sections, the permit counter, and the dollar figures that matter at each one.
Step 1: Pull the Right DeKalb Permits Before Anything Else
Start with jurisdiction, because it trips people up. Clarkston is an incorporated city, but residential building and trade permits for this kind of work run through DeKalb County Planning & Sustainability at 178 Sams St. in Decatur, not through Clarkston City Hall.
An outdoor kitchen with real utilities is not one permit. It is usually a stack of them, and each one is pulled by the Georgia-licensed contractor responsible for that trade:
- Building permit for any roofed structure over the kitchen, such as a pavilion or a solid-roof pergola, plus any masonry island large enough to trigger structural review.
- Electrical permit for new circuits, a subpanel, underground wiring, and lighting. Pulled by a state-licensed electrical contractor.
- Plumbing permit for the water supply to a sink and for the drain line leaving it.
- Gas permit for new fuel piping from the meter or an existing manifold to the grill, side burner, or pizza oven. In Georgia, gas piping is installed under a plumbing or conditioned-air license, and the permit follows the license.
Each permit carries its own inspections, and each inspection goes on the county’s calendar, not yours. That is why the 3-to-4-week figure matters. It is the gap before the first shovel can legally break ground.
Two more items belong in Step 1. First, call Georgia 811 and file a locate request before any digging, then wait for the utility marks to appear in the yard. Georgia law requires it, and it is free. Second, confirm the setbacks. A pavilion is a structure, and DeKalb zoning applies setbacks from property lines and from any stream buffer. Lots that back onto the creek corridors or DeKalb greenway land need that checked before the kitchen footprint is final, not after.
Permit reality check: DeKalb trade permits typically run 3 to 4 weeks from submittal to issuance, versus 10 to 14 days in Gwinnett. Build that gap into the contract schedule on day one. A contractor who promises a start date before the permits are in hand is guessing.
Step 2: Size the Gas Load and Price the Run From the Meter
Gas is the line that surprises people most, both in cost and in capacity. Natural gas in DeKalb County is delivered through Atlanta Gas Light pipes regardless of which marketer sends the bill, and your meter was sized for the appliances the house had when it was built. Add an outdoor kitchen and the math changes quickly.
Start by adding up the BTUs. A built-in 4-burner grill typically draws somewhere around 60,000 to 90,000 BTU per hour. A side burner adds 15,000 to 25,000. A flat-top griddle adds another 30,000 to 60,000. If a pool heater is already on the line, that one appliance can pull 250,000 to 400,000 BTU on its own. A 1970s Lake Capri ranch with a gas furnace, a gas water heater, and an original pool heater may already be close to what its meter and service pipe can deliver. Put a full kitchen on top of that and the grill starves when the heater fires.
That is why gas sizing happens before design is finished, not after. The plumber or gas contractor runs a load calculation using pipe length and total connected load, following the sizing tables in the fuel gas code. If the total exceeds what the meter can deliver, the answer is a meter upgrade request through the utility, which adds its own lead time to the schedule.
Then comes the run itself. Underground gas piping to an outdoor kitchen is typically yellow polyethylene pipe, and the code sets the rules plainly: buried at least 12 inches below grade, with an insulated tracer wire laid alongside it so the line can be found later, and a transition to metal pipe before it rises above ground. Above-grade sections get protected from physical damage and from the weather.
On price, trenched gas runs in the Clarkston area generally land in the $20 to $40 per linear foot range once you include trenching, pipe, tracer wire, fittings, the pressure test, and backfill. A 60-foot run from a meter on the side of the house to an island near the back of the patio often totals $2,000 to $3,500 before appliance connections. Longer runs, runs that cross existing concrete, and runs that hit decomposed granite near the Stone Mountain side of town all push that number up. If the meter needs upsizing, budget separately for that.
Step 3: Plan the Electrical: GFCI, Wet-Location, and Burial Depth
Electrical is where the code is most specific, and where older Clarkston panels create the most trouble. Before any wire gets pulled, someone has to open the panel and count. Plenty of original 1960s and 1970s homes in Toney Valley and along the Sycamore Drive corridor still run on 100-amp service with no spare breaker spaces. An outdoor kitchen with a refrigerator, lighting, outlets, and possibly a warming drawer or ice maker needs dedicated capacity, and sometimes that means a service upgrade coordinated with Georgia Power before the kitchen circuit can go in.
The rules that govern the kitchen itself are straightforward once you know where to look:
- GFCI protection. NEC 210.8(A) requires ground-fault protection for outdoor receptacles at dwellings. Every outlet at an outdoor kitchen gets it, whether through a GFCI breaker at the panel or a GFCI device at the first outlet.
- Wet-location covers. NEC 406.9(B) requires outdoor receptacles in wet locations to use weatherproof covers that stay closed with a plug inserted, the “in-use” or bubble-style covers, with the receptacles themselves listed as weather-resistant.
- Dedicated circuits. Refrigerators, ice makers, and anything with a compressor should be on their own circuit. A refrigerator drawer sharing a circuit with a blender will trip on a hot July afternoon.
- Burial depth. NEC Table 300.5 sets minimum cover by wiring method. Direct-burial cable needs 24 inches of cover. PVC conduit needs 18 inches. A residential 120-volt, 20-amp or smaller branch circuit with GFCI protection can go as shallow as 12 inches.
In practice, we run conduit rather than direct-burial cable. It protects the wire from roots and shovels, lets you pull new conductors later without digging again, and gives the inspector an easy look. Many builds share one trench between gas and electrical, but the separation rules and depths have to be satisfied for both, and the inspectors have to see both before it closes.
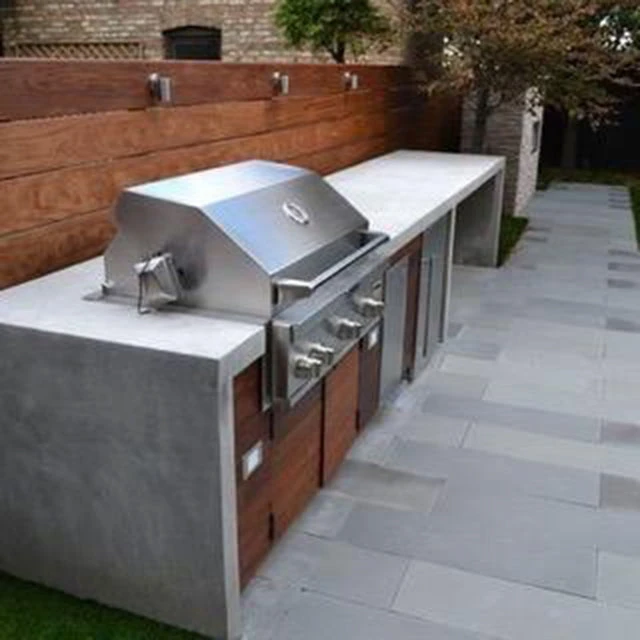
On cost, a dedicated 20-amp circuit run underground to a nearby island commonly lands between $1,200 and $2,500 in the Clarkston area. A subpanel at the kitchen, which makes sense when you have several loads plus lighting, typically adds $1,800 to $3,500 depending on distance and amperage. A full service upgrade is its own line item, and on older homes it is worth pricing before you choose appliances, not after.
Step 4: Bring Water In and Get It Out Without Freezing
Water is the utility homeowners most often skip, then most often regret skipping. A sink at the kitchen means you are not walking raw chicken through the house. But a sink means two lines, supply and drain, and the drain is the one that gets complicated.
Supply is the easier half. Most Clarkston builds tee off an existing cold-water line near an exterior wall and run it underground in PEX or another approved material to the island. Hot water can come from a point-of-use heater under the counter or a longer run from the house. The real design constraint is winter. Clarkston sees 8 to 14 freeze events a year, milder than the north-Atlanta suburbs but far from zero. Supply lines need enough cover to stay below the frost zone, and every exposed section at the island needs a way to drain down for winter. That means a shutoff and drain valve inside the house, or an accessible drain point at the island, and an owner who actually uses it every November.
Drainage is where code and common practice drift apart. The plumbing code expects fixture waste to go into an approved drainage system. Plenty of outdoor kitchens across metro Atlanta drain their sink into a gravel dry well instead. That shortcut is common, and whether it passes depends on the fixture, the inspector, and what else is going down the drain. A food-prep sink that carries grease and food waste is a different case from a bar sink that rinses glasses. On Clarkston lots, the soil adds another problem: dense clay does not absorb water well, so a dry well that works in sandy ground can sit full for days here.
The cleaner answer, when grade allows, is to run the drain back to the house’s sanitary sewer, which in Clarkston means DeKalb County Water & Sewer infrastructure. That requires slope, generally 1/4 inch per foot for smaller drain lines, and on a lot where the patio sits below the house, gravity will not cooperate. Then you are looking at a small drain pump, relocating the island, or dropping the sink. Those are design decisions, and they belong in Step 4, before a single paver is ordered.
Budget anchor for water: A cold-water supply plus a gravity drain to the house sewer on a straightforward lot generally runs $1,500 to $3,000. Add a point-of-use water heater, a drain pump, or a long run across a sloped yard and it climbs quickly. Settle the drain route in writing before the design is final.
Step 5: Build to the Trench Schedule, Not the Countertop Schedule
This is the step that separates a smooth build from a four-month headache. Everything the homeowner cares about, including the island, the countertop, the pavilion, and the patio, sits on top of everything the inspectors care about. So the build order runs from the bottom up, and the inspection calendar sets the pace.
Here is the sequence we follow on Clarkston outdoor kitchen builds:
- Permits issued. Nothing starts before this. In DeKalb, that is the 3-to-4-week window from Step 1.
- Utility marks confirmed. Georgia 811 marks in place, private lines located, and the trench path walked with the crew.
- Trenching. Gas, electrical conduit, water supply, and drain lines laid at their required depths. On lots near the Stone Mountain pluton, decomposed granite can show up at 4 to 8 feet, but shallow rock pockets appear on some lots too, and they slow the trencher down.
- Rough-in inspections, open trench. The gas line gets pressure-tested with a gauge the inspector can read. Conduit depth gets measured. Plumbing gets checked for material and slope. The trench stays open until every trade passes.
- Backfill and compaction. Only after sign-off. Backfill gets compacted in lifts so the patio above does not settle along the trench line two winters from now.
- Footings, base, and island shell. Utility stub-ups have to land exactly where the cabinets and appliance cutouts will be. We mark them against the shop drawings before the block goes up.
- Hardscape and countertop. Pavers, stone veneer, and countertops go on last, once everything beneath them is permanent.
- Final connections and final inspections. Appliances hooked up, circuits energized, gas turned on, and each trade closed out.
The logic is simple once you see it. If a homeowner pushes to set the countertop before the gas inspection, and the inspector then asks to see a section of pipe that is now under a finished island, someone is cutting stone. If the patio gets poured before the electrical conduit is inspected, someone is saw-cutting concrete. Every shortcut in this sequence turns into demolition later.
The gas contractor, the electrician, and the plumber each request their own inspections, and DeKalb inspectors rarely arrive on the same day. A good general contractor stacks those requests so the trench is open for as short a time as possible. An open trench on Clarkston clay during a week of thunderstorms is not a trench anymore. It is a drainage ditch, and its walls start sliding in.
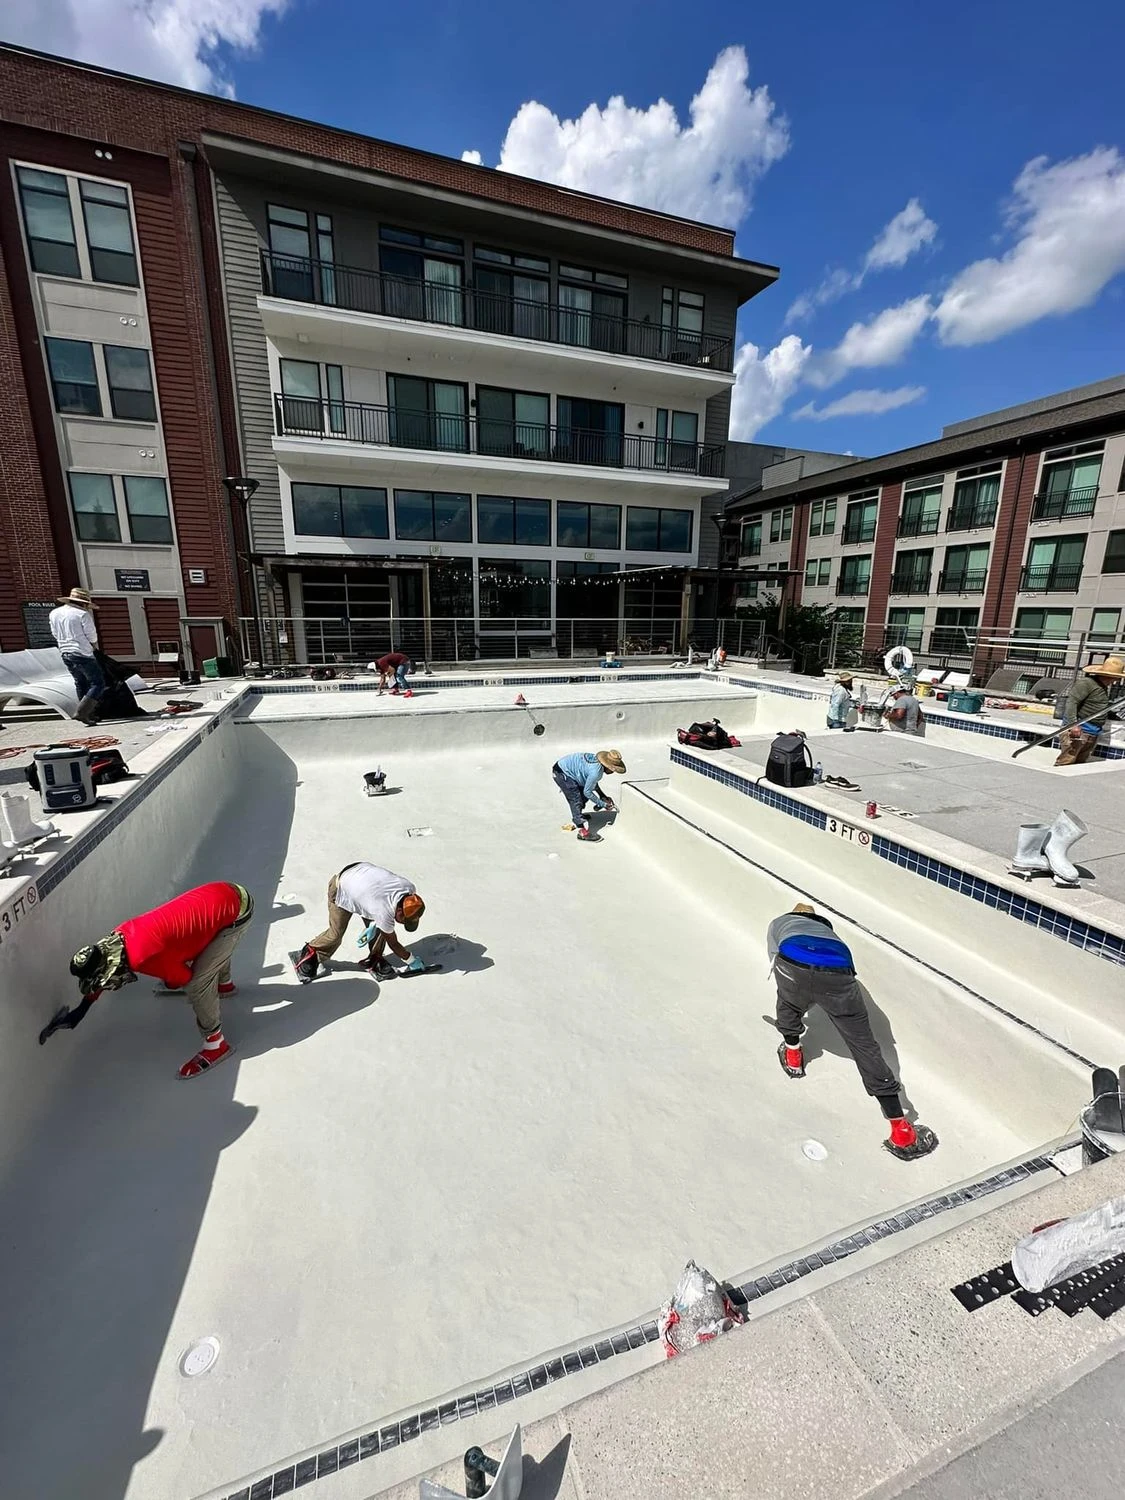
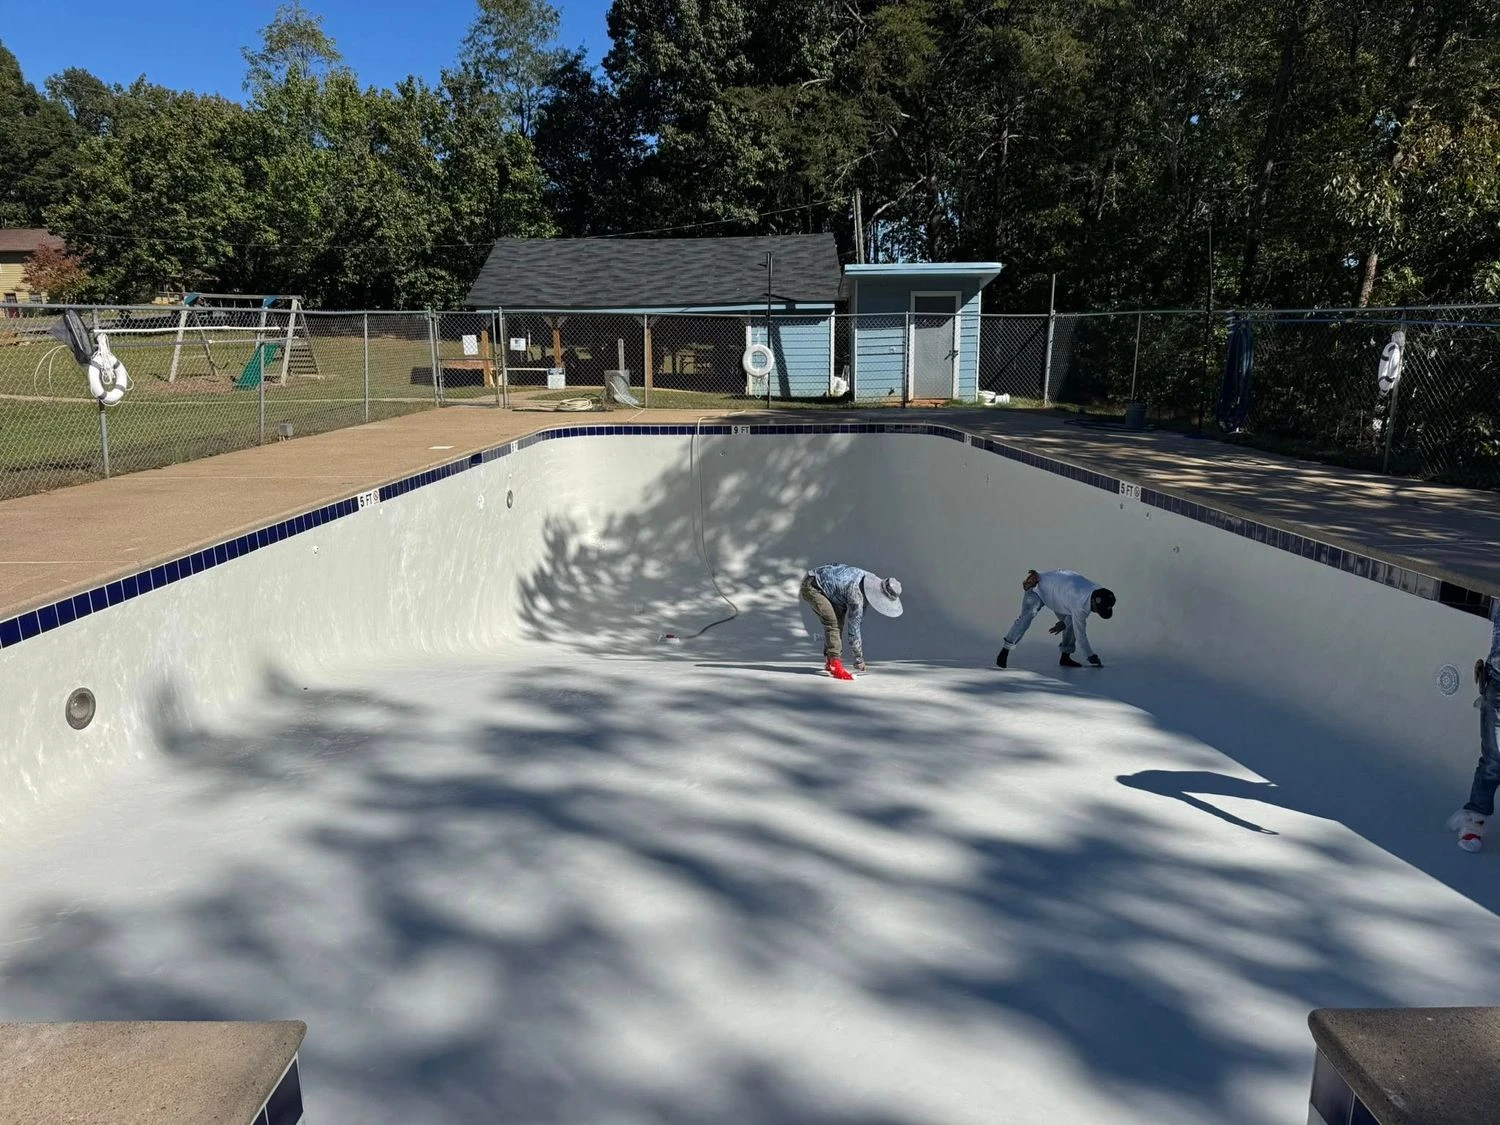
This is also where the renovation character of Clarkston shows up. Many of these kitchens go into yards that already have a 35-to-50-year-old pool with original copper plumbing and bonding that predates modern NEC Article 680 requirements. When an electrician is already trenching near the pool, it is the right moment to check whether the existing pool equipment is properly bonded and GFCI-protected. It is far cheaper to find that out with the ground open than after the patio is finished.
Step 6: Pass Rough-In, Then Final Inspections, and Keep the Paperwork
Inspections come in two rounds, and each round has its own traps.
Rough-in happens with the trench open. For gas, the inspector checks pipe type, depth, tracer wire, the transition riser, and a pressure test held on a gauge for the required duration with no drop. For electrical, the inspector checks conduit type, burial depth, and the path of the conductors. For plumbing, the check covers pipe material, slope, and the drain connection. Fail any one, and the trench stays open while the fix gets made and a re-inspection gets scheduled, which in DeKalb can add several days.
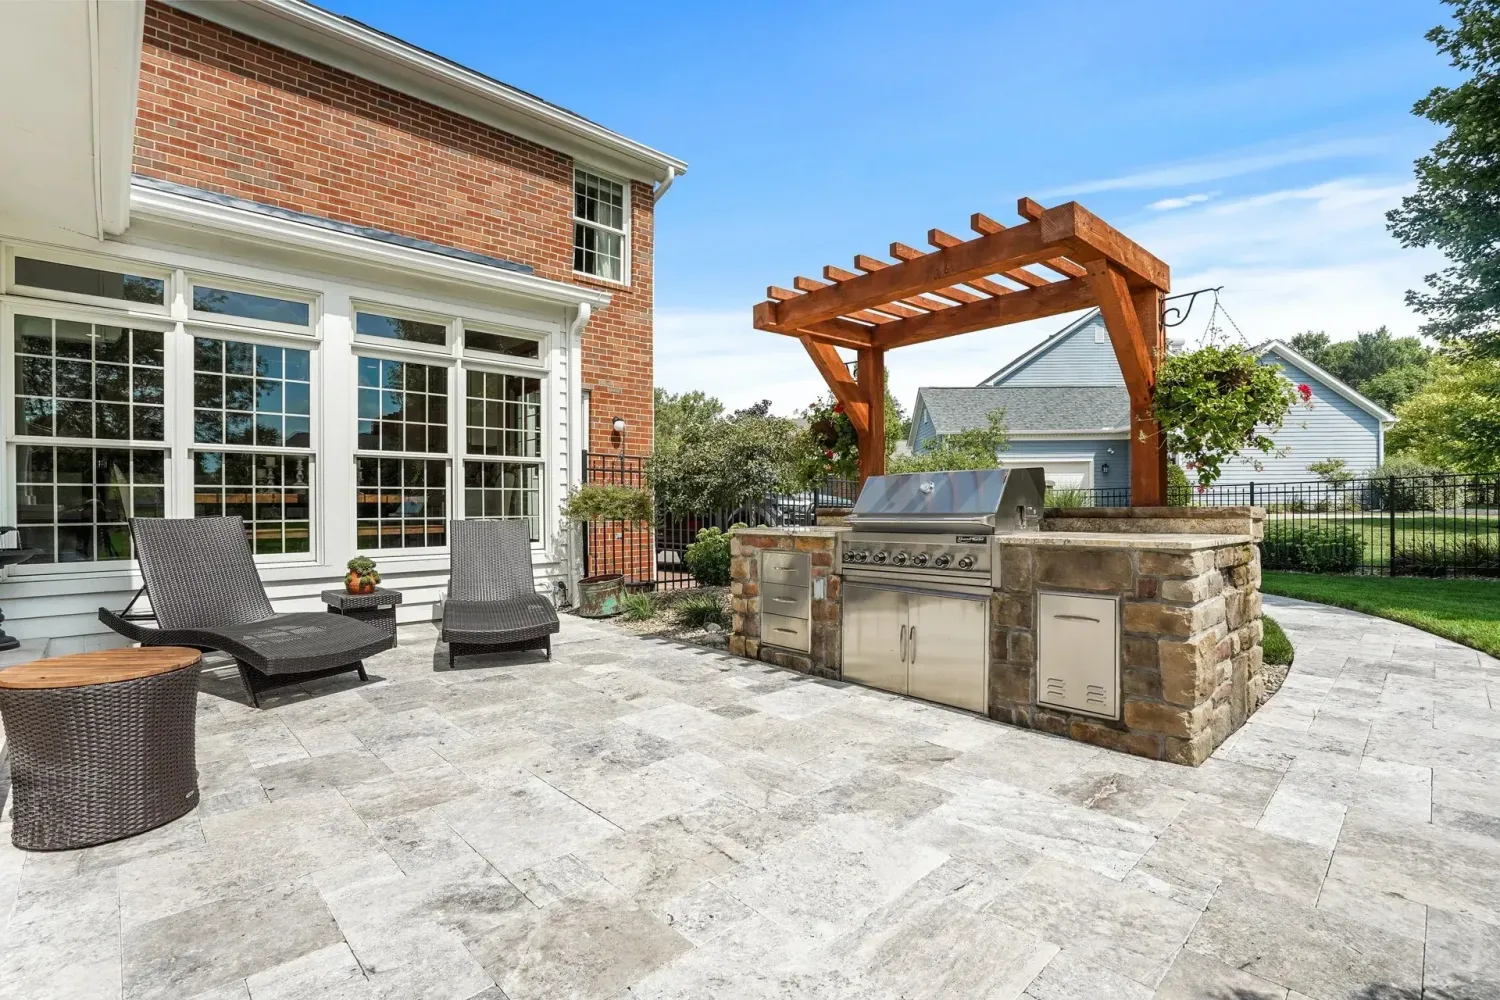
Final happens once the kitchen is built. The electrical inspector tests GFCI protection at every outlet, confirms the in-use covers, and checks the panel labeling. The gas inspector confirms appliance connections, shutoff valves within reach of each appliance, and appropriate clearances for any roofed area. That last item matters under a pavilion like the one in our hero image: a grill under a roof needs the manufacturer’s clearance to combustibles honored, and many installations call for a vent hood rated for outdoor use. The plumbing inspector checks fixture connections and confirms the drain goes where the permit said it would.
Once the finals pass, keep everything: the permit cards, inspection results, the gas pressure test record, the panel schedule, and a photo of every trench before backfill with a tape measure showing depth. Clarkston is a renovation market, and homes here change hands. A buyer’s inspector will ask whether the outdoor kitchen was permitted. A clean paper trail answers that question in thirty seconds. A missing one can cost you at the closing table, or force you to open walls and trenches so the county can inspect work it never saw.
Keep the trench photos for a practical reason too. Years from now, when you add a fence post or extend the patio toward the Friendship Forest side of the yard, that photo tells you exactly where the gas line runs.
What This Means for Your Budget
Add up the utility work on a typical Clarkston outdoor kitchen with gas, a dedicated circuit, and a sink, and the underground portion alone commonly lands between $5,000 and $10,000 before a single appliance or stone is purchased. On an older home that needs a meter upgrade, a service upgrade, or a pumped drain, it can go well beyond that. It is the unglamorous part that decides whether the grill lights, the fridge stays cold in August, and the sink survives January.
Outdoor kitchens across 20+ metro Atlanta cities, built from our home base in Winder, GA
We plan the gas, power, and water runs first, schedule every trench around DeKalb’s inspection calendar, and set the countertop only after every line beneath it has passed.