
Three questions decide whether your Clarkston pergola should bolt to the house or stand on its own posts: what your wall is actually made of, how deep the footings need to go, and how long you’re willing to wait on DeKalb County Planning & Sustainability for a permit. Answer them in that order and the right structure picks itself.
Homeowners usually start from the other end. They find a photo they love, pick a size, and ask for a price. Then the questions show up mid-project: the brick on the back of a 1968 ranch in Lake Capri can’t carry a ledger board. The louvered roof they picked turns out to count as a roof in the eyes of the county. The post they planned to set in a bag of concrete, 18 inches down, turns into a 36-inch engineered pier because the wind loads came back higher than anyone expected.
This post walks through the three decisions one at a time. First, what “attached” really means once a pergola becomes part of your house. Second, what a freestanding pergola needs underground to stay standing. Third, how DeKalb’s permit process treats each one. Then we cover the design trade-offs you’ll live with for the next 25 years, and a short checklist to take into any contractor meeting, ours included.
1. What “Attached” Really Means: Your Pergola Becomes Part of the House
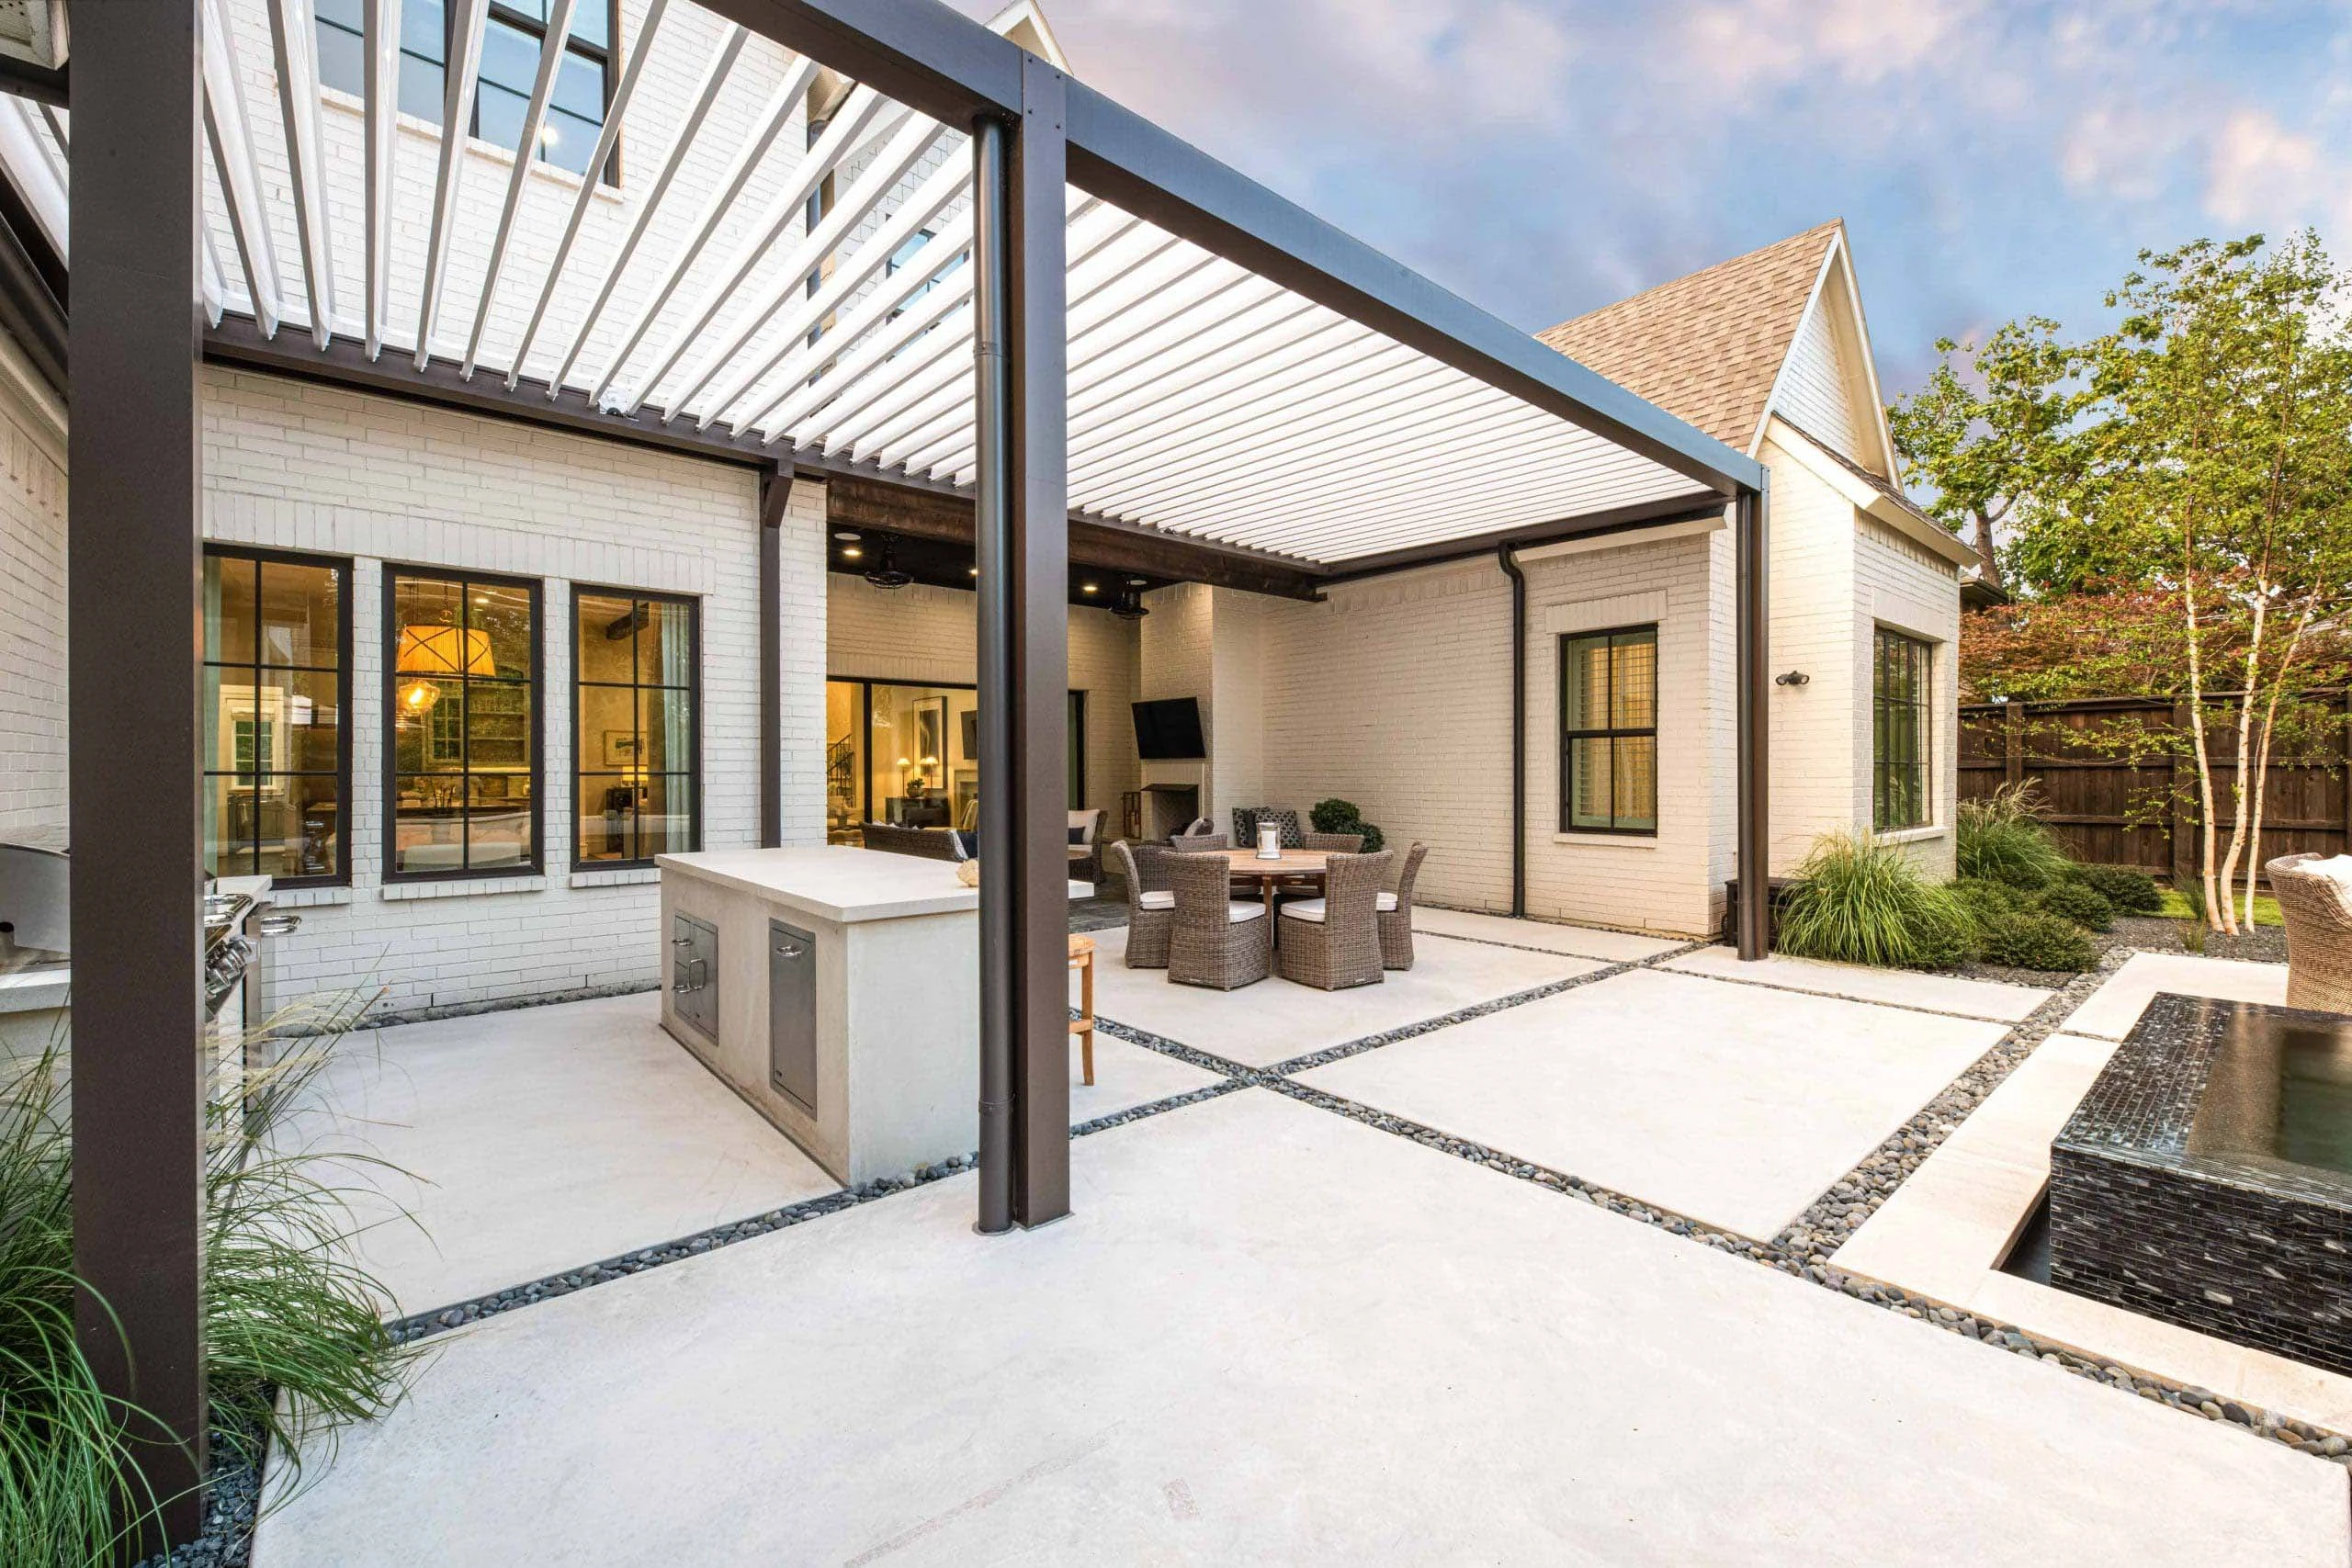
An attached pergola connects at least one side to your home, usually through a horizontal board called a ledger that is fastened to the house framing. The far side sits on posts. It looks simple. Structurally, you’ve just asked the house to carry roughly half the pergola’s weight and, more importantly, to resist its wind uplift. That changes three things: what the wall must be made of, how water is kept out of the wall, and how the county reviews the project.
The wall has to be structure, not skin
A ledger has to fasten into something that can take load: the rim joist of a wood-framed floor, a doubled top plate, or solid masonry built to carry weight. It cannot fasten into brick veneer. That matters in Clarkston, where so many 1960s and 1970s ranches and split-levels in Idlewood, Toney Valley, and along the Brockett Road corridor are wood-framed homes wearing a single layer of brick. That brick is a rain screen. It’s tied to the framing with thin metal ties and sits on its own ledge at the foundation. Lag-bolt a pergola ledger into it and you’re hanging a lever arm off a wall that was never designed to carry one.
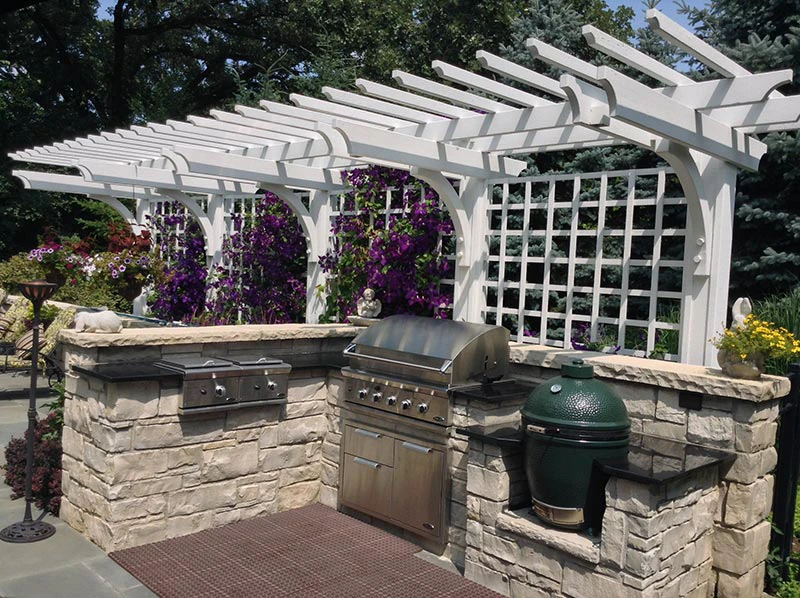
On a veneer house, attaching correctly means one of three things. You can remove brick courses and through-bolt to the rim joist behind with standoff spacers, which is real demolition. You can bring the ledger up to a framed wall above the brick line, if the eave height allows. Or you can use what we call an “attached-look” design: a second row of posts tight against the house, with the pergola visually meeting the wall but carrying no load into it. On a lot of Clarkston ranches, that third option is the honest answer.
Fasteners are spec’d, not guessed
When the wall is framing, the connection still has to be engineered. Ledger connections for outdoor structures follow the same logic the International Residential Code §R507.9 uses for deck ledgers: half-inch lag screws or through-bolts, or approved structural screws like FastenMaster LedgerLOK or Simpson Strong-Tie SDWS, in a staggered pattern at a spacing set by the span. Pergolas add something decks don’t have much of: uplift. A solid or louvered roof acts like a wing in a thunderstorm, so the ledger has to resist being pulled off the wall, not just pushed down. That’s why engineered louvered systems ship with their own attachment details and why DeKalb reviewers want to see them.
Flashing is where attached pergolas fail
Any hole in the house is a water path. A ledger adds dozens of them. The failure isn’t dramatic. It’s a slow wick of water behind the ledger that rots the rim joist over 8 to 12 years, invisible until a floor joist gets soft. Correct detailing uses a self-adhered membrane behind the ledger, Z-flashing over the top edge that tucks under the siding or into a cut reglet in masonry, and spacers that hold the ledger off the wall so water can drain. Clarkston’s humidity makes this less forgiving. With about 52 inches of rain a year, a heavy tree canopy, and creek corridors like Pole Bridge Creek and South Fork Peachtree Creek keeping backyards damp, a wall that stays wet dries slowly.
The roofline question
Original ranch homes often have eaves at 8 feet or less. A pergola needs roughly 8 feet of clear height underneath to feel right, plus the depth of its beams and rafters. On a low-eave ranch, the ledger ends up above the eave, which means tying into the roof structure, or below it, which squeezes headroom. Tying into the roof means working around shingles, gutters, and fascia, and possibly adding blocking inside the attic. It’s doable. It’s also the point where an attached pergola stops being a patio project and becomes a house modification.
Attached-pergola red flags: brick veneer at the attachment point, eave height under 8 feet, aluminum or vinyl siding with no clear framing behind it, or a plan that shows lag screws “into the brick.” Any one of these means the attachment needs a redesign before a permit application goes in.
2. Freestanding Pergolas Live or Die Underground
A freestanding pergola avoids every issue above. It never touches the house. In exchange, it carries every pound of load, and every pound of uplift, through its own posts into the ground. That makes the footing the single most important part of the structure, and the part homeowners see the least.
Frost depth is the floor, not the target
Metro Atlanta’s frost depth is shallow, typically 12 inches, and Clarkston’s Zone 8a winters are milder than the northern suburbs. That doesn’t make frost irrelevant. Clarkston still sees 8 to 14 freeze events a year. A footing that stops above the frost line can heave slightly on a hard freeze, and a four-post structure only needs one post to move a quarter inch to rack the whole frame. So 12 inches is the minimum. It is almost never the right answer.
Uplift and overturning set the real depth
For a freestanding pergola, the governing load usually isn’t weight pushing down. It’s wind trying to lift the structure or tip it over. A 12-by-16 open cedar pergola has little surface for wind to push on. A 12-by-16 louvered aluminum pergola with the louvers closed is a flat roof on four legs. With Georgia design wind speeds around 115 mph, that roof can generate thousands of pounds of uplift, and the only thing holding it down is the weight of concrete and the soil around each pier.
That’s why freestanding louvered systems typically land on piers 24 to 36 inches deep and 16 to 24 inches in diameter, sized by the manufacturer’s engineering or a local engineer, with rebar cages and cast-in anchor bolts. Open wood pergolas can often work with shallower, narrower piers, but still deeper than the “bag of concrete in a posthole” approach you’ll see in a weekend video.
What Clarkston’s soil does to the math
Clarkston sits on Cecil-series Piedmont clay. It bears load well when it’s compacted and dry, and it swells and softens when it’s saturated. On older lots, decades of mowing have thinned the topsoil, so you hit clay quickly. That’s good for bearing. The catch is drainage. A pier hole in dense clay is a cup. Water collects at the bottom, and a wet post base in a humid backyard is how wood posts rot from the ground up.
We handle it with a gravel base under each pier, a formed concrete top that sheds water, and a raised post base so wood never touches concrete. Simpson Strong-Tie’s ABU66Z post base is a common choice for 6×6 posts because it lifts the post end off the pier and resists uplift in the same part. On lots near the Stone Mountain side of town, where decomposed granite can show up 4 to 8 feet down, pergola piers rarely reach it. The clay above it is what you’re designing for.
Footings on an existing patio or pool deck
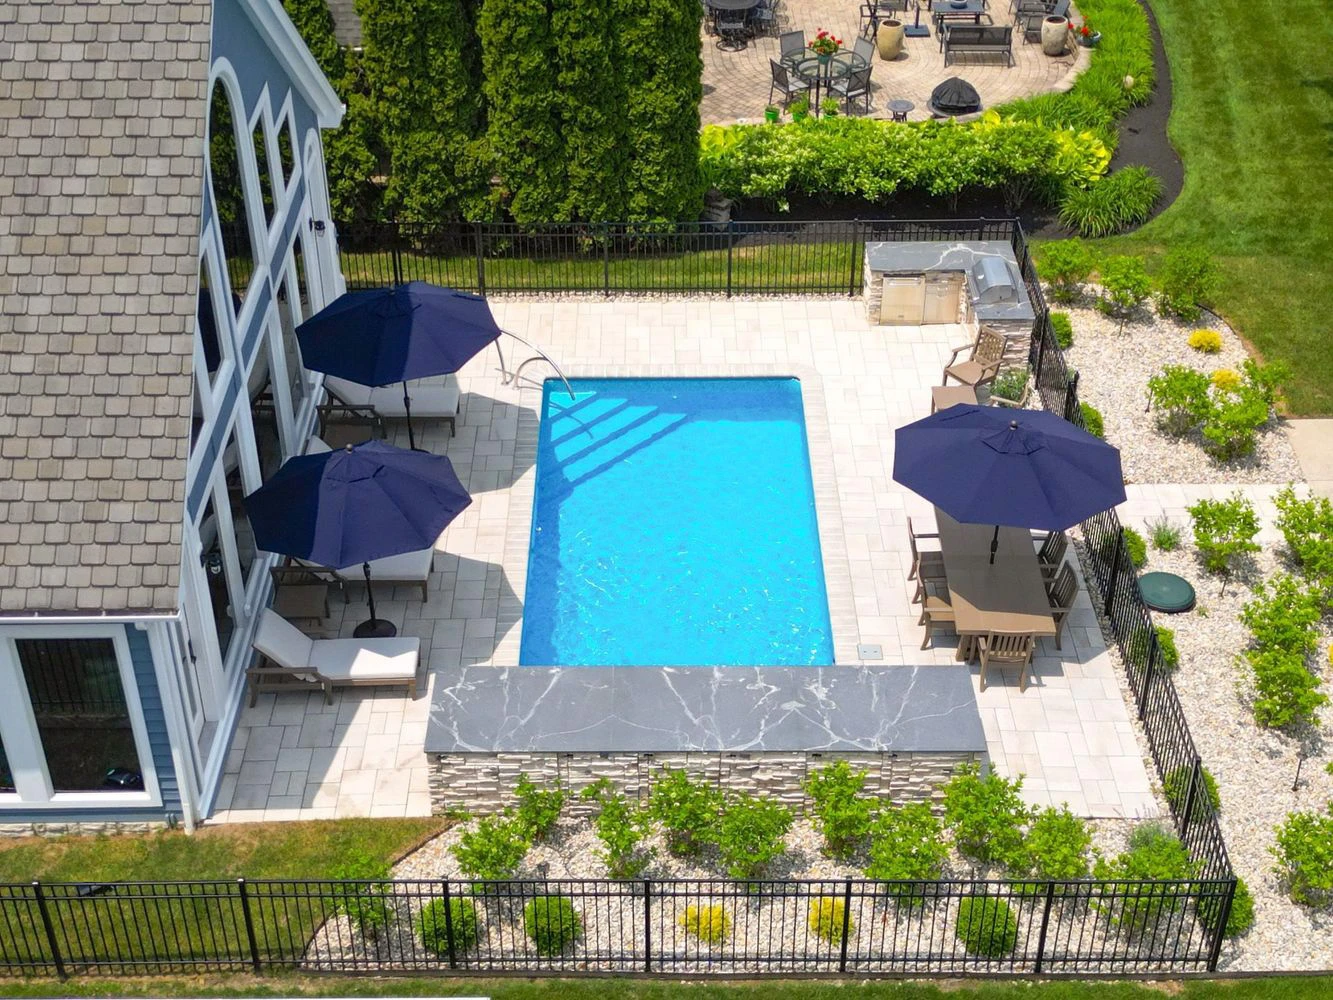
A common Clarkston request: “Can you just bolt the posts to my patio?” Usually, no. A 4-inch slab or a paver patio isn’t a footing. The slab edge can crack under a concentrated post load, and a paver field has no uplift resistance at all. The right move is to cut or lift the surface at each post location, pour a proper pier, and patch back around it. On a pool deck, that also means checking where the plumbing and bonding grid run before anyone digs. That’s worth knowing on older Lake Capri pools, where the original plumbing lines don’t always match whatever drawings still exist.
Privacy panels change the load picture too. The lattice side walls on a traditional arbor catch wind like a sail. Add a solid panel, a fabric shade, or a mounted outdoor TV screen and the posts see much larger overturning forces than an open frame would. Decide on panels before the footings are poured, not after.
3. DeKalb County Permits: How Each Type Gets Reviewed
Clarkston is its own city, but for residential outdoor structure permitting of the kind covered here, homeowners work through DeKalb County Planning & Sustainability at 178 Sams Street in Decatur. Plan for it. DeKalb’s review runs slower than Gwinnett’s: about 3 to 4 weeks for a clean submittal, compared with roughly 10 to 14 days across the county line. A resubmittal can add another cycle on top.
Attached structures are reviewed as additions
Once a pergola connects to the house, reviewers look at it as part of the dwelling. Expect to submit a site plan showing setbacks and lot coverage, a framing plan with beam and rafter sizes, the ledger connection detail including fastener type and spacing, a flashing detail, and footing sizes for the outer posts. If the pergola has a solid or louvered roof, engineered drawings are often required, and manufacturers of systems like StruxureOne, Equinox, and Azenco provide stamped packages for exactly this reason.
Freestanding structures are reviewed as accessory structures
A freestanding pergola is typically treated as an accessory structure. The review focuses on where it sits: rear-yard placement, distance from property lines, distance from the house and other structures, and total impervious coverage on the lot. Structural review still applies, especially for louvered or solid roofs, but there’s no house connection to detail, which usually simplifies the submittal.
Exemption thresholds for small, open pergolas change over time, so confirm with DeKalb in writing before you commit. Unpermitted roofed structures surface at resale, and on a home in the $260K to $520K range, that finding can cost more than the permit ever would.
Permit timing reality check: build 4 to 6 weeks of permitting into your schedule for a DeKalb pergola, especially an attached or louvered one. If a contractor promises a start date two weeks after you sign, ask whether that date assumes the permit is already approved.
Easements and creek buffers: lots that back up to DeKalb greenway corridors or creek tributaries may carry buffers or easements that restrict where a structure can sit. Check your plat before choosing a location.
4. Design Consequences: What Each Choice Commits You To
Structure and permits aside, the attach-or-freestand decision shapes how the space feels and works for decades. Here’s how it plays out.
Where the shade lands
An attached pergola shades the wall and the windows behind it. On a west- or south-facing back wall, that’s a real benefit: cooler rooms, less glare, and a covered transition from the kitchen door to the patio. The trade-off is daylight. A dense louvered roof over a back door can make the kitchen noticeably darker in winter. Louvers that open solve most of that. Fixed slats don’t.
A freestanding pergola puts shade wherever the yard needs it: over a dining table by the pool, at the far end of a deck, or over an outdoor kitchen. On a pool deck, it’s often the smarter placement, because the shade lands where people actually sit in July, not against a wall they walk past. It also frees you from the house’s orientation. You can rotate the structure so its rafters block the afternoon sun at the angle that matters.
Cost follows complexity
For budgeting, here’s how the two approaches usually compare in Clarkston:
- Freestanding cedar or pressure-treated pergola, about 12×16: roughly $9,000 to $18,000 installed, depending on pier count, finish, and whether a patio surface has to be cut and patched.
- Attached wood pergola on a framed wall: often comparable in materials, but add flashing work, possible siding removal and reinstallation, and a longer permit review.
- Attached wood pergola on brick veneer, done right: the masonry work and through-bolting can add several thousand dollars, which is why the “attached-look” freestanding option often wins.
- Motorized aluminum louvered pergola, attached or freestanding: commonly $28,000 to $55,000 installed for mid-size systems, with engineered footings, electrical, and gutter tie-ins included.
5. The Clarkston Pergola Decision Checklist
Take these questions into any contractor meeting, ours included.
- What is my back wall made of at the attachment height? Framing, block, or brick veneer. If nobody has checked, nobody should be quoting an attached pergola yet.
- What fasteners will you use, and at what spacing? You want a specific answer, like half-inch through-bolts or LedgerLOK screws at a stated spacing, not “heavy-duty lags.”
- Show me the flashing detail. Membrane, Z-flashing, spacers, and how it ties into the siding or masonry.
- How deep and how wide are the footings, and who sized them? For louvered or roofed systems, the answer should come from engineering, not experience alone.
- How are posts connected to the footings? Look for a raised, uplift-rated post base or cast-in anchors, never a post buried in concrete.
- Who pulls the DeKalb permit, and what’s the realistic approval window? The contractor should pull it. The window should account for DeKalb’s 3-to-4-week review.
Then run your own quick decision. If your attachment wall is brick veneer or your eaves are low, lean freestanding, possibly with an attached look. If you have a framed wall with good height, want shade over a door or windows, and are choosing a stable material like aluminum, attached is a strong option. If the shade needs to go by the pool or the kitchen, freestanding is almost always the answer, no matter what the house is made of.
Clarkston is a renovation market. Nearly every backyard we work in already has a patio, a pool, or both, installed decades ago around a house that’s been through a few owners. A pergola has to fit into that history. The best projects start by checking what’s really there: the wall, the soil, the slab, and the permit path. Then they commit to the structure that respects all four.
From Lake Capri to Idlewood to the streets off Indian Creek Drive near the MARTA terminus, the right pergola is the one that’s still square, dry, and permitted in year 20. That comes from decisions made before the first post goes in.
Pergolas and outdoor structures across 20+ cities within 30 miles of Winder, GA
Every Primetime pergola starts with the same three checks: what the wall is made of, how the footings are sized, and how the permit gets filed. The structure comes after that.