
Most Clarkston hardscape failures aren’t installer mistakes — they’re the consequence of building Cecil-clay backyards with techniques borrowed from sandy-loam markets. The bedding spec that holds a Florida lanai together for twenty years will telegraph every freeze cycle through a DeKalb County patio inside four winters. This is a forensic walk through what we actually pull out of the ground when we get called to fix it.
The conventional installer’s playbook in Clarkston reads almost exactly like the playbook in Tampa or Phoenix: scrape topsoil, dump 4 inches of crusher-run, screed an inch of bedding sand, lay pavers, sweep sand, walk away. That sequence works on sandy subgrades. It is a disaster spec on Cecil-series Piedmont clay.
Clarkston sits on some of the most aggressive expansive clay in the Piedmont. Cecil-series subgrade in DeKalb County typically runs a plasticity index of 15 to 25, which is the engineering shorthand for “this soil shrinks measurably when it dries out and swells measurably when it rehydrates.” Add 8 to 14 freeze events per winter, 52 inches per year of rainfall driving subgrade saturation, and the older Lake Capri and Idlewood subdivisions where the original drainage was never engineered for anything beyond turf — and you have the exact set of inputs that turn a textbook installation into a callback.
This is not a complaint about installers. The problem is the spec they’re being handed — copied from manufacturer literature written for markets that don’t have our soil. Below are six failure modes we routinely document on Clarkston jobs and what the spec should have been if the project was engineered for Cecil clay.
Failure Mode 1 — Patio Settlement Toward the Pool
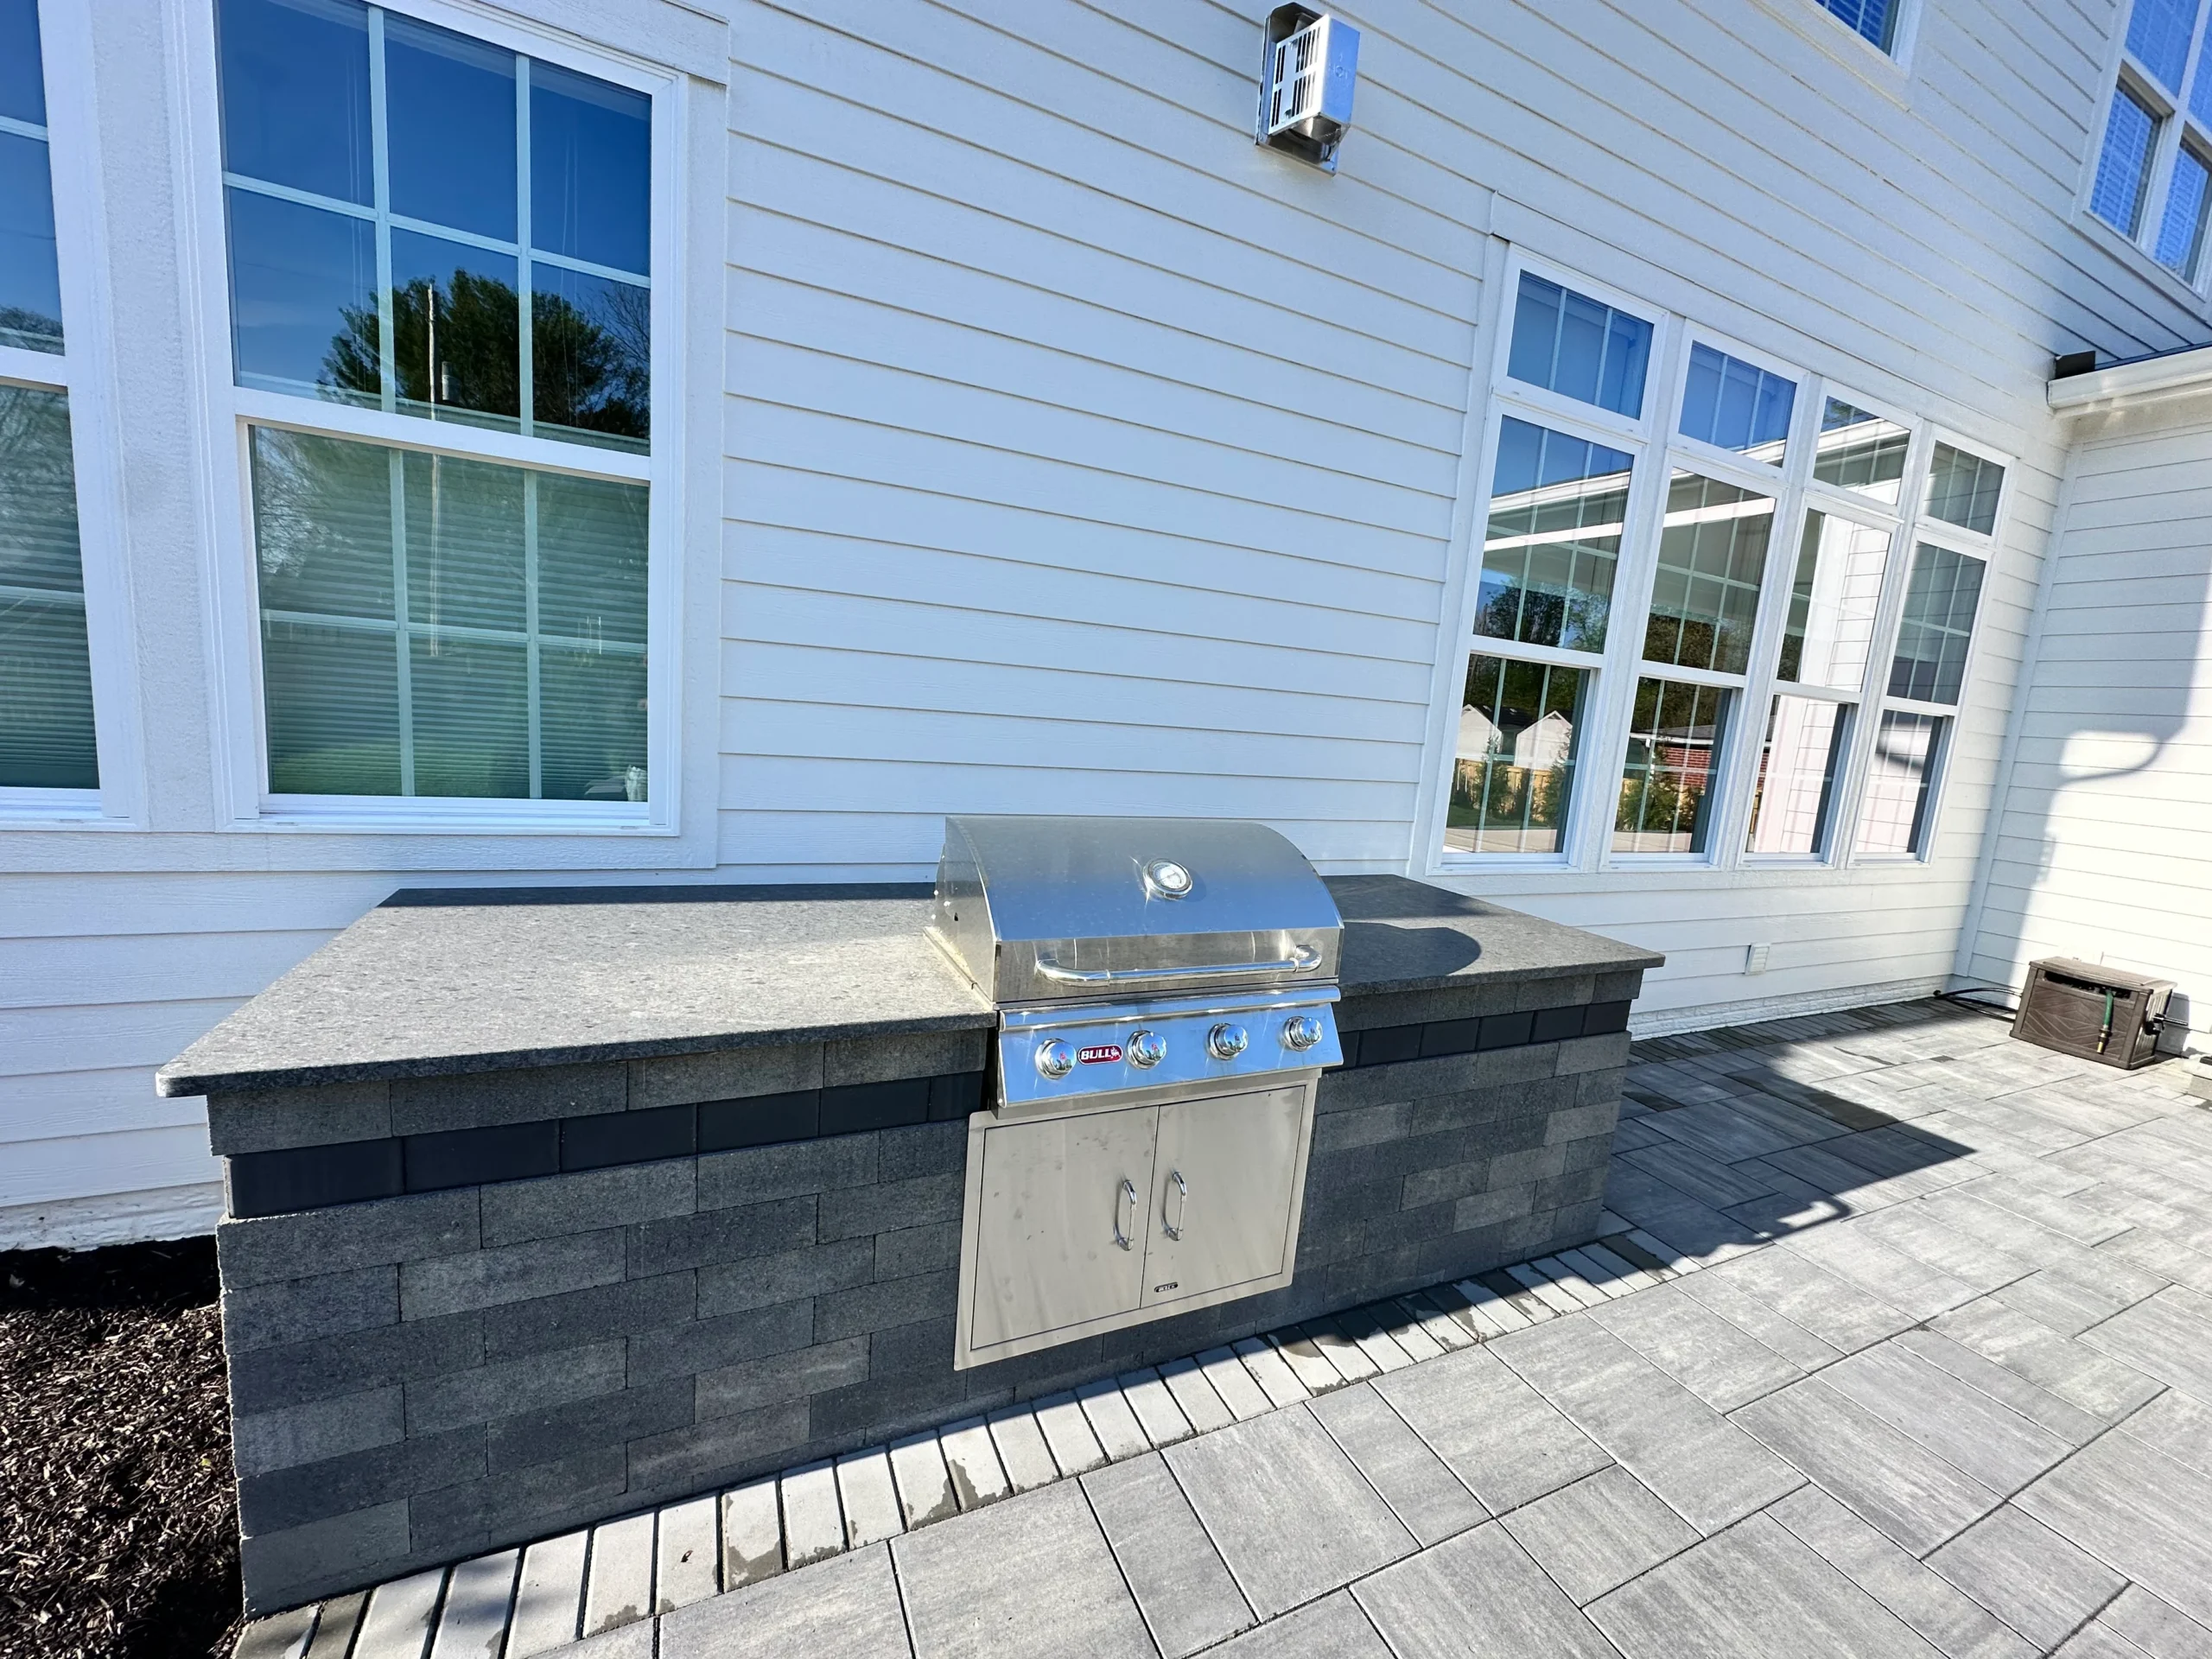
What it looks like: a paver patio originally laid dead-level with the pool coping now sits noticeably lower at the pool edge than it does at the far side of the deck. Run a 6-foot level across it and the bubble is hard against the high side. Walk it in flip-flops after a rain and water sheets toward the waterline. On a recent inspection in Lake Capri we put a digital level on a 6-year-old paver patio and measured 1.25 inches of vertical separation between the original elevation at the bond beam and the current elevation 4 feet out from the coping — almost all of it accumulated since year three.
Why it happens in expansive clay: the excavation cut through topsoil into upper Cecil clay. The installer dumped 4 inches of crusher-run (#57M dense-graded) on undisturbed clay, ran a plate compactor over it once, screeded bedding sand. The excavation itself stress-relieved the clay. Exposed to moisture, that clay began a slow swell-and-shrink cycle, and under sustained load it consolidated unevenly. Pool decks carry concentrated load at the edge — coping, kids climbing out, lounge chairs — so the edge settles first.
What the spec should have been: minimum 8-inch compacted base in 2-inch lifts, every lift compacted to at least 95% Standard Proctor density (CBR target above 60), with a TenCate Mirafi 140N non-woven geotextile separating the base from the clay subgrade. The geotextile alone often makes the difference between a 5-year patio and a 25-year patio — it prevents fines migration upward into the base and stops the base aggregate from being squeezed downward into the clay during saturation events.
Failure Mode 2 — Heaving Walkway Bands
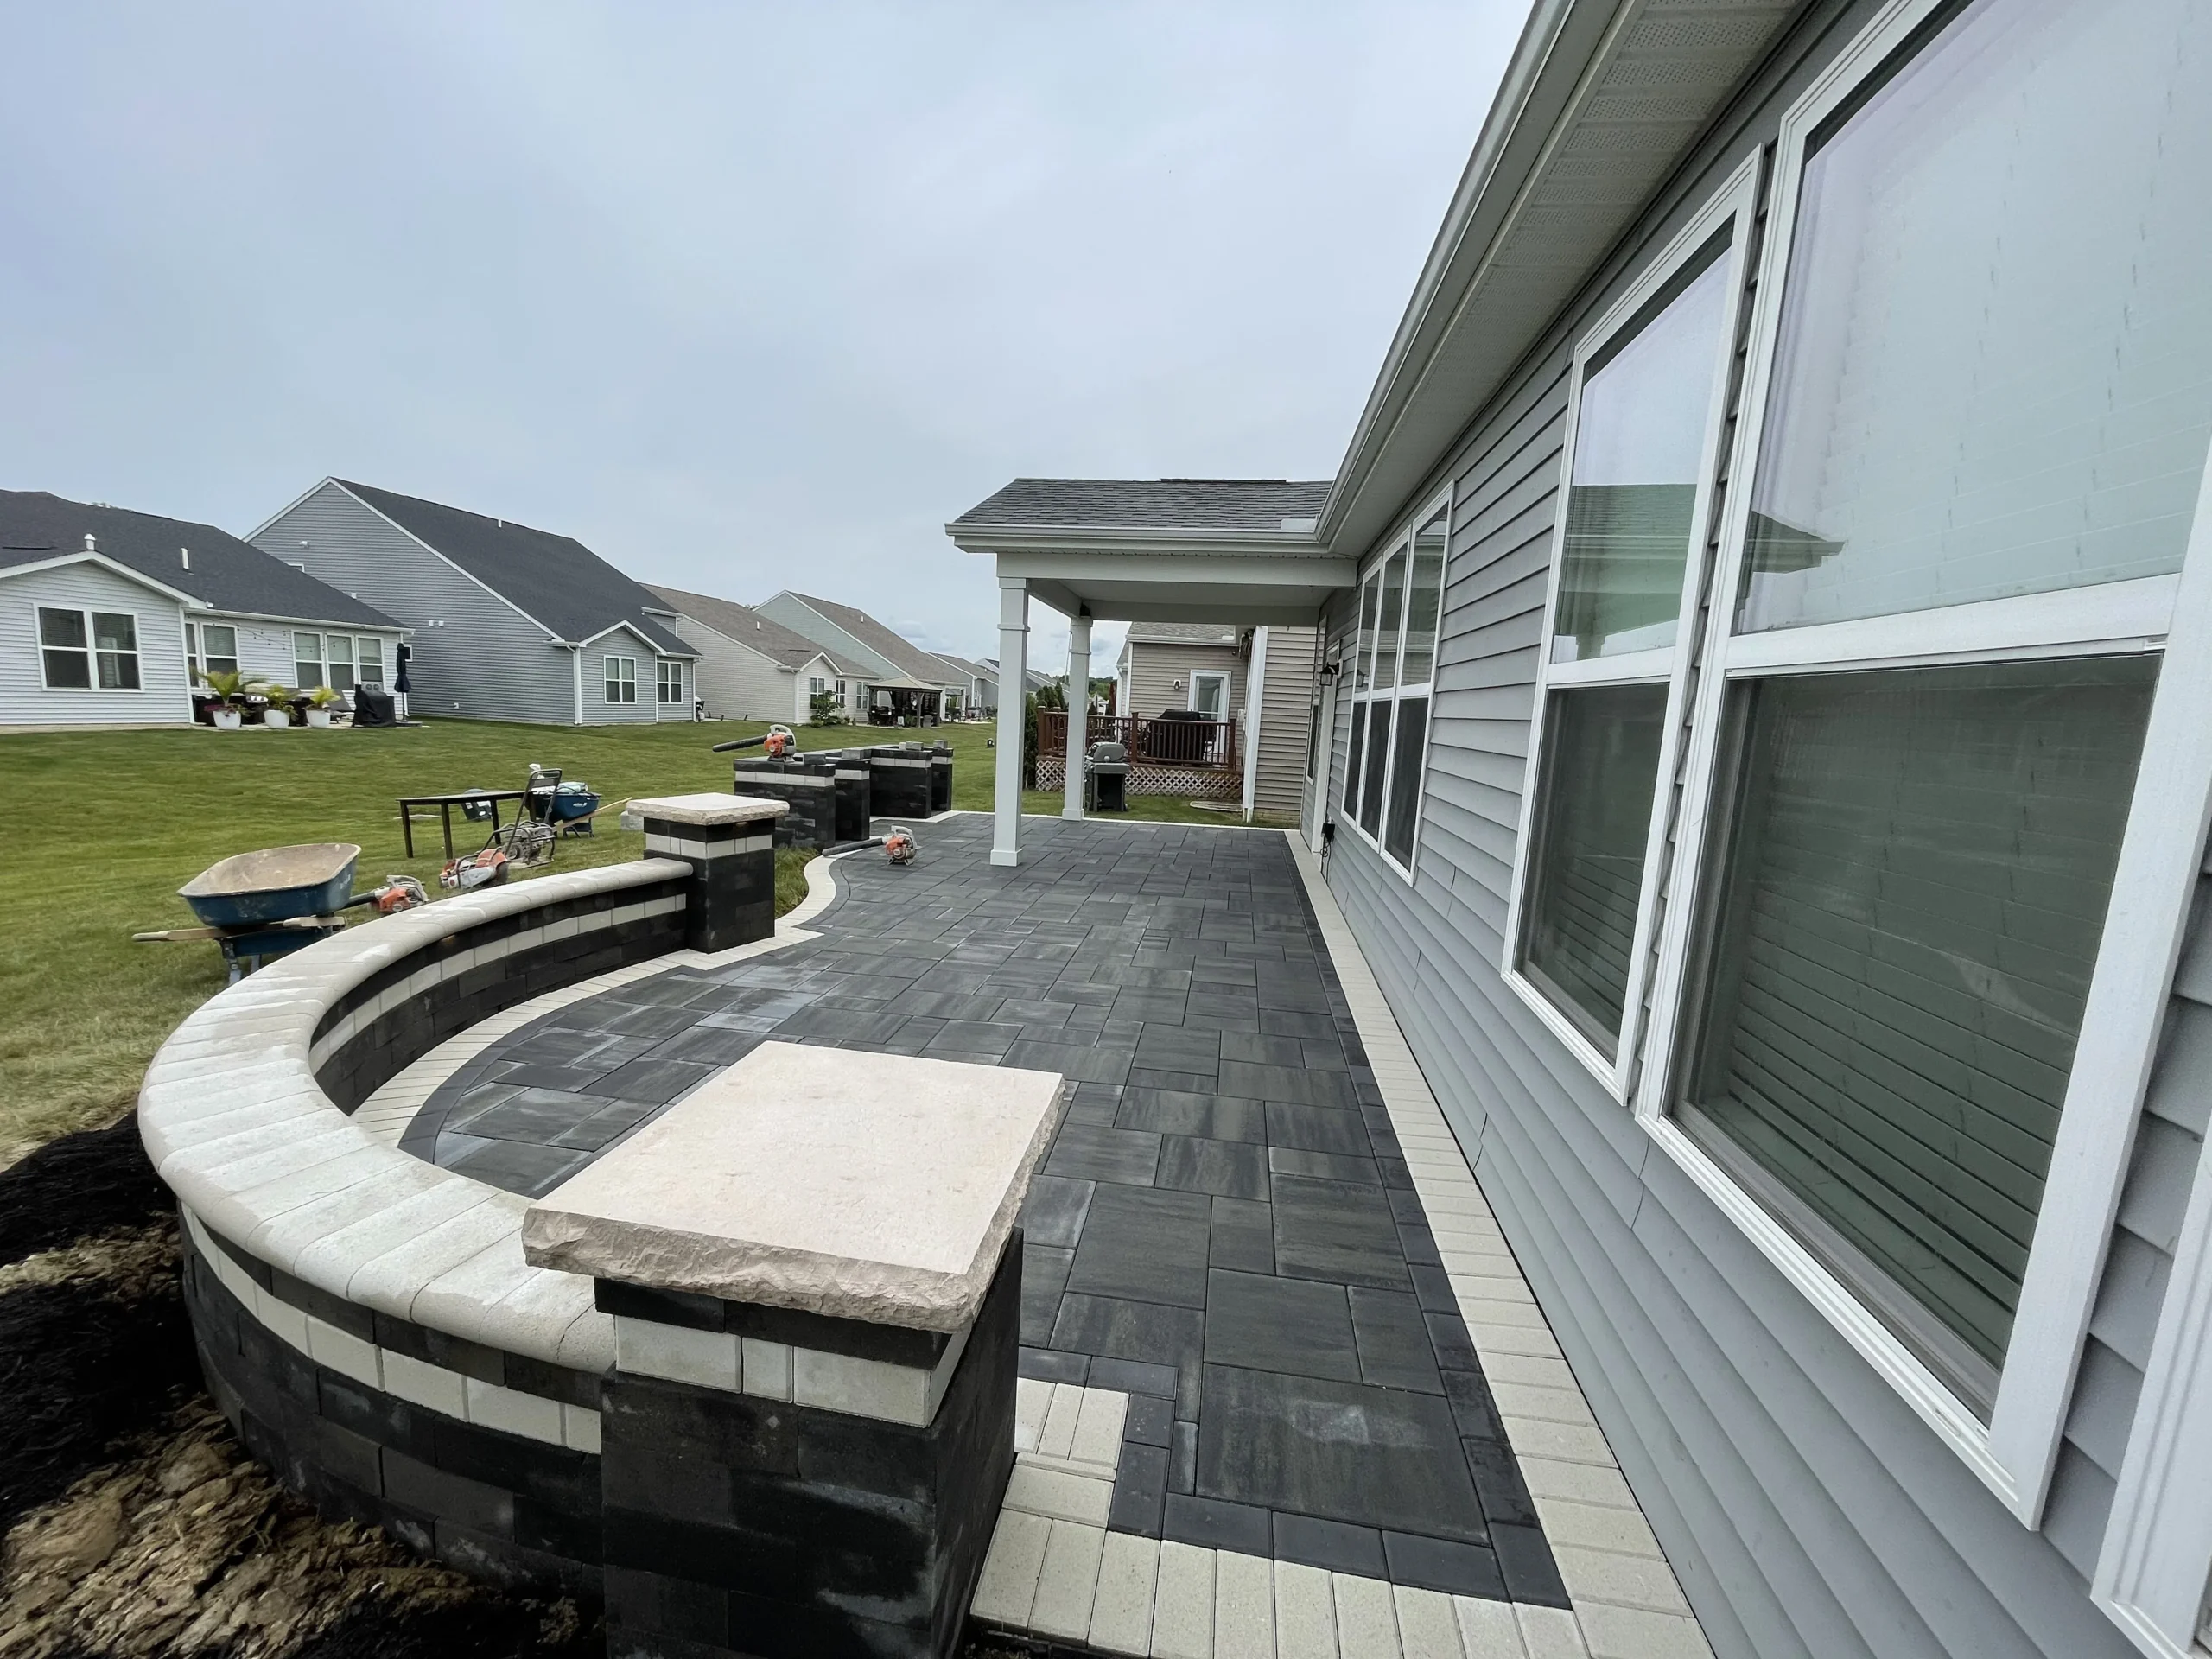
What it looks like: a walkway that was poured or laid flat now shows distinct lateral bands of upward heave, typically 18 to 36 inches wide, running perpendicular to the path. The bands feel like soft speed bumps when you walk over them. Run a string line down the centerline of the walkway and you’ll see the high spots rise 1/2 inch to 7/8 inch above the surrounding surface.
Why it happens in expansive clay: this is classic frost heave amplified by clay swell. Water gets into the upper subgrade through joints, edge gaps, or unsealed adjacent soil. During a freeze event, ice lenses form preferentially where moisture content is highest. Cecil clay holds moisture longer than the adjacent base aggregate, so the freeze front advances unevenly. As ice forms, the soil expands roughly 9% by volume — and because clay is plastic, that expansion doesn’t dissipate laterally; it lifts the column directly above it. Eight to fourteen freeze events per Clarkston winter is enough to create cumulative ratchet heave. Each cycle lifts the band a little; each thaw doesn’t quite return it to baseline.
What the spec should have been: a switch from dense-graded crusher-run to an open-graded aggregate base using ASTM C33 #57 stone. Open-graded bases drain — water moves through the void structure and exits at the edges rather than sitting in the column waiting to freeze. Combined with the same geotextile separator, the result is a walkway that doesn’t accumulate the moisture that drives the heave cycle in the first place. Add a perforated drainage line at the low edge of the path, daylighting to grade, and you’ve engineered the freeze-thaw problem out of the system entirely.
Base-prep spec to write into your contract: “Excavate to subgrade. Install TenCate Mirafi 140N (or equivalent) non-woven geotextile across full base footprint with 12-inch overlaps at seams and 6-inch upturns at edges. Place ASTM C33 #57 open-graded stone in 2-inch lifts, compacted with a minimum 5,000-lb plate compactor between each lift, to a finished compacted depth of 8 inches for pedestrian areas and 10 inches for vehicular areas. Finish with 1 inch ASTM No. 8 chip-stone bedding screeded prior to paver placement.”
If a contractor refuses to put that in writing — or substitutes “crusher-run” or “GAB” without explaining the moisture behavior — you are buying a sandy-loam spec for a clay site.
Failure Mode 3 — Retaining-Wall Belly
What it looks like: a segmental retaining wall that was plumb at handover now shows a horizontal bulge — the “belly” — somewhere between courses 4 and 7 from the base. Drop a plumb bob from the top course and the line lands 3/4 inch to 2 inches forward of the base course. In serious cases the wall develops vertical cracks at the corners where the belly is trying to fold the wall outward. Caps may have shifted, leaving exposed adhesive at the joint.
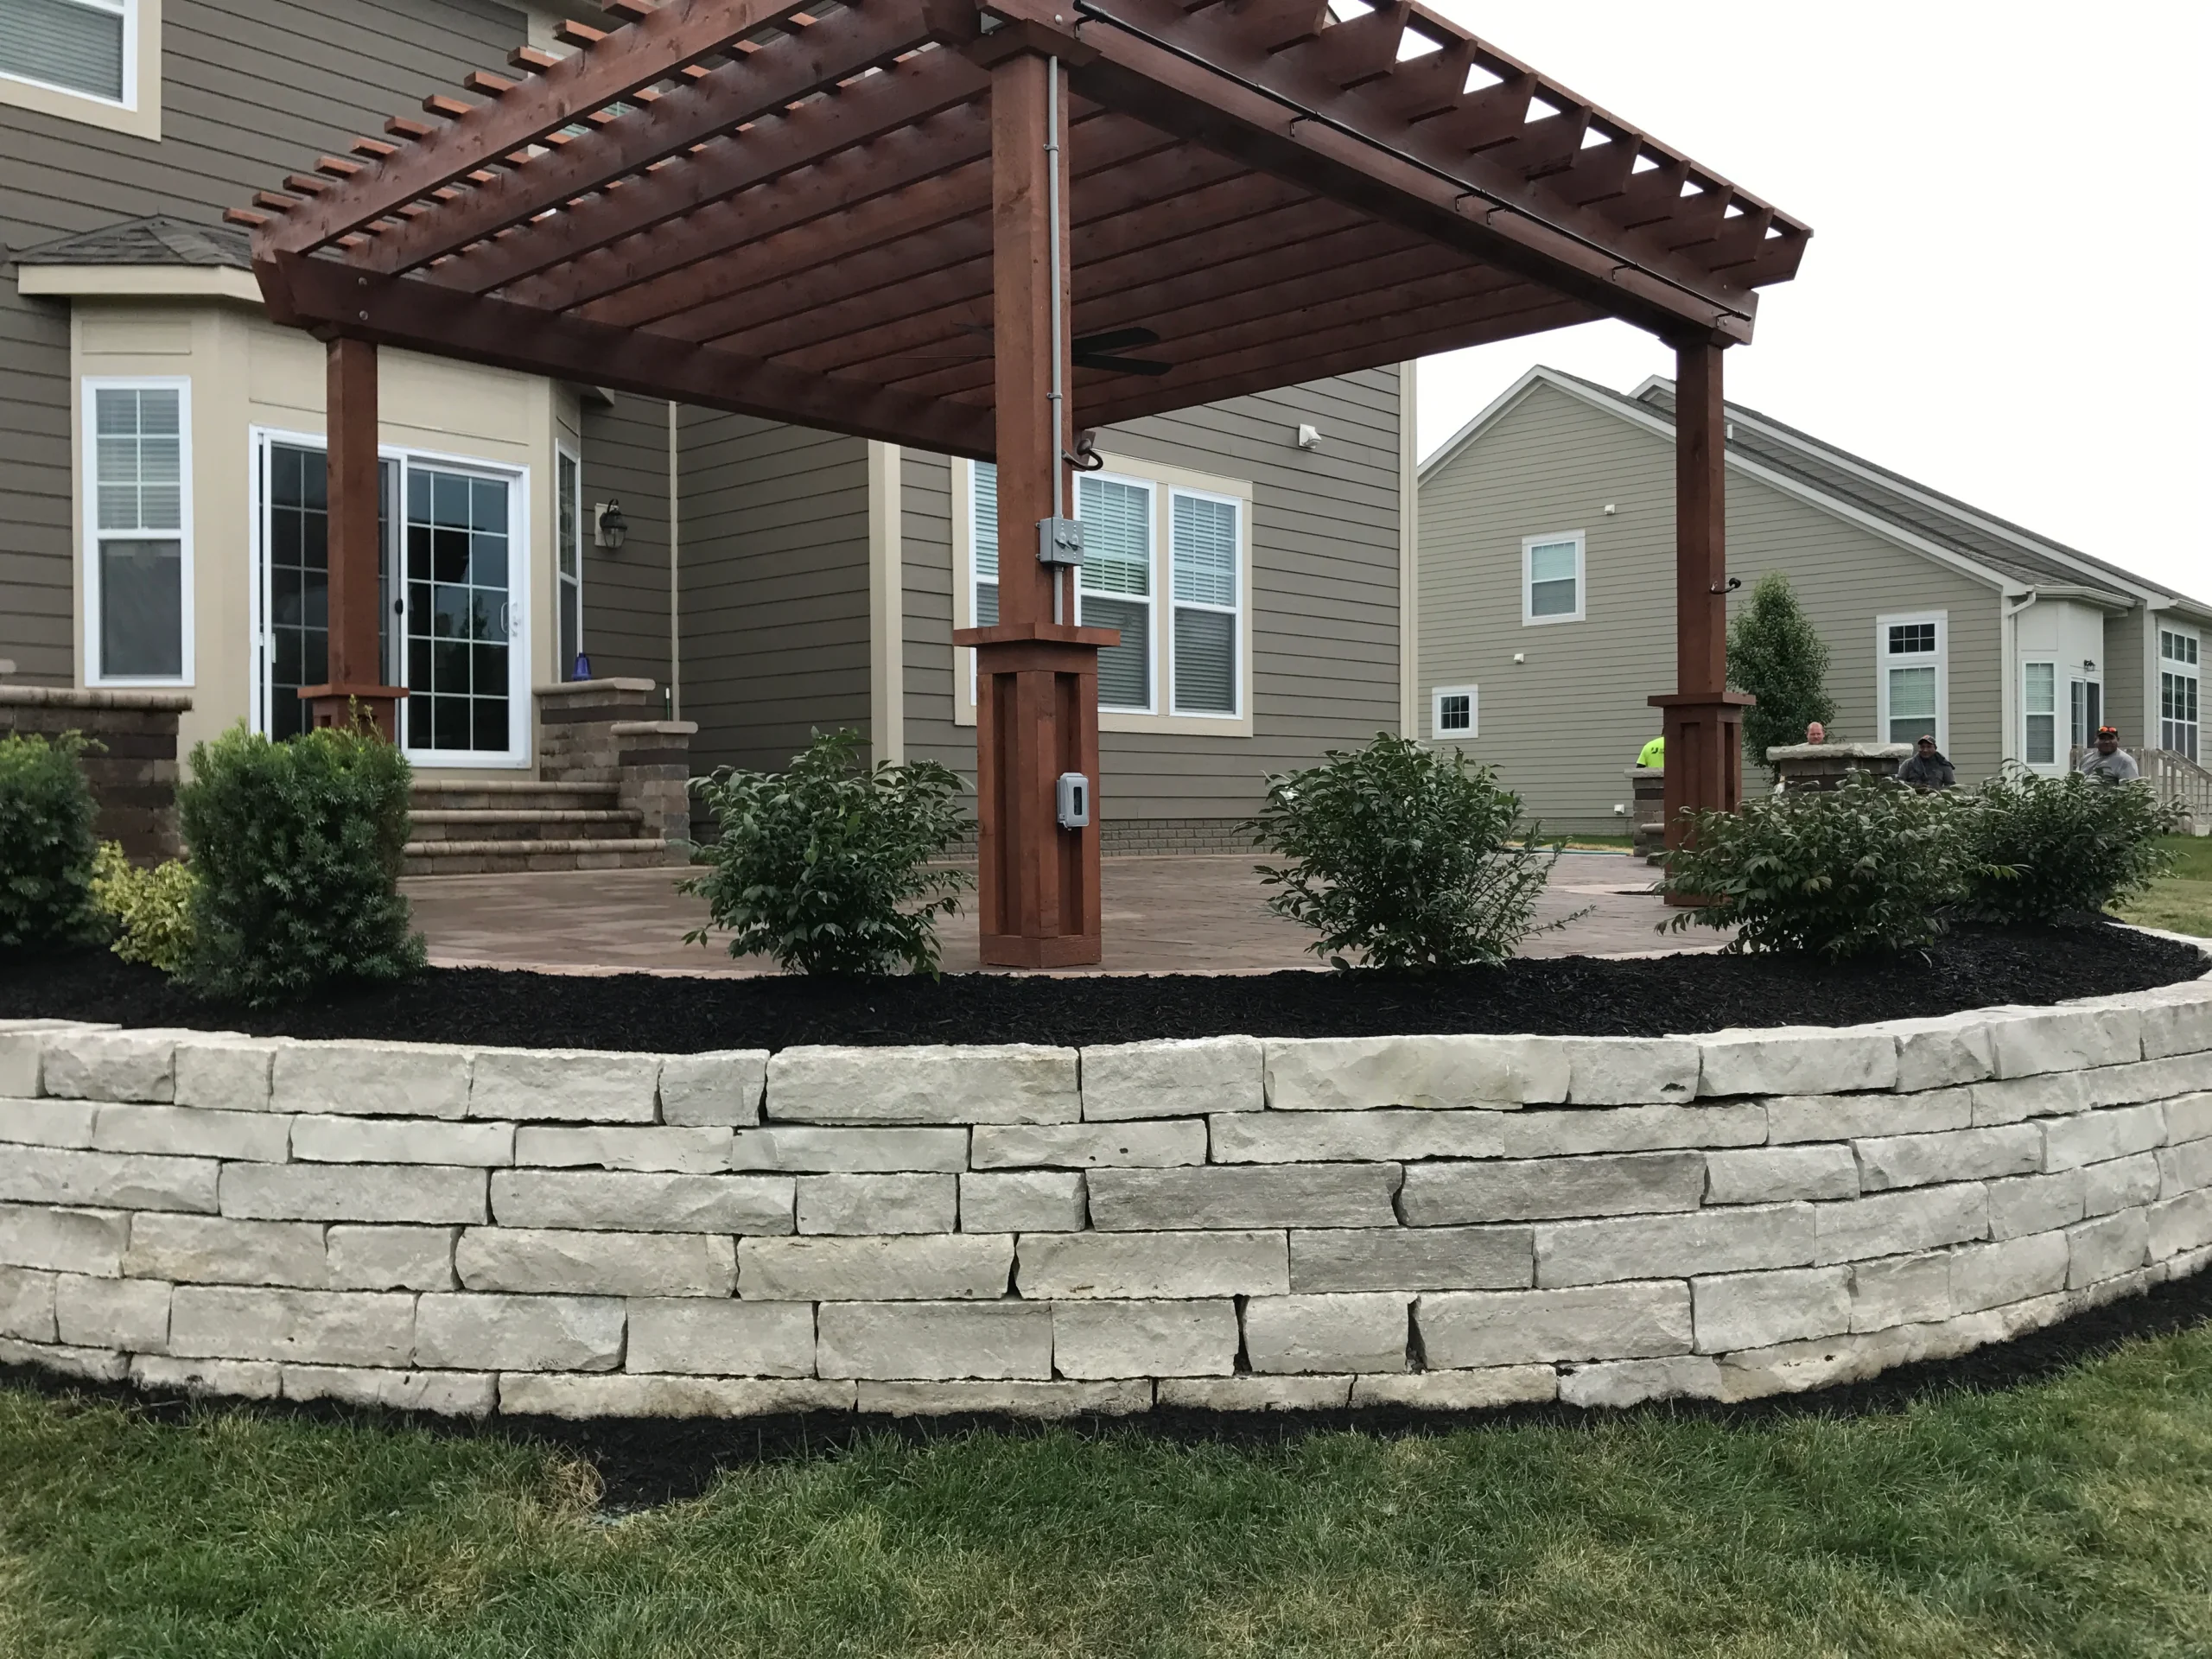
Why it happens in expansive clay: a retaining wall is not failing because the blocks are weak. It’s failing because what’s behind it is pushing harder than the design anticipated. Cecil clay backfill, saturated by 52 inches of annual rainfall and DeKalb County’s poor older-subdivision drainage, develops hydrostatic pressure that can exceed 60 to 90 psf per foot of depth — easily double what a textbook installation assumes. The clay holds water against the wall. The wall flexes outward. Over multiple wet seasons, the flex becomes permanent deflection. Add expansive swell loads and the result is the slow forward migration that produces the belly profile.
Older Clarkston subdivisions like Idlewood and Lake Capri were graded in an era when “drainage” meant a swale and a daylight pipe at the property line. Install a wall on that grade without re-engineering it and the wall becomes the dam the original site never had.
What the spec should have been: a 12-inch-thick column of #57 stone from footing to within 6 inches of the cap, wrapped in geotextile. A 4-inch perforated drain pipe at the heel of the footing, daylighting to grade at minimum 1% slope. Geogrid extending back into the retained soil at least 60% of wall height, on every other course for walls over 4 feet. And structural granular fill rather than re-used clay in the geogrid zone — so the water never has time to load the wall.
Failure Mode 4 — Reverse-Pitch Driveway
What it looks like: a driveway that was originally pitched down toward the street now shows a low spot somewhere in the middle, with water pooling several inches deep after a heavy rain. The flow line is no longer a smooth gradient; it’s a bathtub. In paver driveways, the joints in the low zone wash sand and stain darker than the rest of the field.
Why it happens in expansive clay: differential settlement under wheel load. A typical SUV puts 1,200 to 1,500 pounds per tire on the surface, four times a day. On sandy subgrade those loads dissipate broadly. On Cecil clay they consolidate the column directly below each wheel path, especially in zones that were over-excavated or backfilled during original construction without proper compaction. After 5 to 8 years the wheel paths sit 1 to 2 inches lower than the original surface and the pitch is gone.
The deeper issue is what was done to the subgrade before paving. Sites rough-graded in the 1960s-1980s with topsoil pushed and clay exposed — never proof-rolled, never moisture-conditioned, never separated with geotextile — behave exactly the way you’d expect.
What the spec should have been: 10-inch open-graded base for vehicular pavement on clay subgrade, with geotextile, proof-rolled with a loaded tandem-axle truck prior to paving, and a minimum 1.5% finish slope written into the plan. For concrete driveways on clay, fiber-mesh reinforcement plus #4 rebar on 18-inch centers in both directions, control joints sawn to 1/4 slab depth within 24 hours of pour, and isolation joints anywhere the slab abuts a fixed structure (garage slab, sidewalk, pool deck).
Failure Mode 5 — Cracked Slab Above a Reused Footer
What it looks like: a new poured concrete patio cracks within the first 18 months in a pattern that doesn’t match the control joints. The cracks often appear over the footprint of an old structure — a former shed pad, an earlier patio that was demoed to make room for the new build, an abandoned dog pen, an old footer trench that was backfilled with whatever was on hand. The cracks are usually linear and follow the perimeter of the buried feature, not the random meandering pattern of pure shrinkage cracking.
Why it happens in expansive clay: differential support. The new slab is sitting partially on undisturbed clay (which behaves one way under load), partially on the old concrete or compacted material below (which behaves another way), and partially on backfilled trench (which behaves a third way). Each zone has a different bearing capacity, a different moisture-response curve, and a different freeze-thaw signature. The slab can’t bridge those differences; it cracks at the boundaries.
This is a uniquely Clarkston problem because of the housing stock. Most properties here are on their second or third generation of backyard improvement — the 1970s split-level got a shed, the shed came down in 1991 and a deck went up, the deck got demoed in 2008 and a patio replaced it. Each cycle leaves buried footers and disturbed soil that compromises the next build.
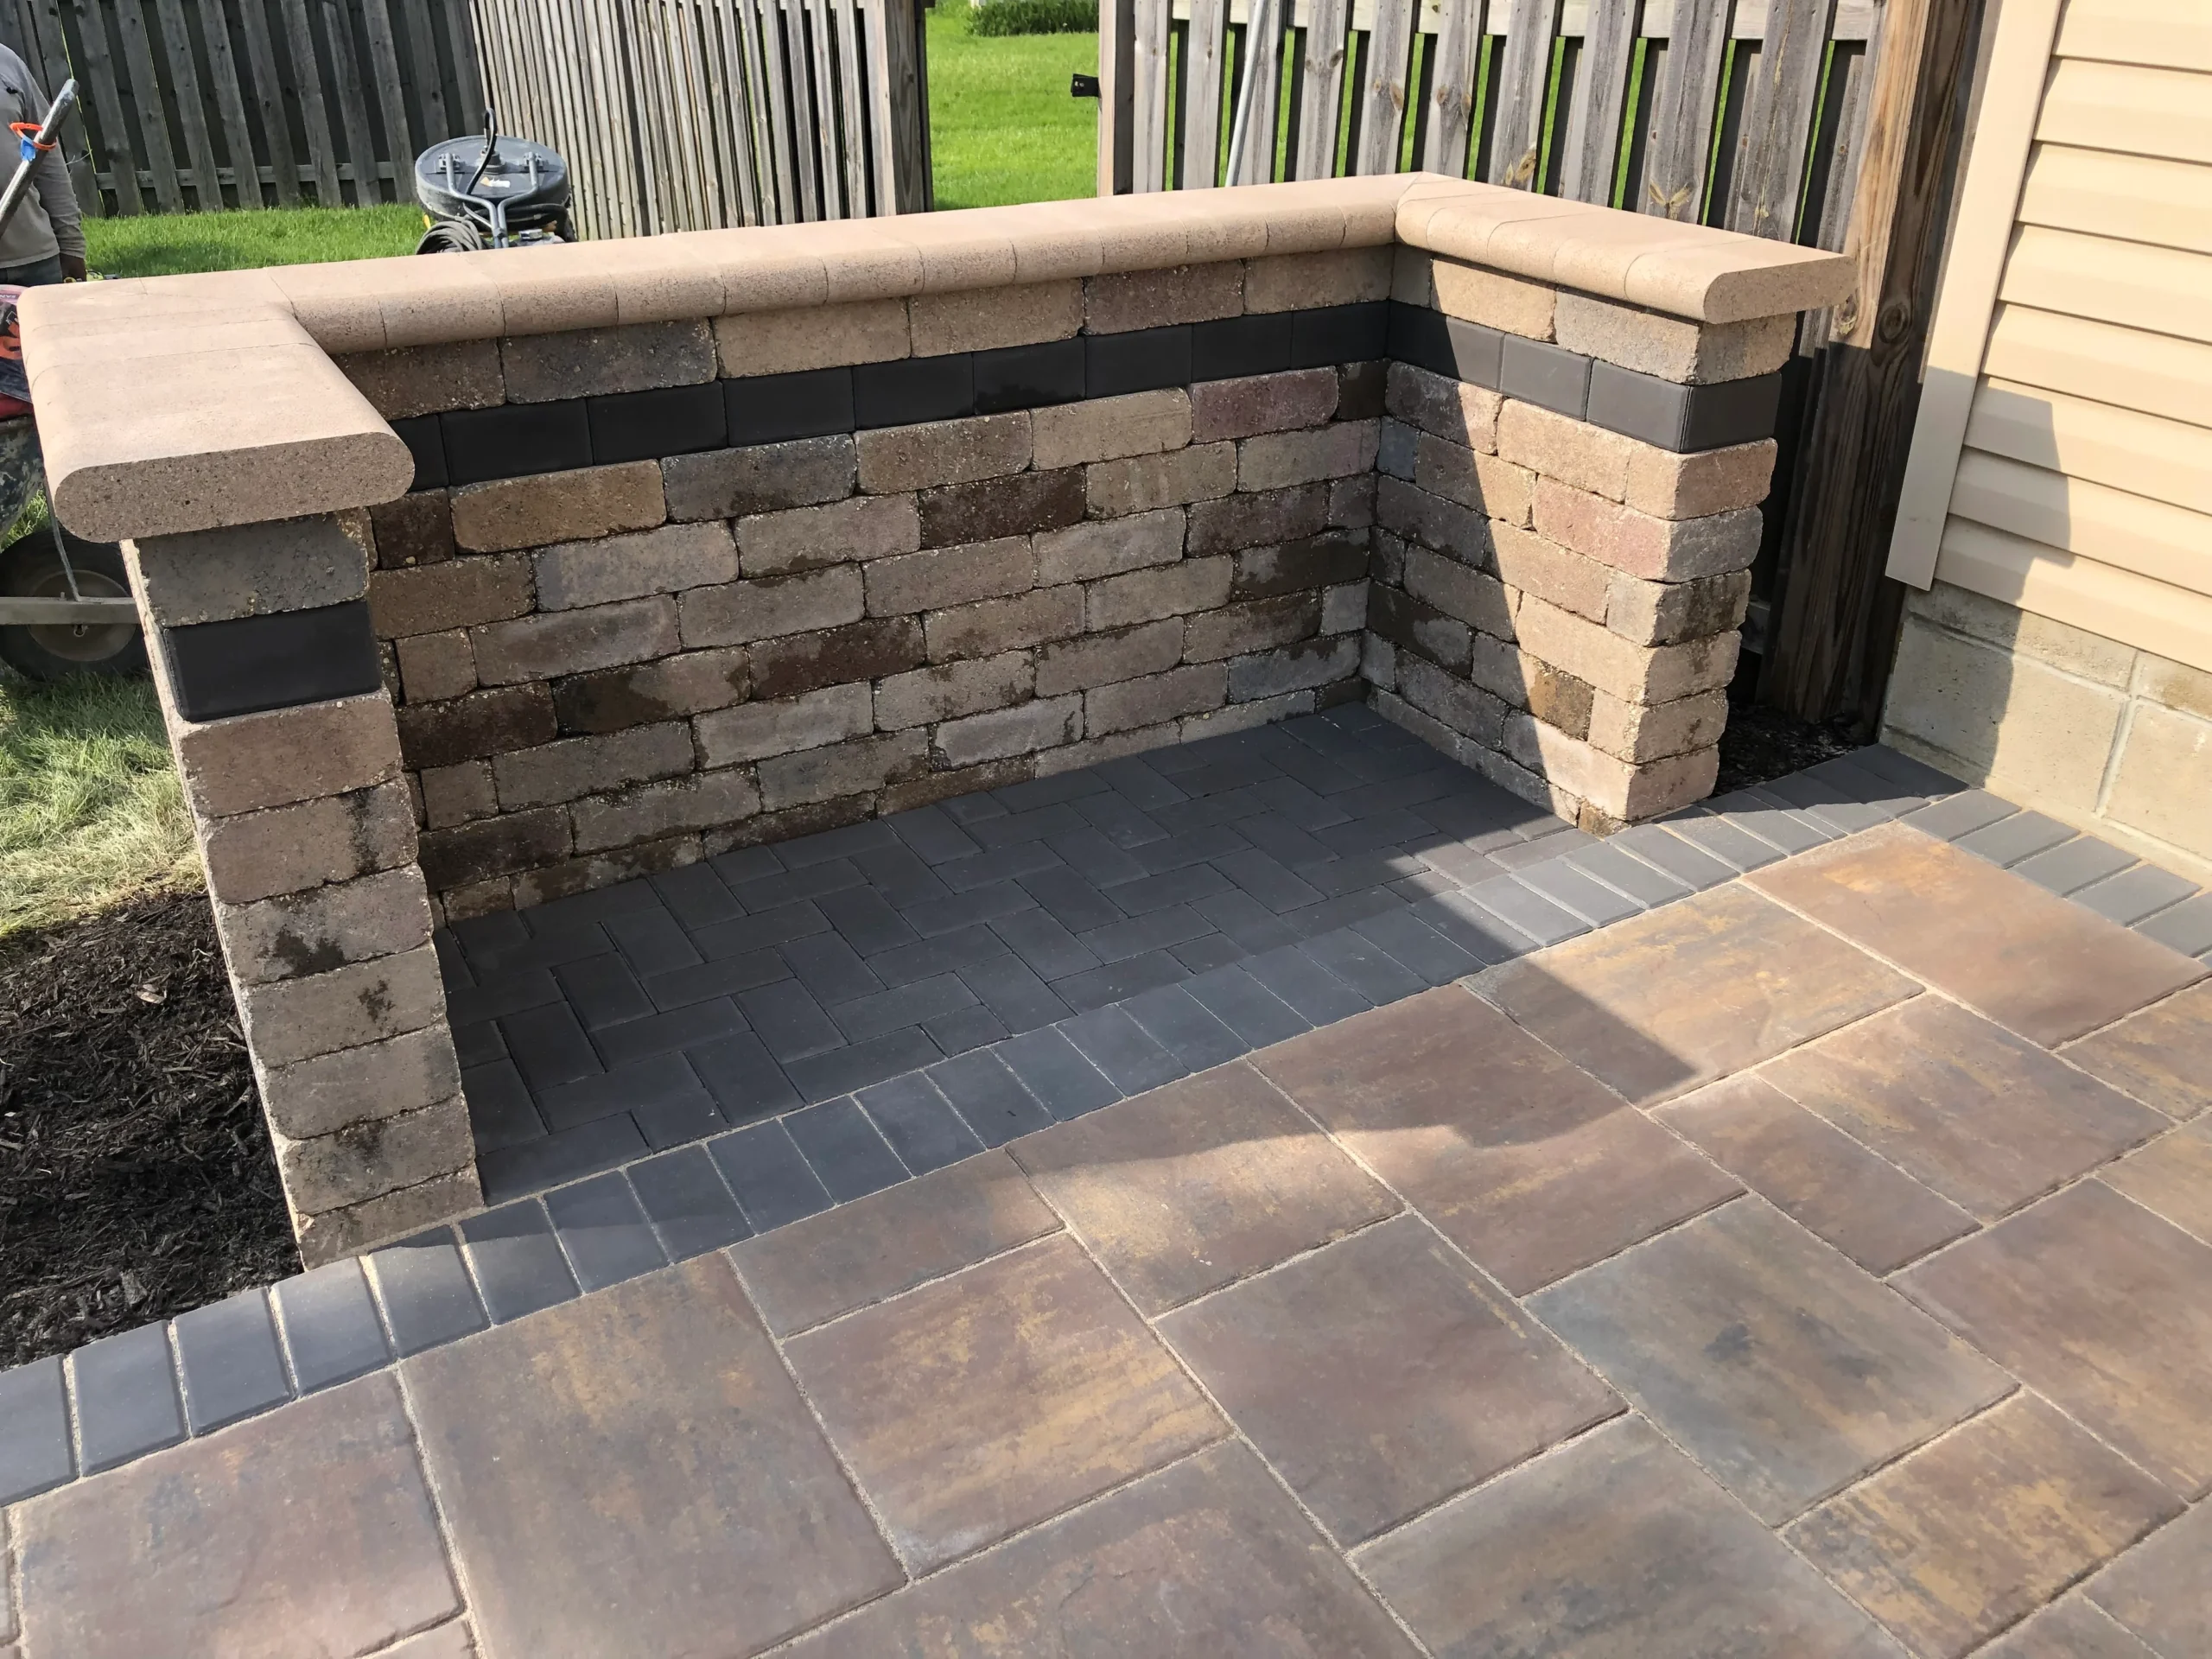
What the spec should have been: pre-excavation site reconnaissance. Walk the property with the homeowner before the design is finalized. Document anything that has been demoed, moved, or buried in the last 30 years. Probe the subgrade with a hand auger or DCP (dynamic cone penetrometer) at 10-foot intervals across the planned slab footprint, looking for inconsistent resistance. Anywhere a buried footer or old slab is encountered, the choice is: full removal and re-engineered backfill, or design the new slab around it with an expansion joint at the boundary. Skipping that reconnaissance is how the patio cracks at month 14, and how the homeowner finds out the contractor poured a slab on top of a 1988 footer that nobody knew was there.
For confidence on slabs over questionable subgrade, the upgrade is a structurally designed slab — 5-inch with #4 rebar on 16-inch centers, thickened edges (8 inches at perimeter), and 10-mil polyethylene vapor barrier over the granular base. Roughly $14 to $18 per square foot versus $7 to $10 for a standard 4-inch slab on crusher-run — and it doesn’t crack.
Failure Mode 6 — Pop-Up Pavers from Improper Lifts
What it looks like: individual pavers, usually in a patio’s middle field rather than at the edges, sit visibly proud of their neighbors — sometimes 1/8 inch, sometimes 3/8 inch. Trip hazards, particularly on bare feet, particularly on the way to or from a pool. Run a hand across the surface and the high pavers feel like a row of loose piano keys.
Why it happens in expansive clay: this one is almost always traceable to the bedding course and the lift discipline below it. When a base is placed in a single 6-to-8-inch lift and compacted from the top — the most common shortcut on residential hardscape jobs — the upper 2 inches reach density but the lower 4 to 6 inches never do. Over time, with moisture cycling in the clay below, those un-compacted lower zones consolidate. Surface support becomes patchy. Pavers above the still-loose zones rise as the still-loose zones below shift; their neighbors stay put. The result is the pop-up pattern.
Add a bedding course that’s too thick — anything over 1.5 inches of bedding sand becomes a deformation layer, not a level layer — and the problem accelerates. Pavers float on a sand cushion that responds to every load with micro-movement, and the bedding compacts unevenly over thousands of foot-traffic cycles.
What the spec should have been: the 2-inch-lift rule, enforced. Every lift compacted before the next is placed. A consistent 1-inch bedding course of ASTM No. 8 chip-stone, screeded and never re-disturbed. And polymeric joint sand within spec — Techniseal HP NextGel or Alliance G2 — to lock the field against inter-paver movement.
The price difference between a 2-inch-lift install and a single-dump shortcut is usually $2 to $4 per square foot in labor. On a 600-square-foot patio that’s $1,200 to $2,400. It’s also the difference between a patio that holds for 25 years and one that needs lift-and-relay work at year 6.
What These Six Failure Modes Have in Common
Read those six modes back-to-back and a single pattern emerges. In every case, the failure is not in the visible material. The pavers themselves are fine. The retaining wall blocks are fine. The concrete is fine. The failure is in what’s underneath, behind, or around the visible work — the engineering layer that doesn’t show up in the homeowner’s photos and almost never shows up in a bid line item.
Sandy-loam markets can get away with thinner, faster, less expensive base prep because their soil doesn’t fight the install. Clarkston soil fights every install. Cecil clay shrinks in summer, swells in winter, holds water against vertical surfaces, and consolidates unevenly under sustained load. None of that is a flaw — it’s just the soil we have. The mistake is pretending we don’t.
The price spread between a clay-spec install and a sandy-loam-spec install on a 500-square-foot Clarkston patio is meaningful but not enormous. A standard install — 4 inches of crusher-run, no geotextile, no open-graded drainage — runs in the range of $18 to $24 per square foot finished, depending on paver selection. A properly engineered install for Cecil clay — 8 inches of open-graded #57 stone in 2-inch lifts, geotextile separator, polymeric joint sand, edge restraint pinned 12 inches into the subgrade — runs $26 to $34 per square foot finished. The delta is $8 to $10 per square foot, or $4,000 to $5,000 on a 500-square-foot patio.
That delta is also the difference between a patio that lasts 6 years and one that lasts 25. Amortized across working life, the cheap install is roughly $3.50 per square foot per year; the engineered install is roughly $1.20. The expensive spec is the cheaper outcome — by a factor of three.
The Stone Mountain pluton complicates the math on deeper-excavation jobs. Decomposed granite shows up at 4 to 8 feet of excavation depth on lots within a few miles of the pluton, and any pool or deep retaining-wall footing in that zone will hit it. Decomposed granite is a forgiving subgrade — denser, better drainage, lower swell — so the spec sometimes relaxes. The geotextile separator stays, because the contact zone between clay and granite is where fines pump under load.
The bottom line: in Clarkston, hardscape lasts when the engineering layer is specified for the soil you have, not the soil the manufacturer’s brochure was written for. Cecil clay, 52 inches of rain, 8 to 14 freeze events, older subdivision drainage, buried legacy footers from previous backyards — all of that has to be in the contractor’s head before the bobcat moves dirt. When it is, you get a 25-year patio. When it isn’t, you get a callback in year 4.

Hardscape design & construction across 20+ cities within 30 miles of Winder, GA
We engineer every Clarkston hardscape for the actual soil under the slab — not the soil in the manufacturer’s brochure. That’s how a patio lasts 25 years instead of 6.