
Before we frame a single rafter on a Dacula pergola, we already know which of four structural questions will drive the entire build. One — does it tie into your house rim joist, or stand on its own footings? Two — does Gwinnett County consider it exempt or permitted? Three — can your HOA committee approve the renderings in two weeks, or six? Four — where does 9,000 pounds of total load actually want to sit in your Piedmont clay backyard? Those four answers decide everything.
Homeowners in Hamilton Mill, Sycamore Ridge, and the newer Chandler Ridge infill lots call us wanting a pergola. They almost never ask the four questions above on the first call. They describe a shaded seating area, a covered outdoor kitchen lane, or a pergola over a spa. What they are really asking — without knowing it — is whether the structure should attach to the house or stand free in the yard. And that single choice cascades into permit scope, footing depth, roof flashing, HOA review timelines, and thousands of dollars of material and labor delta.
This post walks through all four questions the way a framing carpenter would answer them on-site, with the specific numbers we use in Dacula’s Zone 8a climate and Gwinnett County’s code environment. If you are trying to decide which pergola type to build on a 30019 zip code lot, you will have your answer by the end — and you will know what the structural conversation with your builder should actually sound like.
Question 1 — Attached or Freestanding? The Decision Tree We Actually Use
The simplest way to frame this decision is by looking at how your backyard and your house geometry relate. An attached pergola shares its load path with your home. Two ends of each outer beam rest on a ledger board that is lag-fastened into the rim joist of the house, with the opposite end supported by two posts on footings. A freestanding pergola carries its own load on four independent footings and has no structural relationship to the house whatsoever.
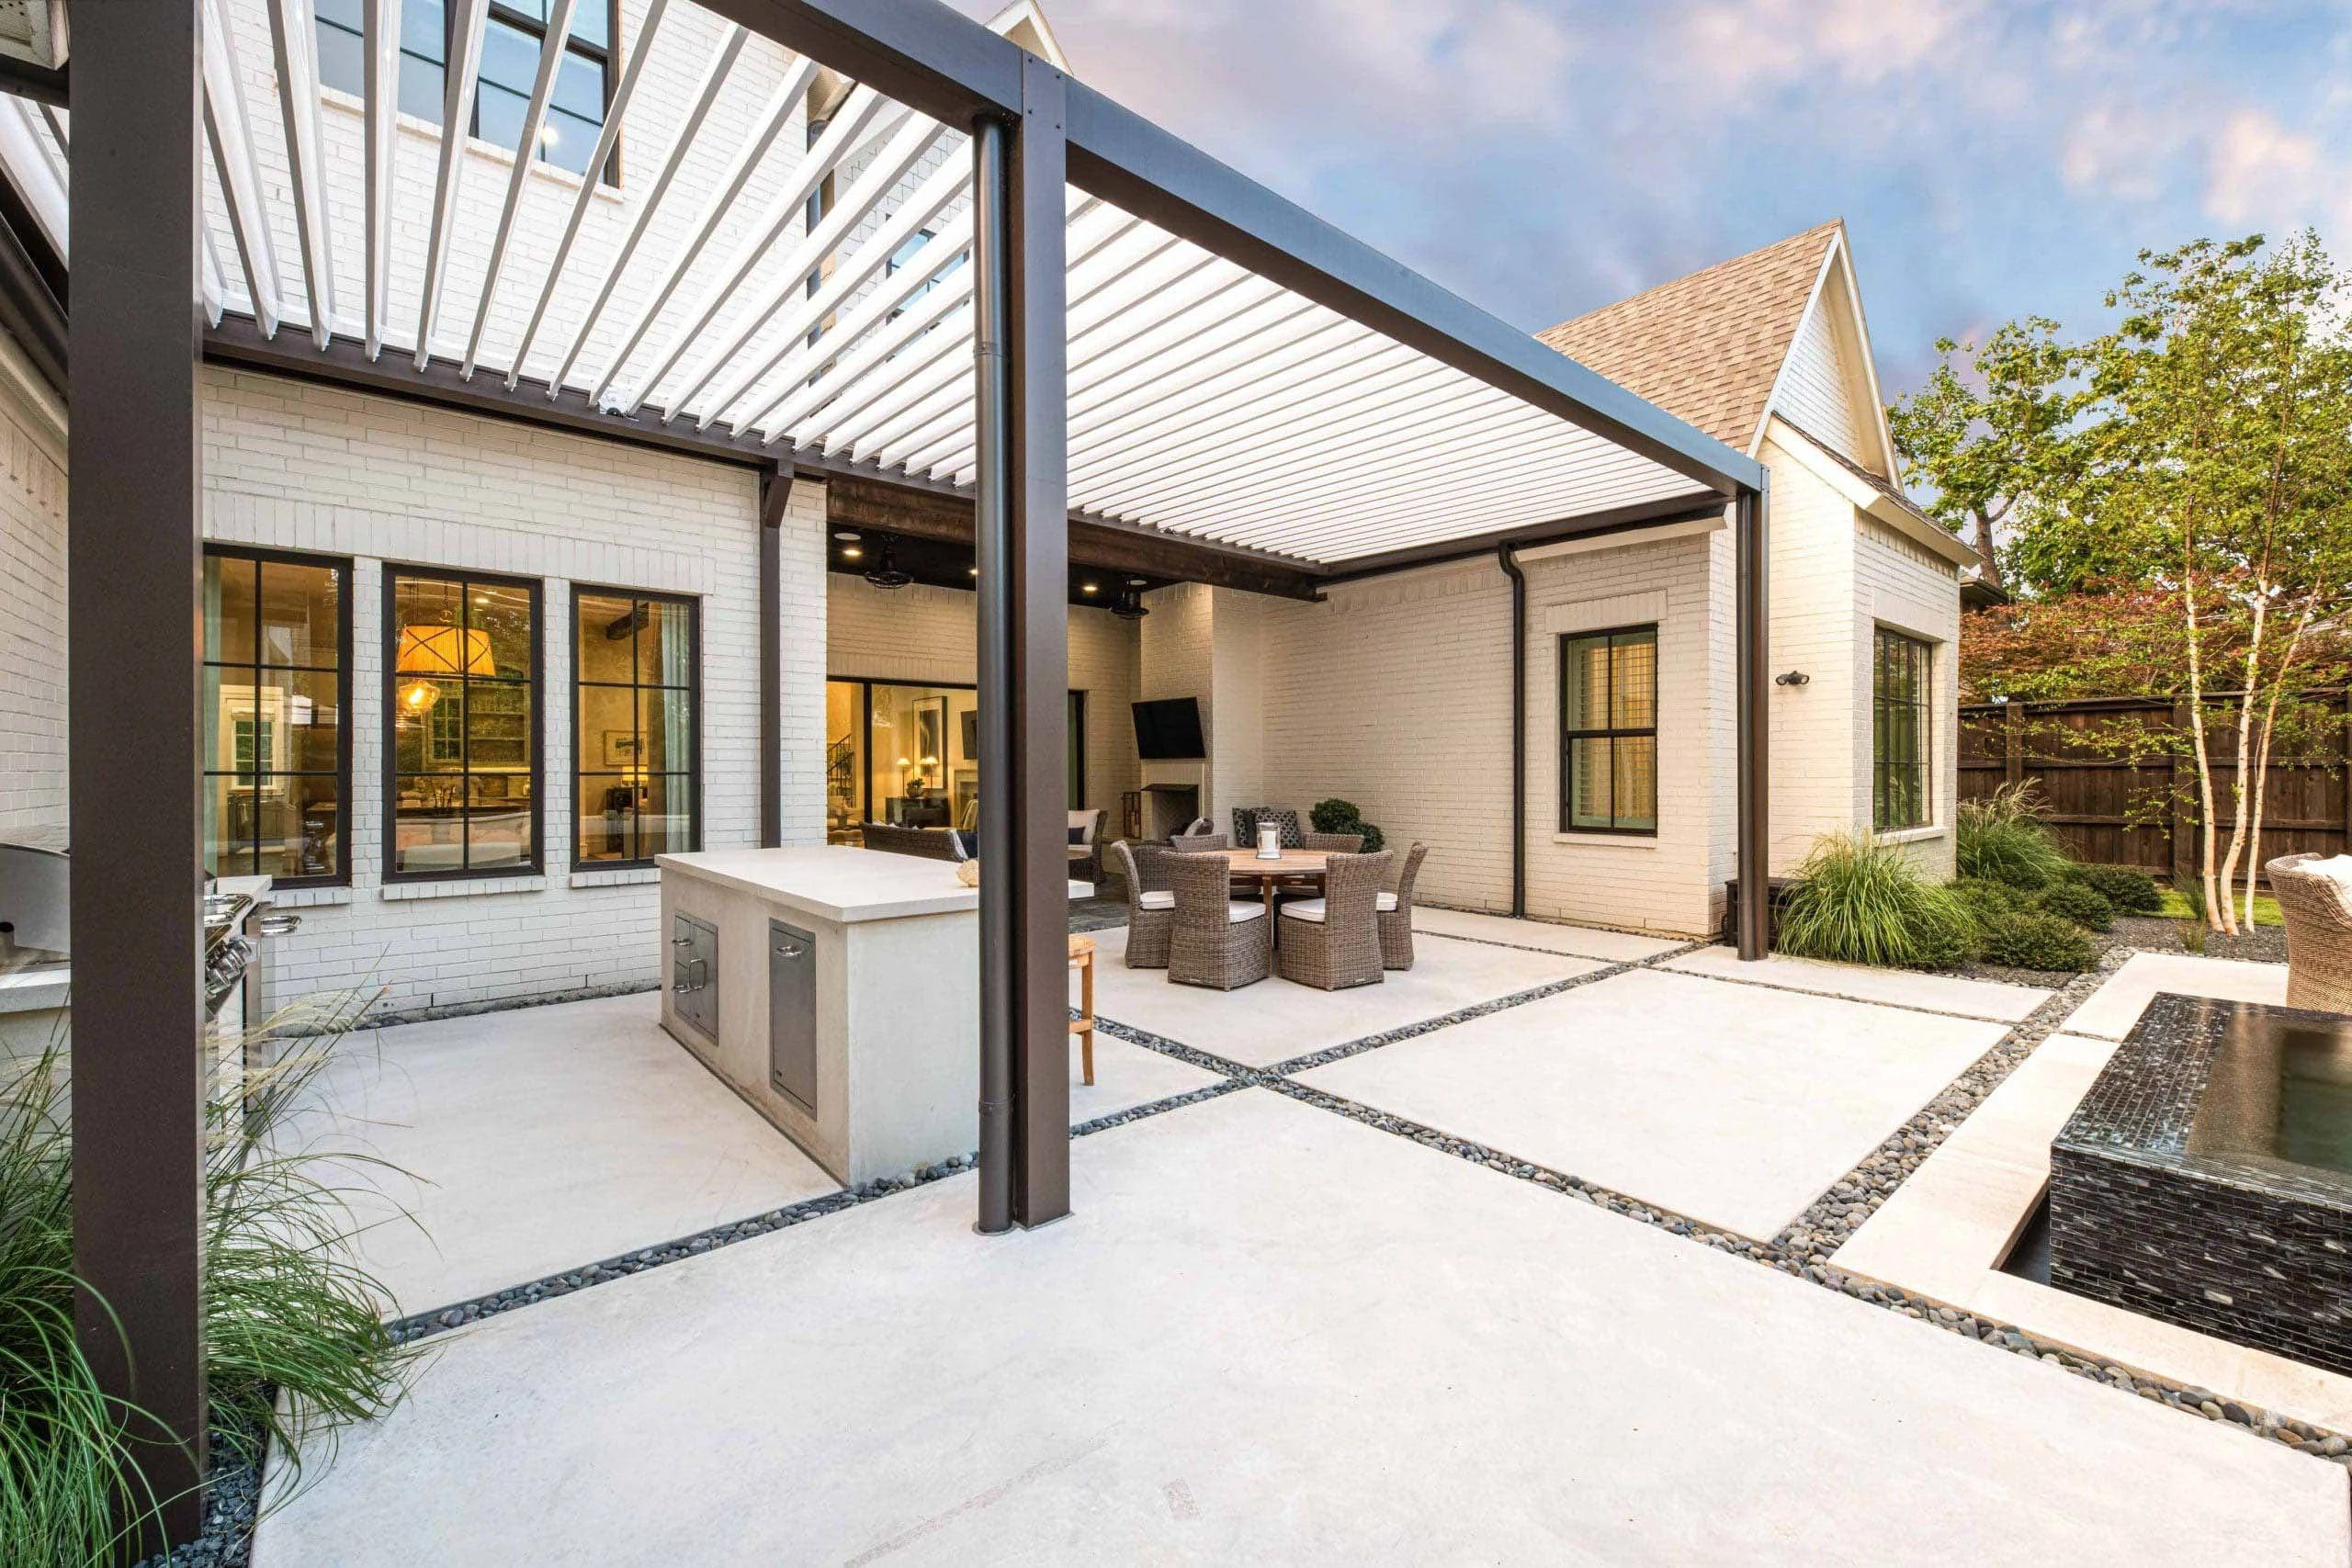
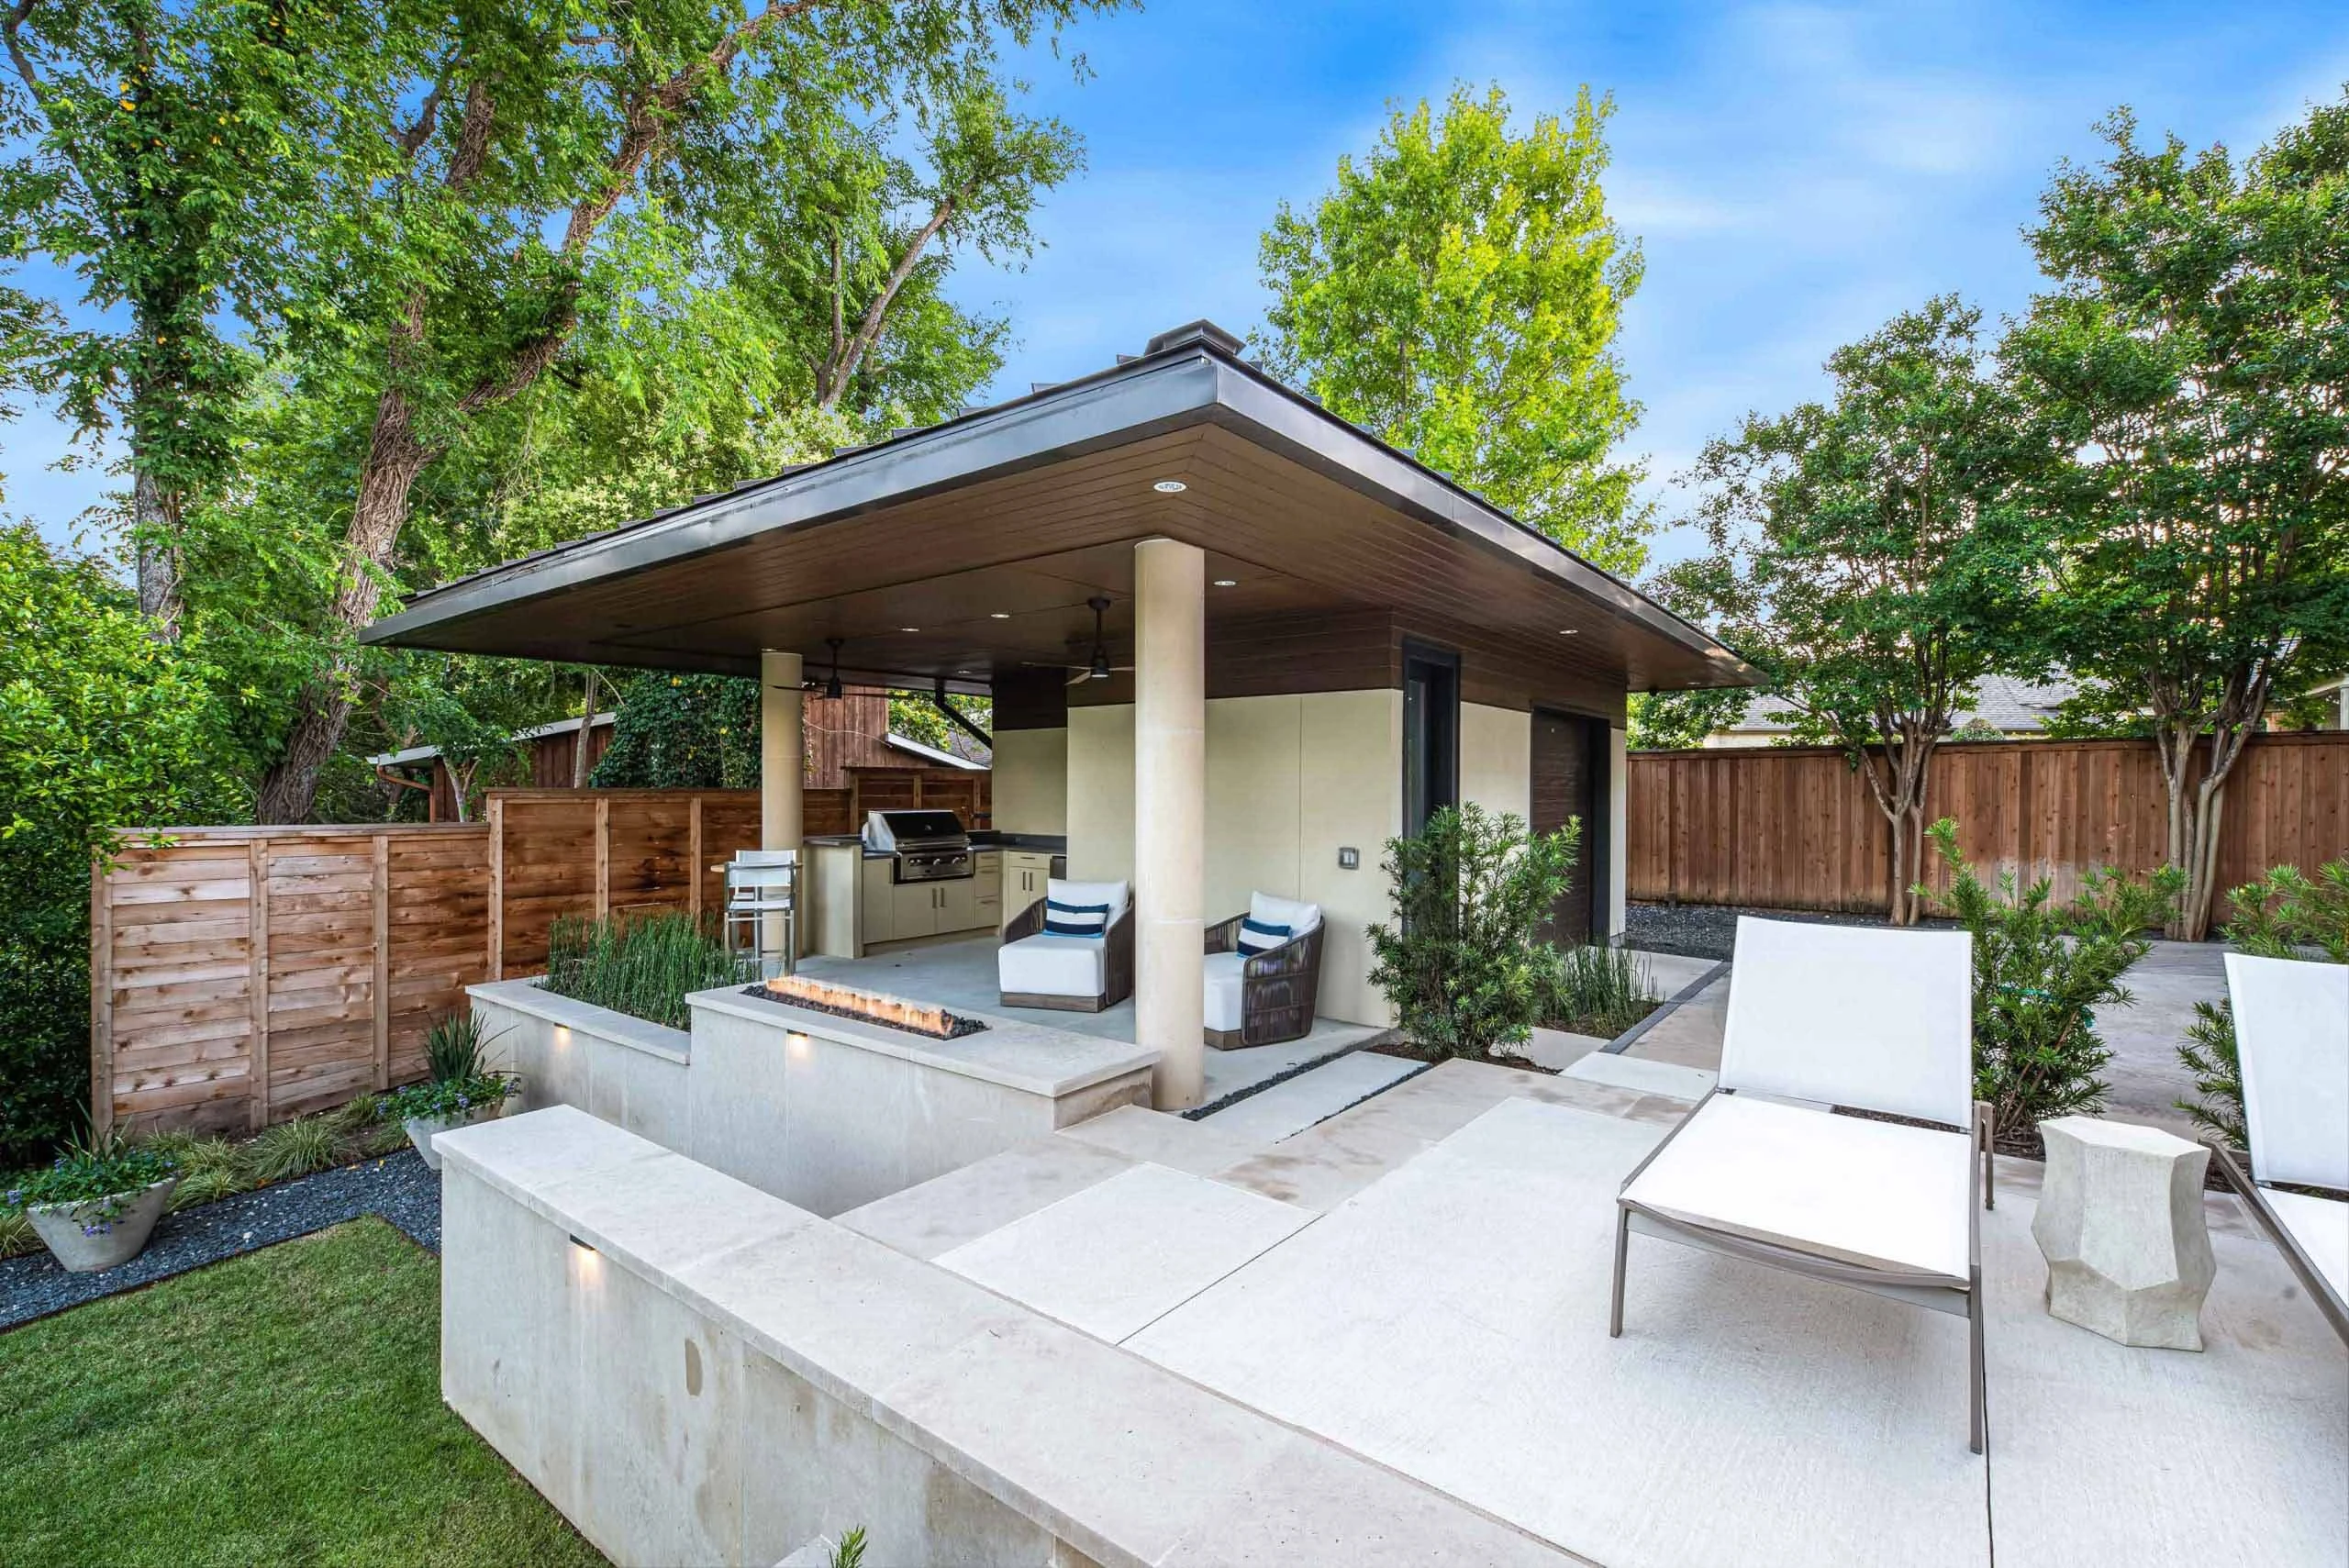
On paper that sounds like a materials question. In practice, it is a design-footprint question. Here is the carpenter’s rule we use: if the pergola needs to sit within 10 to 12 feet of the back wall of the house, attached almost always wins. If the pergola needs to sit 14 feet or more from the house — out over a pool, a firepit lounge, or a detached kitchen island — freestanding is the only right answer. The in-between zone, 10 to 14 feet, is where we sit down with the homeowner and look at sight lines, eave height, and roof overhang depth.
Why does distance matter so much? Attached pergolas are constrained by your roof’s eave depth. The top of the ledger board has to live under the existing roofline but above the tallest clearance you want underneath. On most Dacula homes with a 12- to 24-inch eave overhang, that gives you a workable attached-pergola depth of 8 to 12 feet off the house wall before you run out of headroom and start fighting gutters, soffit vents, and drip edges. Go beyond 12 feet of projection and you need freestanding posts on the far side anyway — at which point the attached design’s only remaining advantage is saving two footings on the house-side.
The 12-Foot Rule: Attached pergolas in Dacula practically cap out at 8 to 12 feet of projection from the house wall — deeper than that and eave height, gutter interference, and drip-edge flashing start dictating every other design decision. Beyond 14 feet, freestanding wins.
There is one more factor most homeowners don’t think about: roof tie-in risk. An attached pergola creates a permanent interface between your pergola ledger and your home’s exterior envelope. Every bolt, every flashing detail, every caulk bead is a potential future leak if the pergola ever settles, racks, or twists in high wind. Freestanding pergolas carry zero envelope-penetration risk. If you are the kind of homeowner who never wants a caulk joint on your house to be load-bearing, that alone can push you to freestanding even when geometry would allow attached.
Question 2 — Gwinnett County Permits and Hamilton Mill HOA Approvals
Gwinnett County’s Department of Planning and Development at 446 W. Crogan Street in Lawrenceville handles every pergola permit in Dacula. The answer is not a single yes or no — it depends on whether the structure is attached, freestanding, and how large it is. We walk every client through the same four-part test before we file.
Freestanding pergolas under 200 square feet are often treated as exempt accessory structures in Gwinnett’s residential zones, though we confirm on a project-by-project basis because the threshold interacts with setback rules and lot coverage. A 12×14 freestanding pergola sits right at 168 square feet — comfortably inside the exemption window. A 16×16 at 256 square feet is not exempt. Freestanding pergolas over 200 square feet always need a permit with site plan, post sizes, and footing dimensions — and an engineer’s stamp if the structure carries unusual loads like retractable canopies or louvered roof panels.
Attached pergolas of any size are always permitted. Because an attached pergola structurally interacts with the house, Gwinnett treats it as a home addition — the plan has to show the ledger connection detail, the fastener schedule, and setback from property lines. Any pergola with a solid roof is also always permitted regardless of size or attachment, because Gwinnett treats a solid roof as a covered structure with different wind and snow load rules.
Gwinnett Exemption Threshold: Freestanding accessory structures under 200 square feet with an open (non-solid) roof are often permit-exempt in residential zones. Attached pergolas are permitted in all cases because they modify the primary structure.
Hamilton Mill’s architectural review committee is the most rigorous HOA process we routinely encounter in Dacula. A pergola submission requires a complete package — to-scale site plan showing setback from all property lines, elevation drawings showing overall height and post spacing, a materials and finish schedule, color samples or manufacturer finish chips, and a written description of intended use. Typical turnaround is two weeks from complete-package submission, with “complete” being the operative word — any missing document resets the clock.
Sycamore Ridge and Chandler Ridge have lighter-touch processes with 5 to 10 business day turnarounds. Providence Club sits in between, with a monthly review cycle that can stretch approval to four weeks if your application lands right after a committee meeting. The single most common rejection we see is a finish-color mismatch — Hamilton Mill wants a specific stain manufacturer and tint code, not “stain your cedar natural.” We submit TWP 1501 Cedartone or Ready Seal Natural Cedar with the color code explicitly listed, and approval comes back clean.
Hamilton Mill ARC Submission Package: Site plan, elevations, materials schedule, finish color samples with manufacturer codes, intended-use description. Typical turnaround is two weeks if the package is complete on first submission.
Question 3 — Footings, Load Math, and the Post-to-Concrete Detail
This is where the difference between attached and freestanding stops being philosophical and becomes measurable in cubic yards of concrete. The load math is not intuitive, so we’ll walk through a representative 12×14 cedar pergola — a common Dacula size — and show exactly what each design requires underneath.
Dead load is the weight of the structure itself. A 12×14 rough-sawn cedar pergola with 6×6 posts, double 2×10 beams, and 2×8 rafters on 16-inch centers weighs approximately 2,400 pounds when dry. Live load is everything that might sit on or hang from the structure — snow, wind, a hanging porch swing, string lights, a motorized shade system. Dacula’s USDA Zone 8a climate is kind to pergola load math: snow load is effectively negligible, so we use 5 psf for conservatism even though actual accumulation rarely exceeds 2 inches. Wind governs, calculated at 90 to 100 mph, translating to roughly 15 to 20 psf of horizontal pressure. All in, a 12×14 pergola lands at approximately 9,000 pounds of total design load.
For a freestanding 12×14 cedar pergola we install four concrete footings, each 24 inches in diameter and 36 inches deep — significantly deeper than Gwinnett’s 12-inch frost line. Why go past frost line? Because Piedmont clay is expansive soil, and the depth that matters in Dacula is not frost line but the depth below the active moisture zone. The top 18 to 24 inches of soil in most Dacula yards wets and dries cyclically with the seasons, expanding and contracting. A footing at frost depth sits in that active zone and heaves every wet-dry cycle. A footing at 36 inches anchors into moisture-stable soil year-round, and the pergola never develops a seasonal rack or list.
Each of those four footings has a load-bearing capacity in our typical Cecil-series clay soil of roughly 3,000 to 4,000 pounds, depending on soil moisture at pour. Four footings carrying 2,250 pounds of load share each (9,000 total ÷ 4) gives us a working factor of safety above 1.5 on every footing. That is the number we target — anything less and we are designing to fail in ten years, not twenty-five.
Freestanding Footing Spec (12×14 cedar): Four concrete footings, 24″ diameter × 36″ deep minimum, #4 rebar cage, 3,000 psi concrete. Each footing supports 2,250 lbs of load share. Depth is set by Dacula’s active moisture zone, not the 12″ frost line.
The connection between the pergola post and its footing is where most failures originate in older Dacula pergolas — usually because the original installer embedded the 6×6 post directly into the concrete during the pour. Direct embedment looks strong on day one and is a disaster by year seven. Concrete wicks moisture; wood in wet concrete rots from the embedded end outward; and once the embedded portion has rotted back three or four inches, the post is structurally useless and can’t be replaced without demolishing the footing.
We exclusively use Simpson Strong-Tie PBS post bases, anchored into the footing concrete at pour time. The PBS holds the post about 1 inch above the concrete so the end grain stays dry, and it uses a through-bolt to secure the post. Ten years from now if the post itself needs replacement due to checking or cosmetic decay, we can unbolt it and swap in a new post without touching the footing. That single detail separates a pergola built to last 25 years from one that needs full demolition at year 12.
Question 4 — The Ledger, the Roof Tie-In, and Brick-Veneer Walls
For attached pergolas, the house-side load share gets transferred into the rim joist of the home through a ledger board. A ledger failure is the single most dangerous failure mode in any attached pergola — if the ledger pulls away under load, the entire structure collapses inward toward the foundation, which is exactly where people and furniture are. Our ledger specification is non-negotiable.
We use a 2×10 pressure-treated ledger, positioned against the house sheathing and lagged directly into the rim joist behind it with 1/2-inch diameter by 6-inch structural screws (GRK RSS or FastenMaster LedgerLOK rated screws — never standard lag bolts) driven on 16-inch centers. Every screw is pre-drilled, every screw is driven through metal flashing, and every penetration is sealed with elastomeric caulk before the ledger is snugged to the wall. The 16-inch on-center schedule matches a standard stud layout, meaning every fastener lands in structural wood. On a 14-foot ledger that gives us 10 to 11 structural fasteners, each rated for well over 400 pounds of withdrawal resistance, pushing total ledger-to-house capacity north of 4,000 pounds.
Attached Ledger Spec: 2×10 pressure-treated ledger, 1/2″×6″ structural screws (GRK RSS or FastenMaster LedgerLOK) driven 16″ on-center into the rim joist, flashed and sealed with elastomeric caulk and a drip edge at the top.
The roof tie-in detail depends on what your rear wall is made of, and Dacula homes split roughly evenly between vinyl siding, fiber-cement siding, and brick or brick-veneer exteriors. Vinyl or fiber-cement: we cut the siding back, install aluminum step flashing tucked up behind the existing siding course, lag the ledger through the flashing into the rim joist, then fold a drip edge over the top of the ledger that is also tucked behind the siding above. Reinstalled siding gets a 1/4-inch expansion gap at all edges and elastomeric caulk at every interface.
Brick or brick-veneer is where attached pergolas get structurally nuanced. Brick is not a structural wall — it is a veneer hanging off the framed wall behind it, and lagging a ledger into brick alone is both a code violation and a structural nightmare. We drill through the brick, through the sheathing, and into the rim joist with longer 1/2-inch by 8-inch or 10-inch structural screws, sealing penetrations at the brick face with masonry-grade caulk and at the sheathing layer with elastomeric caulk. The brick above the ledger gets a Z-flashing cut into a weeping mortar joint so water drains out of the wall cavity instead of pooling on top of the ledger.
Water management is just as important as fastener selection. The pre-formed aluminum drip edge extends at least 3 inches horizontally under the siding or shingle course above and slopes 2 inches down over the face of the ledger. That slope is what keeps the ledger’s top edge dry for 25 years instead of 5. Miss this detail and you get rot starting at the top of the ledger by year 8, invisible behind siding, structurally compromised by the time you notice the first crack in the pergola beam.
Question 5 — Cost Delta, Design Trade-Offs, and How to Actually Decide
When we quote a 12×14 cedar pergola in Dacula, the cost delta between attached and freestanding typically runs 15 to 25 percent, with freestanding coming in higher. That sounds counterintuitive — freestanding has no roof-tie-in complexity — but freestanding requires twice as many footings, twice the concrete, and a larger structural beam on the house-side where an attached would use a ledger instead. On a typical 12×14 cedar build the spread runs from mid-to-high teens for attached, to high teens or low twenties for freestanding. Retractable canopy, louvered roof, or integrated lighting and fan electrical climb both numbers proportionally.
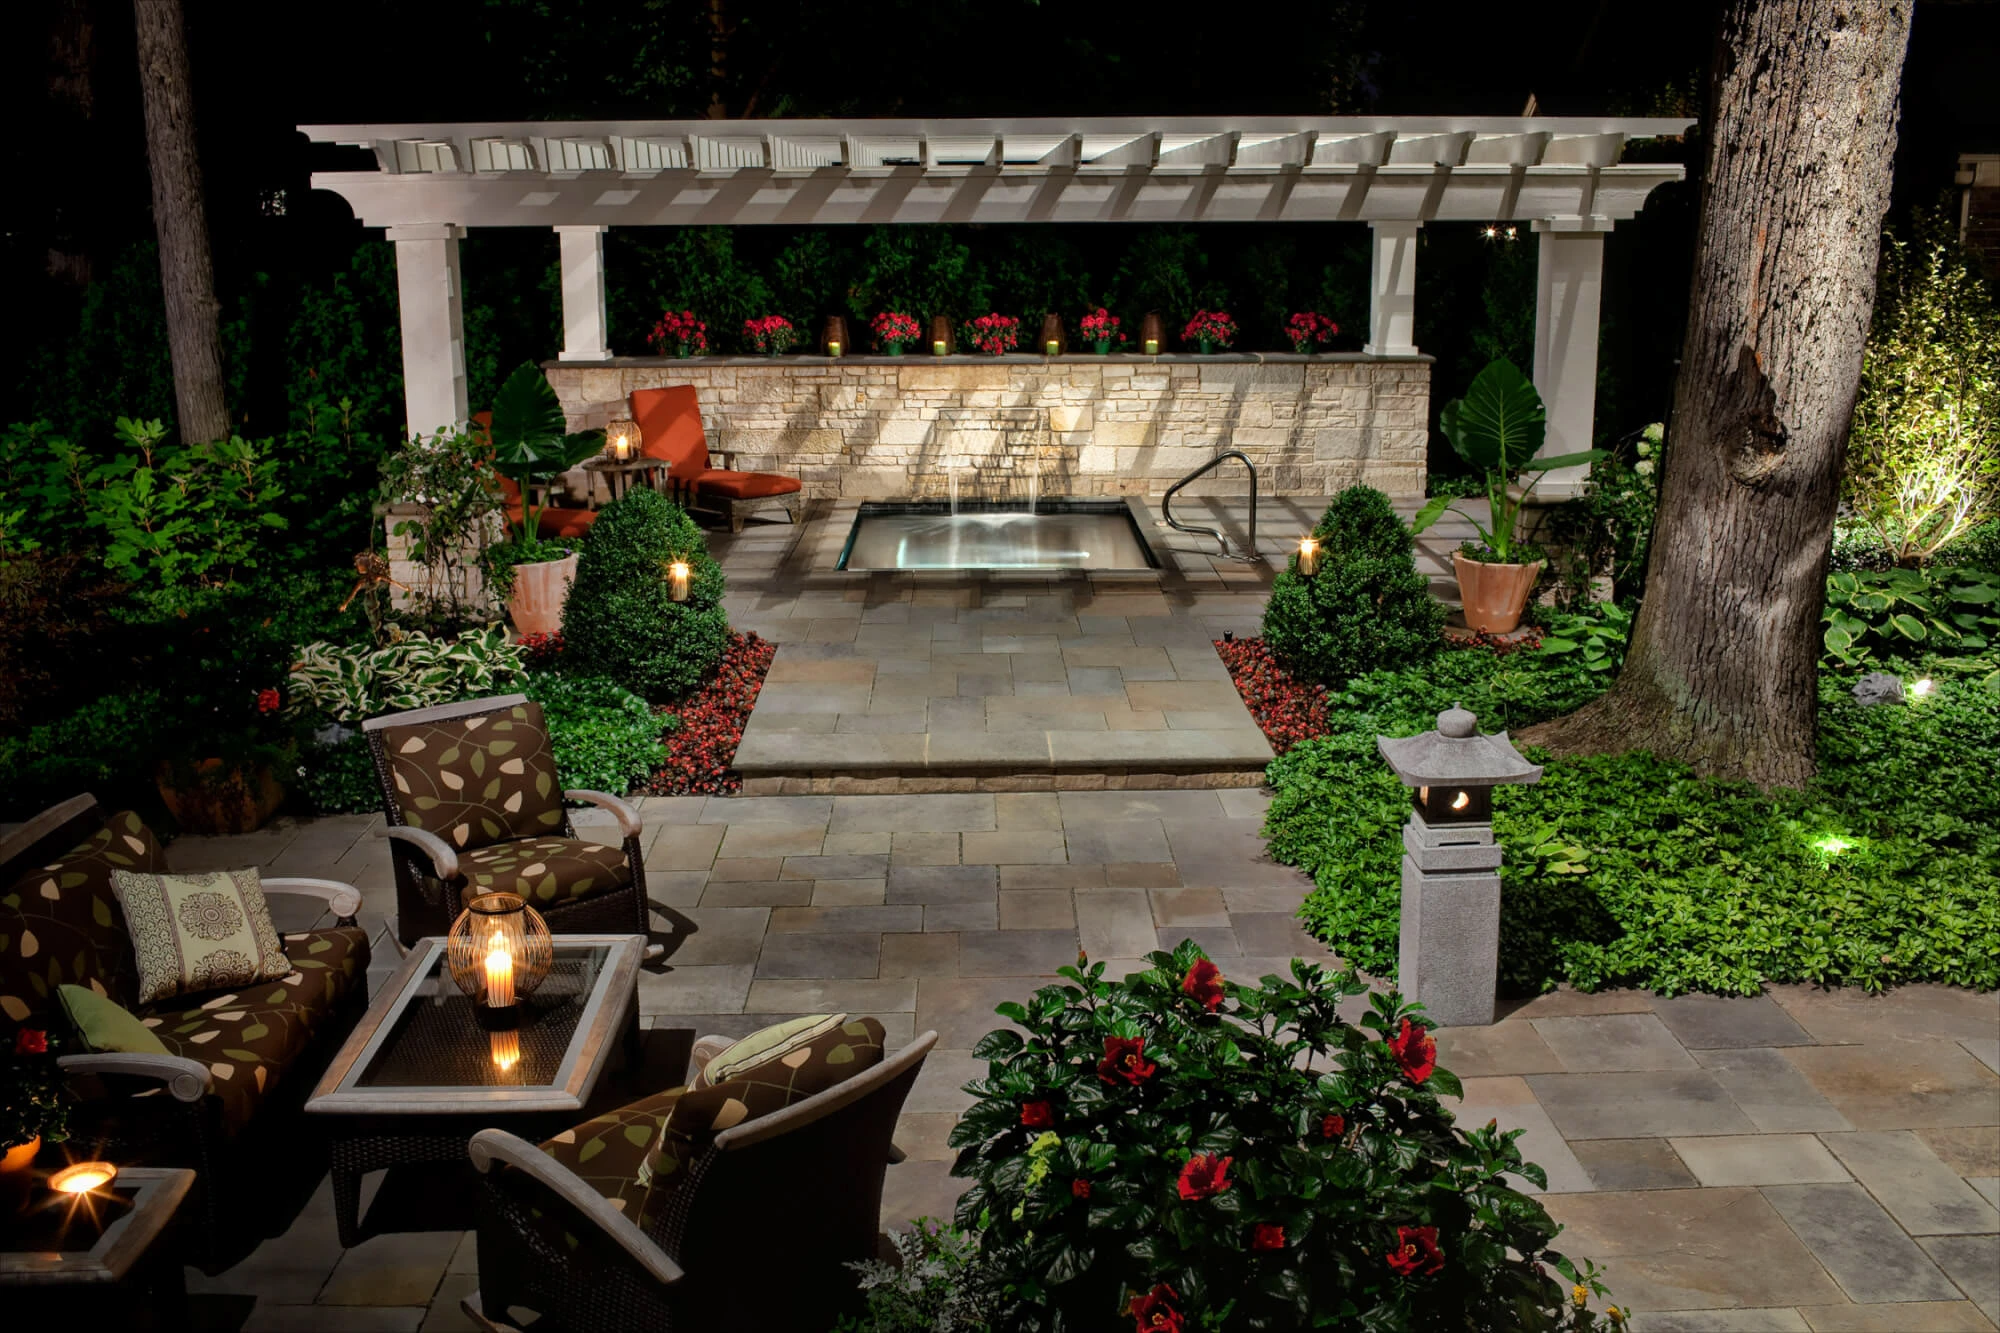
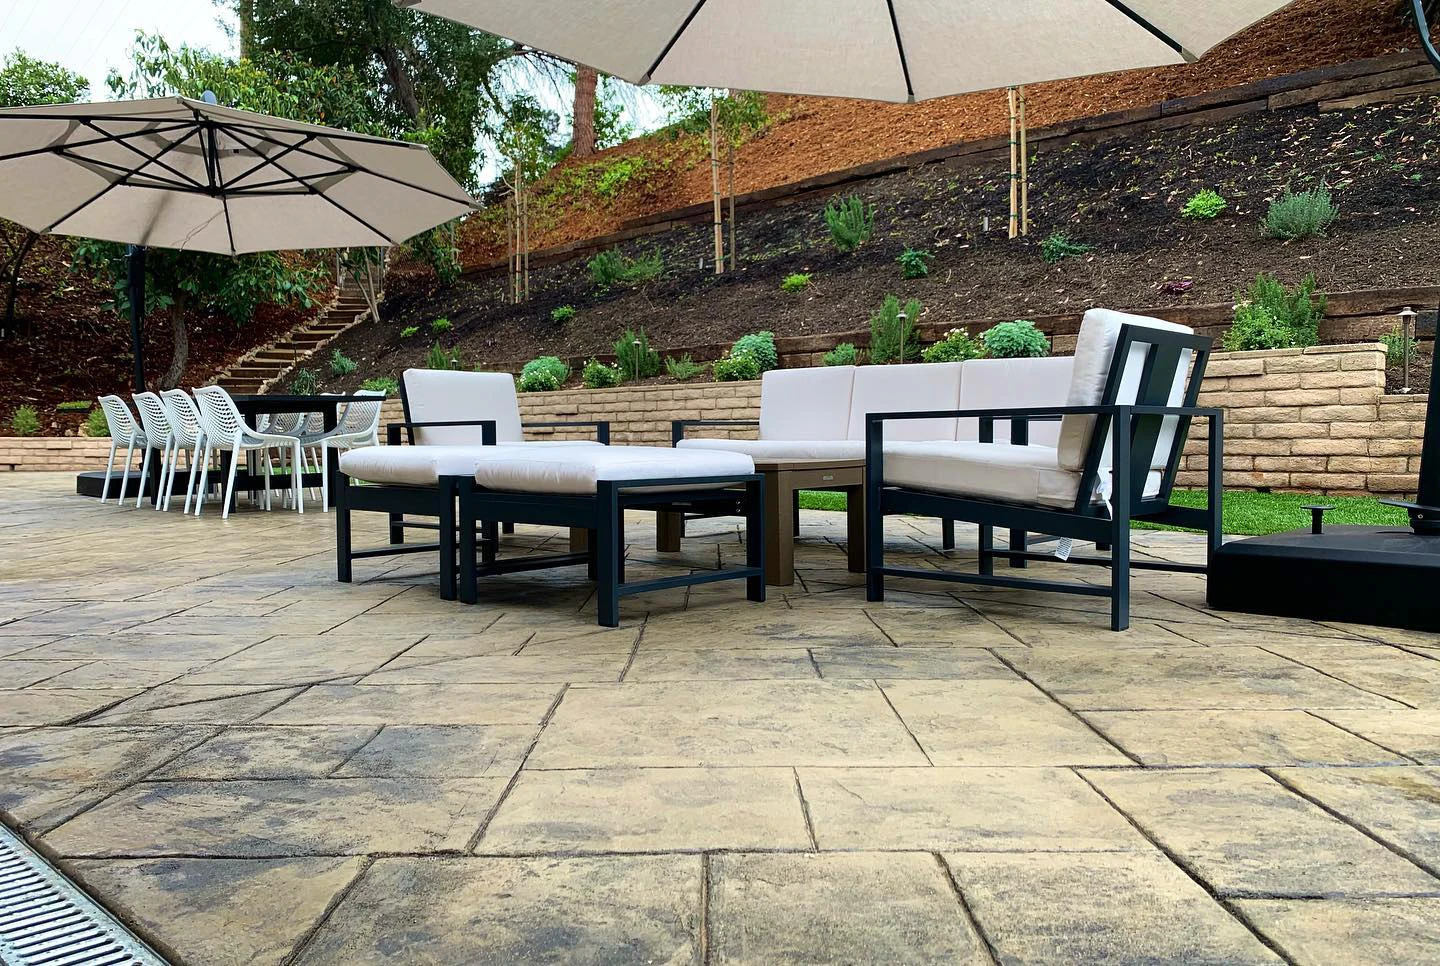
Design trade-offs go beyond money. Attached pergolas feel like extensions of the house; they cast shade directly onto the back patio door and create a visual transition from interior to yard. Freestanding pergolas create a destination — a focal point out in the yard, often tied to a pool, a firepit, or a detached outdoor kitchen. Which one is right for your backyard depends less on cost than on how you want the space to feel.
We ask every Dacula client three questions on our first site visit: what activity happens under the pergola (dining, lounging, poolside, outdoor cooking)? Where is the activity destination (right off the house, mid-yard, or pool-adjacent)? And what view do you want preserved (from inside the house out, from the pergola out, or both)? Those answers — not the cost spread — usually drive the final decision. Our rule of thumb when a homeowner is torn: if the pergola is about creating a covered transition from the back door to the yard, attached is almost always right. If the pergola is about creating a destination somewhere in the yard — over water, over fire, over a dining table that sits apart from the house — freestanding is almost always right.
Load Math Cheat Sheet (12×14 cedar, Dacula Zone 8a): Dead load ≈ 2,400 lbs. Add 5 psf snow + 15-20 psf wind = 9,000 lbs total design load. Each footing supports 2,250 lbs. Footing capacity in Cecil clay at 24″×36″ = 3,000-4,000 lbs. Factor of safety ≥ 1.5.
The cost delta between attached and freestanding is real but rarely the deciding factor in Dacula. Placement is. Permit scope is. HOA timeline is. Roof-envelope risk is. Get those four right on the first site visit and the pergola that gets built will still be standing — dry, level, and structurally sound — when the next owner buys the house.
Pergola design & construction across 20+ cities within 30 miles of Snellville, GA
Attached, freestanding, or hybrid — we handle the permit filing, HOA submission package, footing engineering, and ledger detail on every Dacula pergola we build.